What is NVRAM and How Can You Reset it on Mac
NVRAM is a critical component of computers. So, how can you reset it on Mac?
NVRAM helps keep data secure even when power is off, and is used in all computer devices to keep settings constant between power on and off, which is why it's also used in Mac devices.
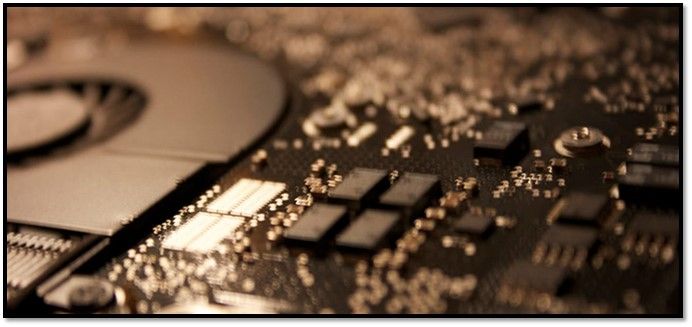
An NVRAM chip on the back of Mac's motherboard.
Resetting NVRAM on a Mac allows users to maintain settings, keep time in check, and ensure quick startups, all while speeding up their computer.
So, how can you reset NVRAM on your Mac? In order to understand this, we have to dive deeper into the topic to understand what it's about. And we also have to figure it's working on a Mac device. So, let's begin.
What Is NVRAM?
NVRAM is a type of memory that is non-volatile and can be accessed randomly, used in devices like computers and smartphones, and is different from other types of RAMs.
Non-volatile random-access memory (NVRAM) is ideal for devices like laptops and smartphones because it retains data even when power is turned off, eliminating the need for a power source to maintain stored data.
DRAM requires power to operate, whereas SRAM does not, making it a more reliable option for devices with limited power sources.
In the early days of NVRAM, it was called magnetic-core memory, which stored information in the chunks of small magnets, but advances in semiconductor fabrication in the 1970s led to a solid state memory chip.
The type of NVRAMs and TLCs used in modern SSDs, such as M.2 NVMEs or SATA III SSD drives, are typically of this type. Commercialized alternatives for NVRAM have also been developed, including: 1) Ferroelectric RAM (FeRAM), 2) Magnetoresistive RAM (MRAM), 3) Phase Change Memory (PCM), and 4) Spin-Transfer Torque Magnetic RAM (STT-MRAM). These alternatives offer improved performance, power efficiency, and reliability compared to traditional NVRAMs.
- Ferroelectric RAM or F-RAM
- Magnetoresistive RAM or MRAM
- Phase-Change RAM or PRAM
NVRAM stands out from other storage options due to its fast startup time. Unlike traditional storage methods, NVRAM doesn't require extra power to store information and is non-volatile, resulting in a significant reduction in startup time.
The current types of semiconductor non-volatile memories have limitations in terms of memory size and power consumption, making them in need of a refresh. This is one of the main reasons people want to reset their NVRAM in Mac devices, as it can cause performance issues and stutters.
How Do I Reset My NVRAM on Mac?
Resetting NVRAM can improve system performance, especially if the cache is full, making it a safe and essential step for maintaining your device's performance.
You can reset your Macintosh machine to its default settings for various reasons, such as troubleshooting issues, removing malware, or restoring a Mac to its original factory settings. This process, also known as a "factory reset," can be done through various methods, including using the built-in "Disk Utility" tool or by booting from a recovery mode.
- If your Mac is facing trouble booting up
- If your devices aren't detecting
- If the Bluetooth or wireless connectivity is acting up
- You have to set the time to the correct time in order for it to be accurate.
- Troubles with hard drives or monitors
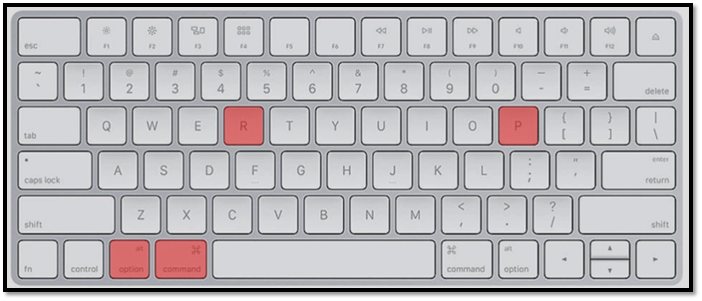
To reset NVRAM on a Mac, simply shut down your computer, press the power button to turn it back on, and immediately hold down the Command (⌘) + Option (⌥) + P + R keys. Keep holding them down until you hear the boot chimes for the second time, then release them.
Step 1. Turn your Mac off
Step 2. Turn your Mac on by pressing the power button
Step 3. Press and Hold Command + Option + P + R and wait for Mac to restart again
Step 4. Older Mac users will hear a chime, while newer Mac users will see the Apple logo flash and then disappear
You can reset your NVRAM or PRAM by pressing the power button on your device for 10 seconds and then releasing it. If that doesn't work, you can try using the Terminal command "nvram -c" to reset the NVRAM. If you're on a Mac, you can also try pressing the Command + Option + P + R keys at startup to reset the PRAM.
Step 1. Close all your applications
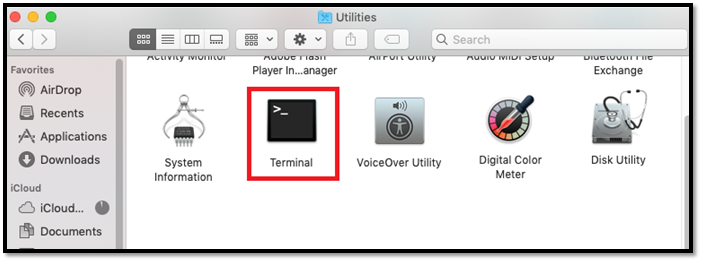
Step 2. Open Terminal by going into Finder>Utilities and then clicking Terminal
Step 3. Type sudo nvram -c, then press the Return key
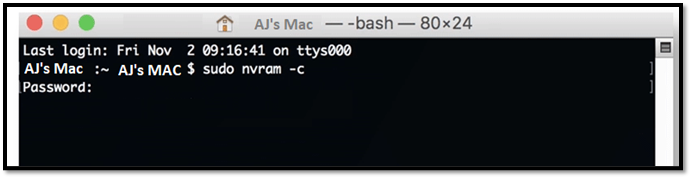
Step 4. If prompted, enter your administrator password and press Return again
Step 5. Let your computer restart
Mac's Terminal is like a command prompt in Windows, giving you absolute control over your devices and computer. It's essential to understand its usage before attempting the second method.
The NVRM cache can be cleared using certain commands, which will resolve storage issues and startup problems. Once these commands are executed, the cache will be cleared, and any related problems will be resolved. This process will ensure a smooth and functioning system.
How to Display the Current Contents of NVRAM on Mac?
Viewing NVRAM contents on a Mac is a straightforward process. For those familiar with Mac's usage, it's a breeze, but for new users, it can be a challenge to find. To help, we'll guide you through a simple way to view all NVRAM content on your Mac.
To view the current contents of NVRAM on your Mac, you can use the Terminal. Here is how:
1. Open Terminal through Utilities
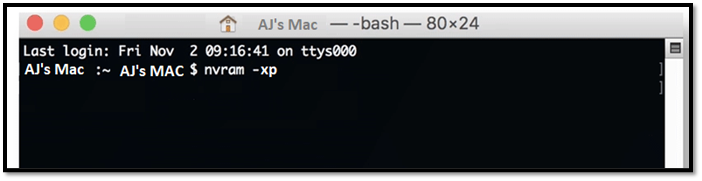
2. Type nvram -xp
3. Done
Remember, adding the -x flag to the nvram command displays the NVRAM configuration in XML format. The -p flag displays the output in plain text format instead.
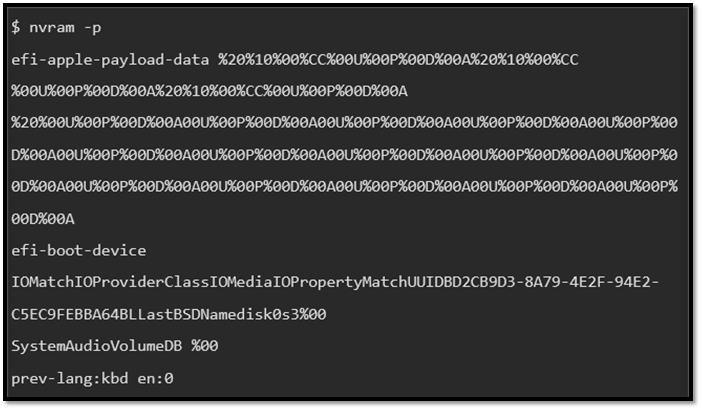
The command to display NVRAM contents is `nvram -p`.
Bottom Line
This article explains what NVRAM is, its benefits, and how to reset it. We've also explored two methods of resetting NVRAM and seen how to view its contents. To resolve NVRAM-related issues or simply view the elements saved in your Mac's NVRAM, follow the steps outlined in this article.
Related Articles
- What Is Differential Backup? Definition and Comparison
- What Is Winver and How to Run Winver to Check Your Windows Version?
- What Is M.2 SSD? Definition and Types
- What Is DRAM Memory? Dynamic Random-Access Memory Explained
- FIXED: PC Won't Boot to BIOS - 4 Ways Included
When you need to modify BIOS while your computer is running, you may find that it cannot enter BIOS. So what should you do if your PC cannot reach the BIOS? This article will describe how to fix the PC won't boot to bios issue. You can learn some troubleshooting advice in this post. - 3 Steps: How to Fix PCL XL Error in Printer Windows 10/11
If you're experiencing a PCL XL Error in your printer, try our suggested solutions to resolve the issue.