How to Fix 'Windows Could Not Complete the Installation' Error
Windows installation failed, restart the process to try again.
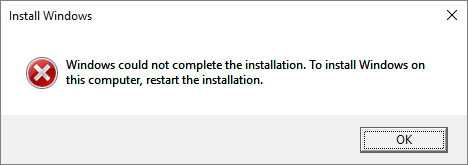
If you're experiencing a persistent "Windows could not complete the installation" error and system reboot loop, you're likely trying to install Windows 7/Windows 10 x64 or a fresh Windows installation was interrupted before a user account was created. Don't worry, you're not alone - we've got three simple solutions that have been tested and proven to work for real users.
Fix 1. Automatic Repair
If clicking OK does not resolve the system installation issue, allowing the Windows Automatic Repair to run and troubleshoot the problem automatically may be helpful.
Step 1. Power on and off your computer three times.
Step 2. On the third time, your computer will prompt "Preparing Automatic Repair" and boot into the "Advanced Recovery" environment.
Step 3. Click "Advanced Options".
Step 4. Click "Troubleshoot".

Step 5. Click "Reset this PC".
Step 6. Click "Keep my files" and then click "Cancel" because you don't need to reset your computer.
Step 7. Choose your account, enter your password and finally click Continue.
Step 8. Click Reset.
60% of users who ran Automatic Repair were able to complete the Windows installation without issues, while others got stuck in a loop and were able to resolve the problem by following the troubleshooting steps in the linked post.
Fix 2. Shift + F10 Repair
The incomplete Windows installation can be caused by an interrupted Windows installation before a user account is created. To resolve this issue, you can run the account creation wizard to complete the installation process.
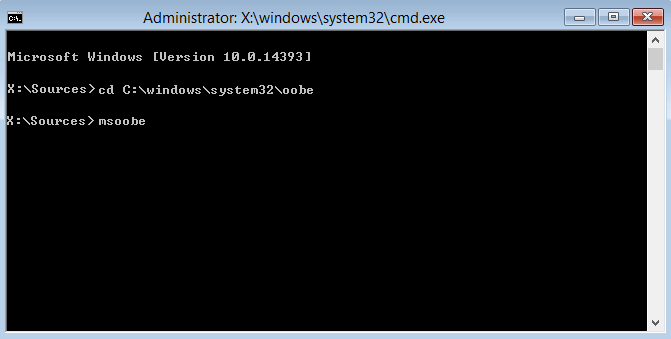
Step 1. On the error screen, press Shift + F10 to display the command prompt.
Step 2. Type the command "cd %windir%/system32/oobe/" (without quotes) and press Enter.
Step 3. Type "msoobe" next and press Enter.
Step 4. Set up an account and decent password there on the user account creation wizard that appears.
Step 5. Restart your computer.
If you change your user account, files may be lost, so download Qiling free data recovery software to try an instant recovery if you have files on the drive you want to recover.

Fix 3. System Transfer
Having a system backup can make things much easier, allowing you to restore a previous version of Windows without the hassle of a fresh install. However, most people don't have a backup, leaving them with two options.
1. Download official Windows 10 ISO files, create a bootable creation media and perform a clean install from a working computer.
2. To resolve the issue, go to a working computer, create a system image, and then transfer that image to your own computer that's having trouble completing the installation. This approach allows you to bypass the installation process and directly restore the system from a working image.
To simplify the process, you can download Qiling Backup and use it to transfer your system to a different hardware configuration. This can be a more straightforward solution compared to the previous method.
Step 1. Create an emergency disk on a healthy computer
To save time and energy, create an emergency disk on a USB or external hard drive using Qiling Backup.ckup, rather than doing it on a healthy computer.
1. Connect an empty USB flash drive or external hard drive with over 100GB space to your PC.
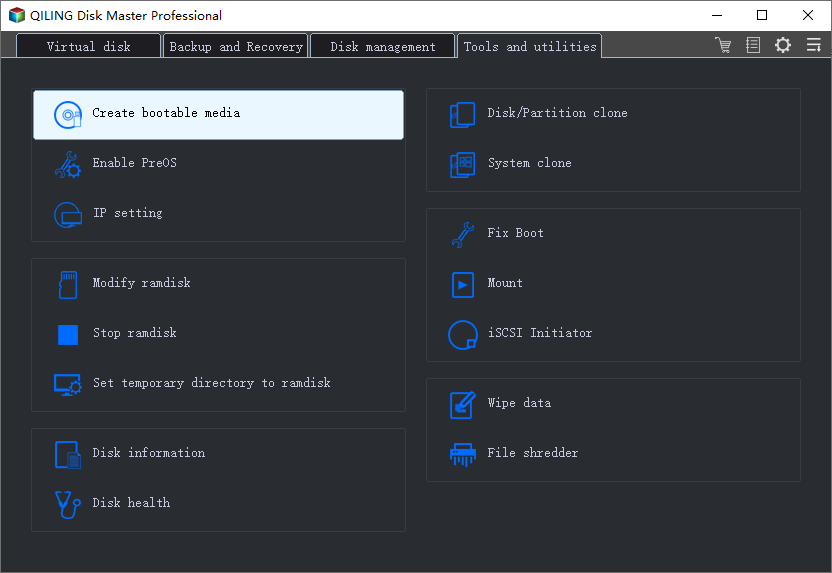
2. Run Qiling Backup and click "Tools > Create bootable media".
3I can add details, clarify points, or make it more concise if needed)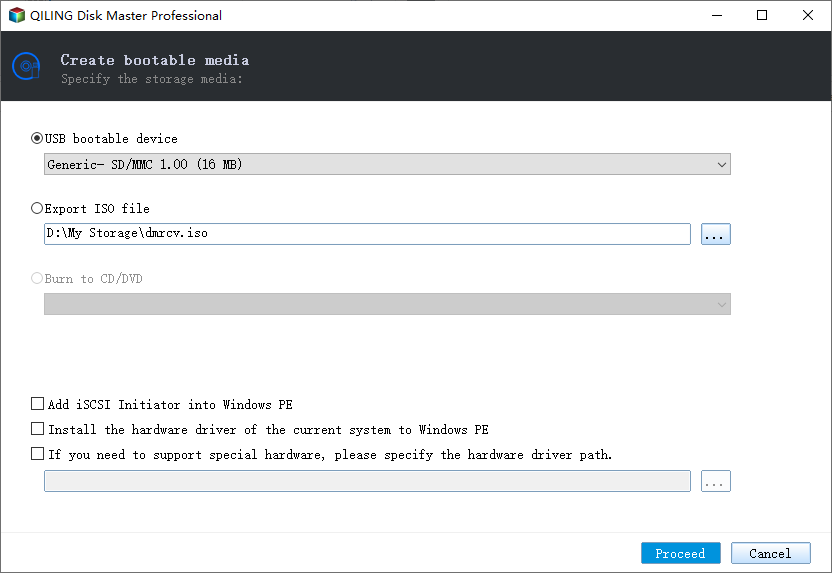 4. Click "Proceed".
Step 2. Create a Windows system image backup for restoring to dissimilar hardware
1. Run Qiling Backup on the healthy computer, click "System backup" on the main page, and create a backup.
2. In Windows, select the operating system and choose the USB flash drive containing the emergency disk as the destination disk to save the system image.
If you're concerned about losing data due to saving the system image on an emergency disk drive, you can also save a system backup on an empty external hard drive with at least 100GB of free space.

To create a full backup of your Windows system and installed programs, applications on your C drive, you can use the built-in Windows Backup feature. This will help you create a full backup of the whole Windows system and all installed programs, applications on your C drive to the selected device.
3. Click"Proceed" to start creating a system backup image to the target device.

Step 3. Boot the dissimilar hardware/computer from Qiling Backup emergency disk disk
1. Connect the USB flash drive or external hard drive containing the emergency disk and system backup image to the new computer.
2. Restart PC and press F2/F8to boot into BIOS.
3. Change the boot drive to the Qiling Backup emergency disk and set the computer to boot from it.
Then you'll enter Qiling Backup main interface.face.
Step 4. Transfer and recover the system to dissimilar hardware or newcomputer
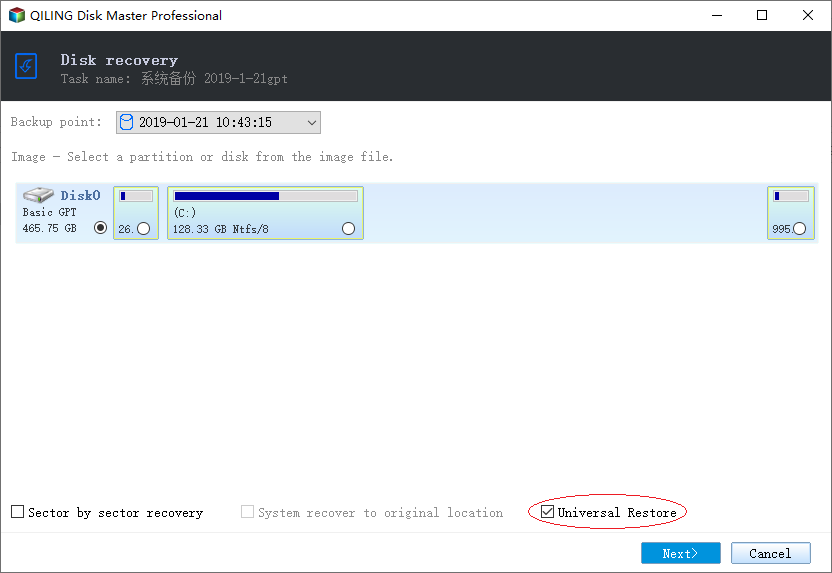
1. On Qiling Backup main window, click "Backup and recovery" > "Recovery".

2. Select the system image on your drive and click "Next" to continue.
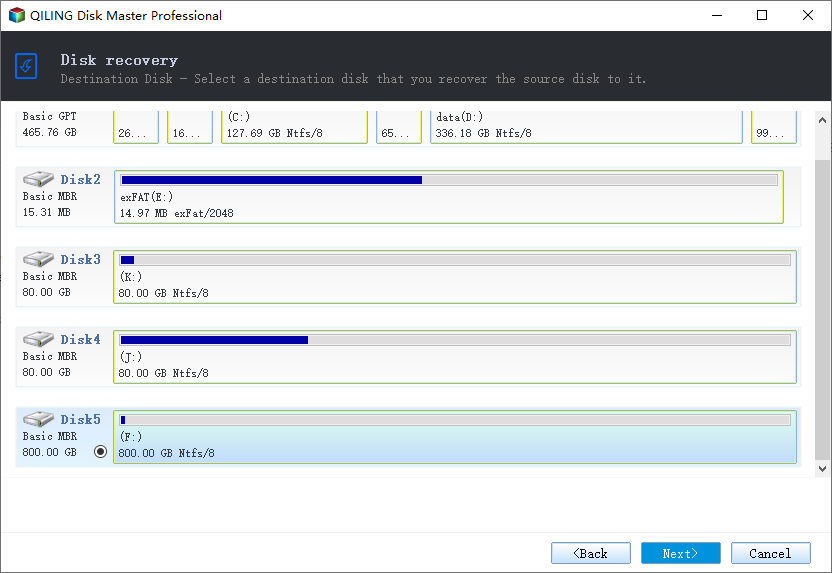
3. Select the target drive on your drive and click "Next" to continue.
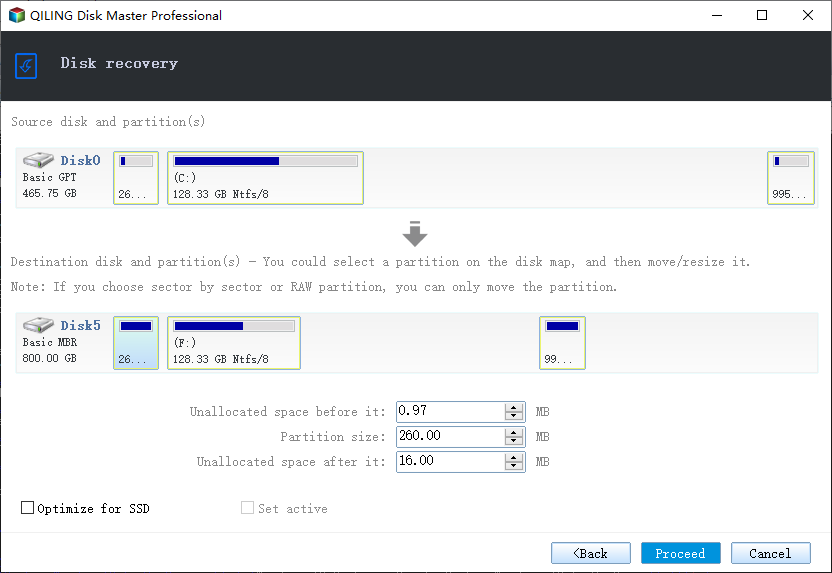
4.You can proceed with the system transfer by clicking "Proceed" to start transferring system and some installed programs from the C: drive on the old hardware computer to the new hardware computer.
Step 5. Restart PC with transferred system
1. To set the computer to boot from the transferred system, you can change the boot sequence in the BIOS settings. This typically involves accessing the BIOS menu by pressing a key such as F2, F12, or Del during startup, navigating to the boot order settings, and selecting the drive containing the transferred system as the primary boot device.
2. Save all changes and restart your computer.
3. To ensure a smooth transition to the new computer, update all drivers for the drives (e.g.
By system transfer, you will no longer receive the "Windows could not complete the installation. To install Windows on this computer, restart the installation." error message after restarting your computer. You'll need to use your own product key to activate Windows if prompted.
Related Articles
- Adobe Illustrator AutoSave, Backup and Protect Illustrator from Crash Error
- Fix Windows 10 Doesn't Recognize or Detect Second Hard Drive Error
- What Is Hard Disk Partition, Everything You Need to Know
- [3 Solutions] Fix Word Not Opening on Mac
- How to Create Clonezilla USB with Rufus (2023 Easy Guide)👍
Let's learn how to create Clonezilla USB with Rufus. This post will provide step-by-step instructions that will help you streamline the process of securing and managing your data. - How to Create Restore Point Automatically (2 Easy Ways!)👍
The advantages of having a system restore point are huge, but many wonder how to create restore point Windows 10 automatically. In this post, we will see how to create one and an easy alternative to get the job done in a few steps.