[3 Solutions] Fix Word Not Opening on Mac
Here are three practical solutions to fix the "Word Not Opening" error on Mac:
| Workable Solutions | Step-by-step Troubleshooting |
|---|---|
| Fix 1. Repair Disk | Open Disk Utility > Select the primary hard disk on Mac and select "First Aid" > Click "Run"...Full steps |
| Fix 2. Remove Word Preference | Open "Library" > Open "Preferences" > Copy com.microsoft.Word.plist file to desktop...Full steps |
| Fix 3. Open and Repair Word | Start Word > Click "Open" on the File menu > Click "Repair" on the Open button...Full steps |
| Fix 4. Recover Lost Word | Run Qiling Mac file recovery software > Scan mac drive > Restore lost Mac word file...Full steps |
Your Word 2016 on Mac won't open due to unexpected closing issue. Try restarting your Mac, then try opening Word again. If it still doesn't work, go to Applications/Utilities/Activity Monitor, find Word and click 'Quit Process', then try opening Word again. If it still doesn't work, go to Applications, right-click on Word, select 'Get Info', and check if the file is damaged. If it is, delete it and reinstall Word. If none of these steps work, try reinstalling Office.
In addition to this situation, most users are also faced with these errors:
- The application Microsoft Word quit unexpectedly
- Microsoft Word has encountered a problem and needs to close
- The message "Microsoft Word cannot be opened because of a problem. Check with the developer to make sure Microsoft Word works with this version of Mac OS X" indicates that there is a compatibility issue between Microsoft Word and the current version of Mac OS X, preventing the application from opening. To resolve this, you would need to check with the developer of Microsoft Word to ensure that it is compatible with the current version of Mac OS X.
Having basic Word troubleshooting skills is essential, especially since it's widely used. If Microsoft Word won't open on your Mac, don't worry - here are three tricks to get you up and running again. These workarounds are applicable to all Word editions, including 2003, 2007, 2010, 2013, and 2016.
1. Run Repair Disk Permissions
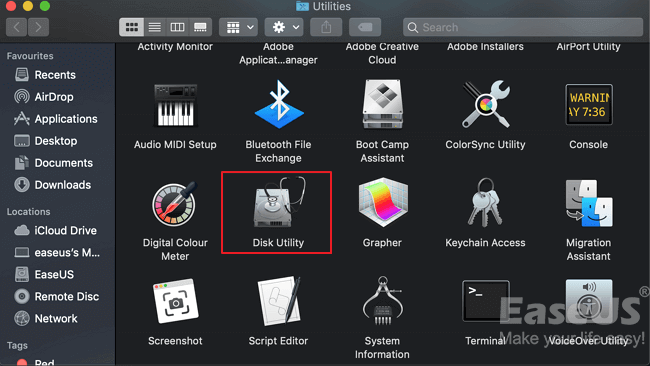
Step 1: On the "Go" menu, click "Utilities", then start the Disk Utility program.
Step 2: Select the primary hard disk drive for your computer, then click the "First Aid" tab.

Step 3: Run the disk utility to repair disk volume errors and permissions, and then click "Done" when it finishes.

2. Remove Word Preferences
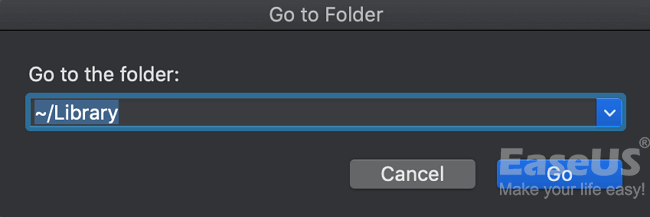
Step 1: To open the Library folder, click "GO" in the top menu bar, select "Go to the folder", and then type ~/Library in the field.
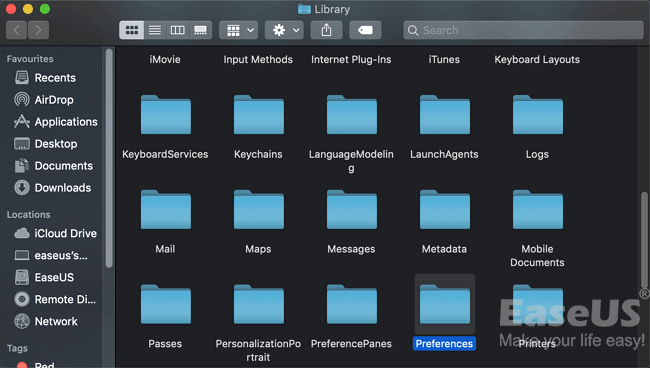
Step 2: Locate a file named as "Preferences".
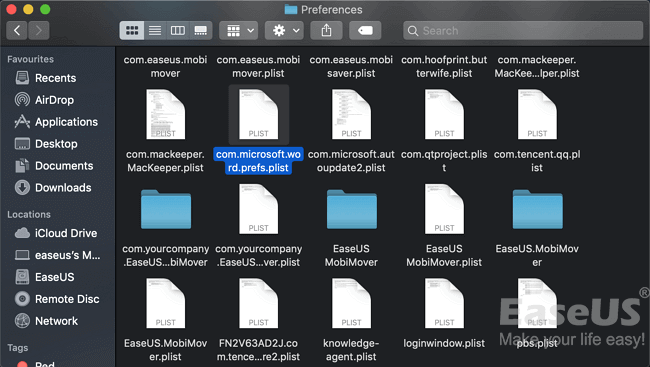
Step 3: To resolve the issue, locate the com.microsoft.Word.plist file and move it to the desktop. This file is likely located in the Library/Preferences folder. Once moved, restart your computer to see if the problem is resolved.
Start Word, and check whether the problem still occurs.
If the problem persists, exit Microsoft Word, and restore the "com.microsoft.word.prefs.plist" file to its original location, then proceed with the next step.
If the problem seems to be resolved, you can move the file to the trash.
Note: If you can't find the file, the program will use its default settings.
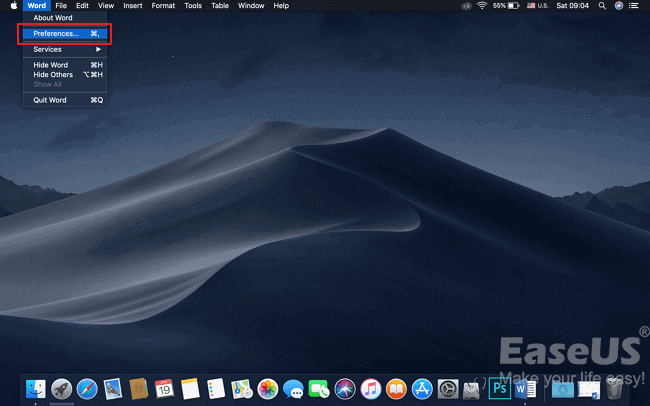
Step 4: To reset Word for Mac, exit all Microsoft Office for Mac programs, then click on the Word icon. From there, click on "Preferences" on the left side.
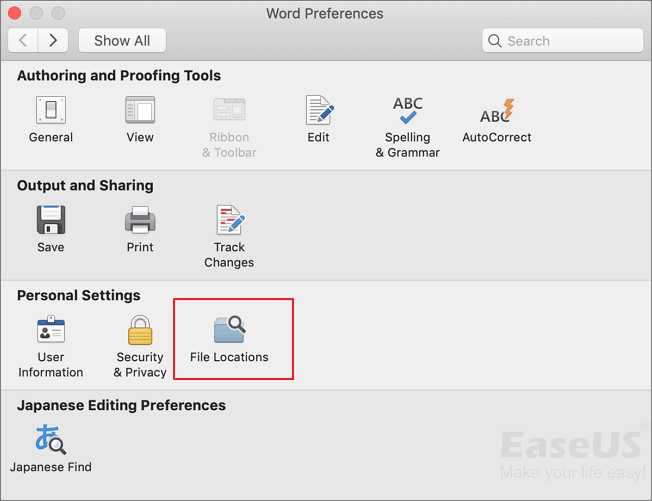
Step 5: Click "File Locations".
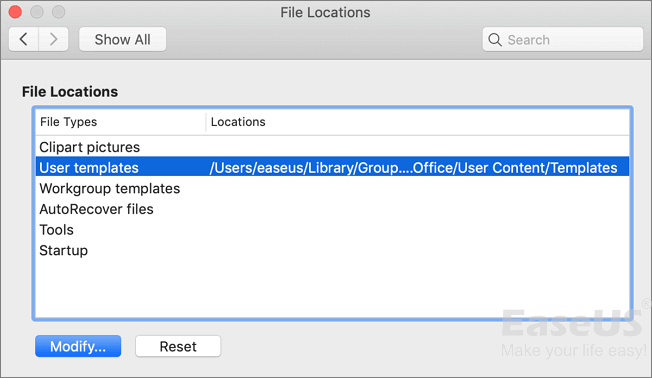
Step 6: Select "User templates".
Step 7:To relocate the "Normal" file, navigate to the directory where it is currently stored, select the file, and then drag it to the desktop, or right-click and choose "Move to" followed by selecting the desktop as the destination. This action will move the file to the desktop.
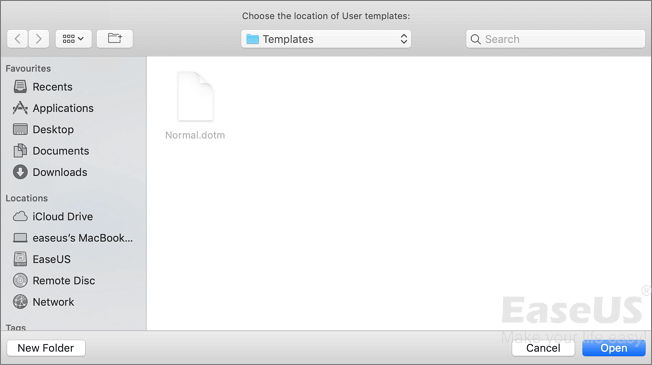
To find the Normal.dotm file, go to "Library" > "Application Support" > "Microsoft" > "Office" > "User Templates" > "Normal".
To troubleshoot the issue, start Word and check if the problem persists. If the problem is resolved, you can move the "Normal.dotm" file to the trash.
3. Try to Open and Repair Word
Step 1: Start Word. On the File menu, click "Open".
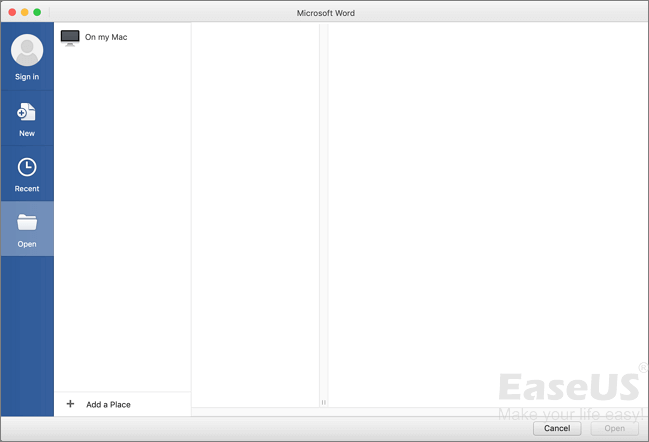
Step 2: In the Open dialog box, select the file you want to open and click the down arrow on the Open button, then select "Open" > "Repair".

Recover Deleted and Missing Word on Mac
If the "Word not opening" issue causes data loss, don't worry - you can recover unsaved Word documents on Mac from its Temporary folder and AutoRecovery save. Alternatively, if you've deleted a Word document, the easiest way to recover it is by using a third-party Mac data recovery software.
Deep Data Recovery for Mac can recover missing, deleted, or lost Word documents due to formatting issues, virus infections, or other user errors. Additionally, the software allows users to preview the recovered files in their entirety, making it a useful tool for recovering Word documents.
Step 1. Select file type, and click the "Next" button.

Step 2. Select the disk location where data was lost, then click the "Scan" button.

Step 3. Deep Data Recovery for Mac will immediately scan your selected disk volume and display the scanning results on the left pane.

Step 4. Select the desired file(s) from the scan results and click the "Recover" button to retrieve them.
Related Articles
- Restore Deleted/Crashed Notepad ++ Files from Backup
- Solved: Getting Files Ready for Installation Stuck at 0%, 1%, 10%, 100%
- Fix: Windows 10 Update Stuck Checking for Updates
- How to Fix Smart Failure Predicted on Hard Disk 0, 2, 4
- Is TotalAV a Good Antivirus? (2024 Ultimate Review)🔥
Thinking about “Is TotalAV a good antivirus?” This article provides a detailed review of TotalAV, covering its features, pros, and cons, to help you decide if it's the right choice for you. - Microsoft Surface Factory Reset Without Password or Recovery Key
If you need to perform a factory reset on your Microsoft Surface device but have forgotten your password or can't access your recovery key, don't worry - this guide has can help. Three effective methods are outlined to help you reset your Surface device without needing a password or recovery key, making it easier to get back to a clean slate.