Windows To Go Creator for Windows 10/8/7
What's Windows To Go
- From Wikipedia, the free encyclopedia
Windows To Go is a feature in Windows 8.1 Enterprise, Windows 8 Enterprise, Windows 10 Enterprise, and Windows 10 Education that allows these operating systems to boot and run from certified USB devices, such as flash drives and external hard drives, creating a fully manageable corporate Windows environment.
According to Wiki, Windows To Go allows users to take a portable, imaged version of Windows anywhere on any compatible device, providing a solution for Windows startup issues on non-functional PCs.
Unfortunately, the Windows To Go feature is only available in Windows 10 Education and Windows 8/8.1/10 Enterprise, limiting its use to specific editions. However, users outside of these editions can still create a bootable USB drive with their own Windows installation, albeit without the Windows To Go feature. This alternative approach allows users to enjoy the convenience of a portable Windows installation, even if they are not on a supported edition.
It's possible to create a Windows To Go drive on a USB drive, either by using the Diskpart command line or by utilizing a third-party Windows To Go creator.
The Best Windows To Go Creator for Windows 10/8.1/8/7
Qiling Backup is a Windows backup software that also serves as USB bootable software and a disk/partition clone utility. It allows you to migrate your OS to a new drive, including all its configuration, and also enables you to create a portable Windows USB drive using its system clone feature.
To create a Windows To Go bootable USB drive, follow this guide.
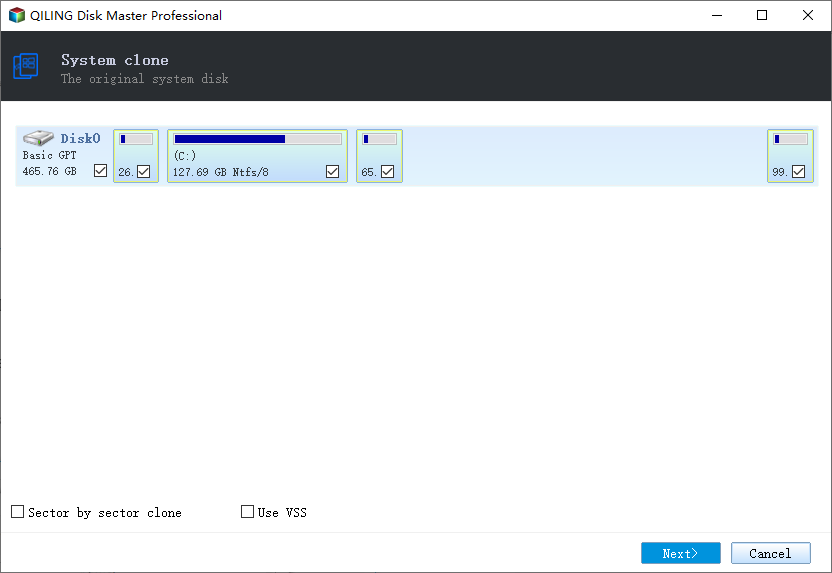
Step 1. Insert your USB flash drive into a Windows computer. Launch Qiling Backup and click System Clone.

Step 2. The current system (Windows 10) partition and boot partition will be automatically selected and click "Next".
Step 3. The process involves selecting the USB drive as the destination disk for cloning the system disk, ensuring the USB drive is larger than the source disk, and then clicking the Next button.

Step 4. Edit the disk layout and then click "Proceed" to continue external hard drive cloning.

A message now appears, warning you that data will be lost. Please confirm this message by clicking "OK".
Step 5. Now the system disk containing your personalized operating system and boot files will be imaged to the USB flash drive.
Related Articles
- Create Bootable USB Without Any Software Using CMD
- How to Backup Data without Booting into Windows
- Free Windows 10/8/7 Incremental Backup
- How to Move/Clone Windows 10 Hard Drive to A New Computer Easily
- [Get it now!] Super Fast Disk Cloning/Copying Software
- 2 Tips | How to Backup Firefox History on Windows 11/10/8/7
Do you know how to backup Firefox history? If you do not know, you are on the right page. This article will share 2 ways to help you back up history in Firefox. After reading this article, you can choose any way to back up Firefox history on your Windows computer.