2 Tips | How to Backup Firefox History on Windows 11/10/8/7
Firefox is a fast and secure web browser developed by Mozilla, available for Windows, macOS, and Linux, and offered for free.
As you browse the Web with Firefox, the browser remembers various information such as visited sites, downloaded files, and more, which is collectively known as your history in Firefox. This article will guide you on how to back up your Firefox history in two different ways, highlighting the importance of doing so.
The Importance of Backing up Firefox History
When using Firefox, one of the world's most popular web browsers, you'll likely encounter various websites that catch your attention, prompting you to bookmark them for future reference or use.
We often forget to bookmark websites, making them difficult to find when we need them again unless we can recall the site address. However, browsing history can come to our rescue, allowing us to easily locate previously visited sites using date and keyword filters.
Accordingly, it would be best to back up Firefox's browsing history under such circumstances. This post will show you two feasible ways and step-by-step guides to back up Firefox history. Please keep reading.
2 Ways to Backup History in Firefox on Windows PC
If you can't use Firefox's built-in feature to back up your browsing history, there are other methods to try. On Windows computers, two simple and popular methods can help you back up your history in Firefox.
Before diving into the specifics, let's weigh the pros and cons of each approach to help you choose the one that suits your needs.
| Solutions | Pros | Cons |
|---|---|---|
| Backup Firefox History via Professional Backup Software |
|
|
| Backup Firefox History with File History |
|
|
Method 1. Backup Firefox History via Professional Backup Software
Firefox saves your history and bookmarks in a database file called places.sqlite, which is in your profile folder. You can back up this file folder using professional backup software, and Qiling Disk Master is a useful tool for this purpose.
- Tip
- Some common locations of Firefox history.
- C:\Users\%USERNAME%\AppData\Roaming\Mozilla\Firefox\Profiles\
- C:\Users\%USERNAME%\AppData\Local\Mozilla\Firefox\Profiles\cache2
- To open the Run dialog box, press the Windows key + R keys together. In the Run dialog box, type the following path and press Enter to open your Firefox profile folder:
- %APPDATA%\Mozilla\Firefox\Profiles\
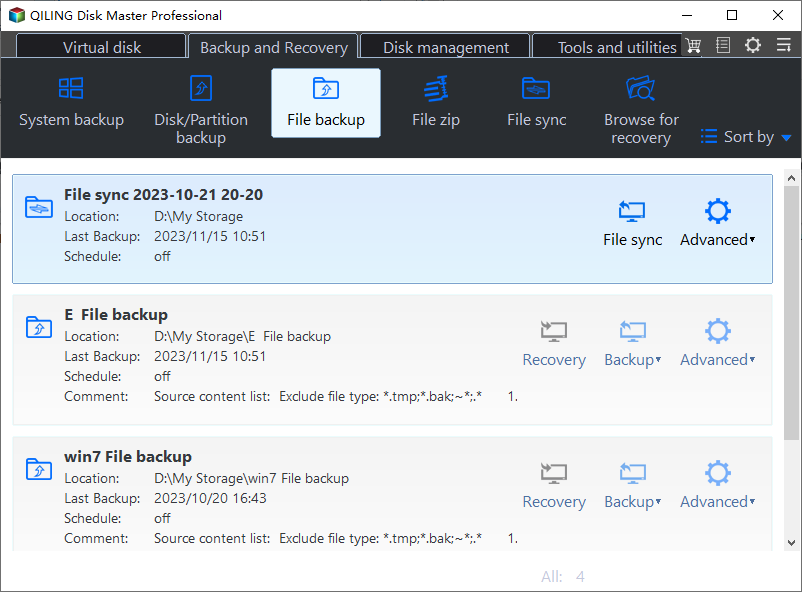
Qiling Disk Master Pro is a professional backup and restore utility for Windows that allows automatic backups of files, disks, systems, and more to various locations, including local drives, NAS, and Cloud, with features such as scheduled, full, incremental, and differential backups, as well as creating ISO images and offering 250G free Cloud storage.
To create a backup of your Firefox history, you can use a powerful file backup software after locating the Firefox history file location. Simply follow the steps to backup your Firefox history.
Step 1. Click the "Select backup contents" button to begin the backup process.

Step 2. There are four main categories of data backup: File, Disk, OS, and Mail. Each category focuses on preserving different types of data, whether it's individual files, entire hard drives, operating systems, or email accounts.
Step 3. On the left side of the screen, lists of both local and network files are displayed, allowing you to expand the directory and select the files to back up.
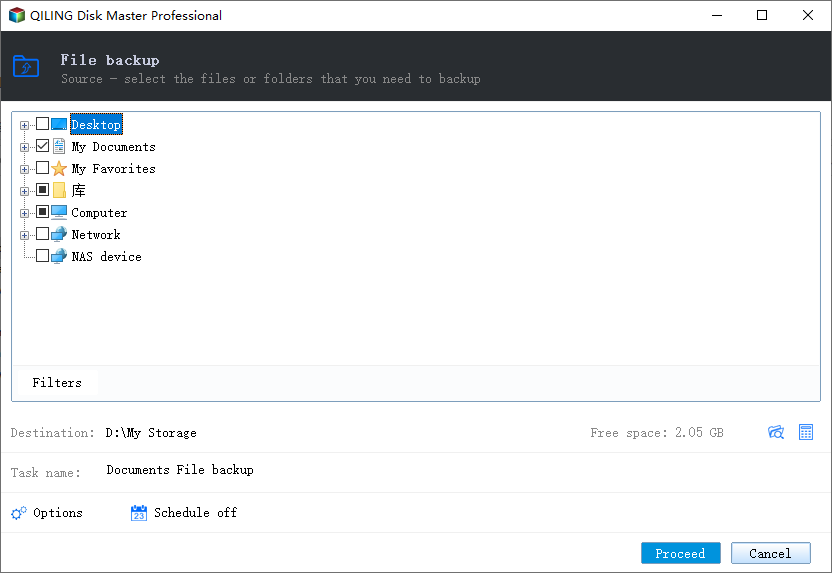
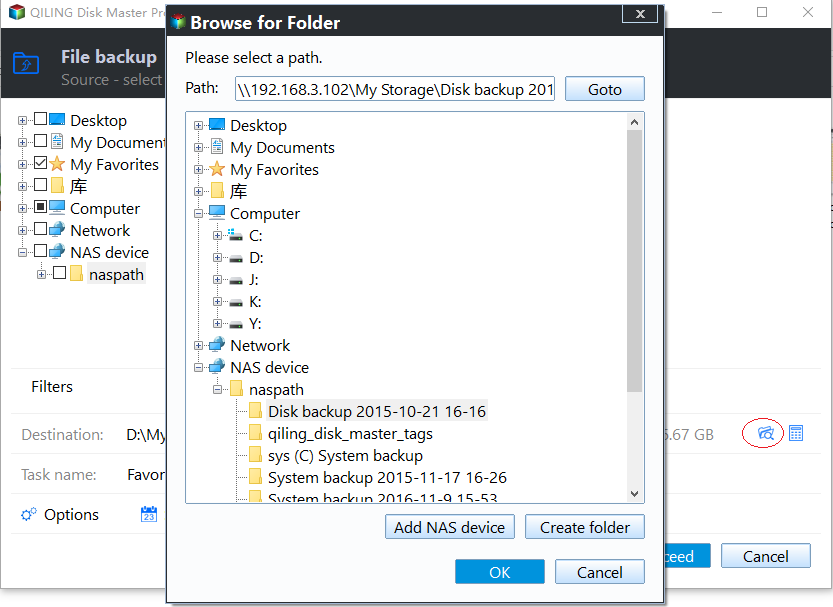
Step 4. Follow the guidance on the screen and choose the place where you want to store the back up.
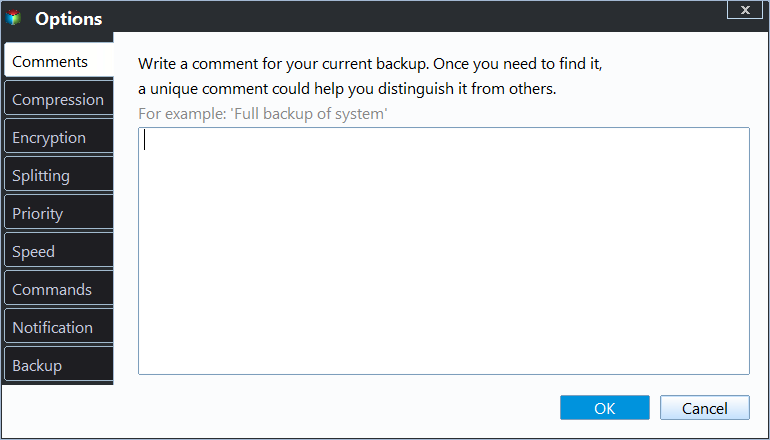
To set up your backup, make sure to encrypt it and schedule it by clicking "Options" in the "Backup Options" section. You can also choose to start the backup at a specific time by selecting "Backup Scheme" and clicking "Options" for further customization.
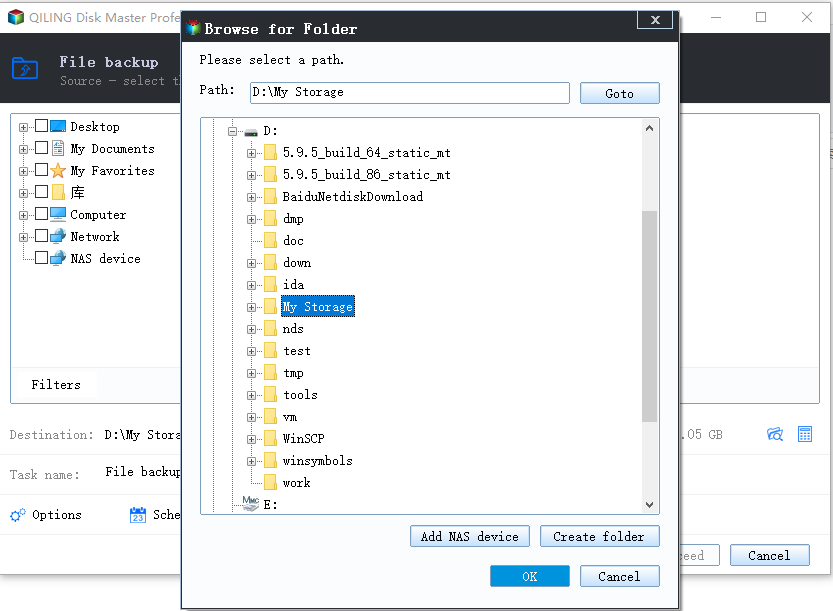
Step 5. You can store the backup file on your computer, in Qiling's cloud service, or on a network-attached storage device (NAS).
Step 6. Qiling Disk Master allows customers to store backup copies of their files on a third-party cloud drive or the company's own cloud storage.
To back up data on a third-party cloud drive, select Local Drive and scroll down to add Cloud Device, then fill in your account information.
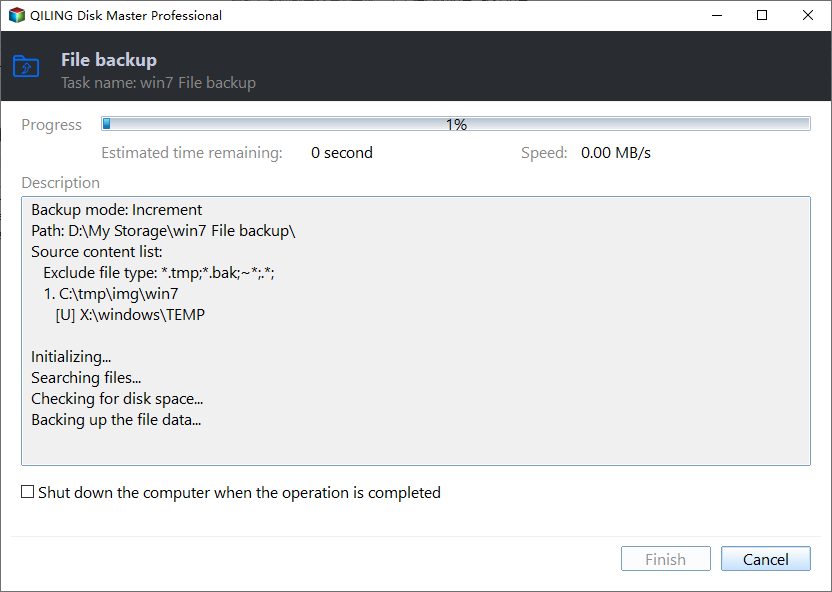
Step 7. Click on Proceed to start a backup, and once it's done, the backup job will appear as a card on the left side of the screen. You can right-click on the card to view additional details and manage the backup job further.
Method 2. Backup Firefox History with File History
To back up Firefox history using File History, you can follow these steps: File History is a built-in Windows backup program that allows you to back up personal files and folders, including the places.sqlite file that stores Firefox's browsing history, bookmarks, and favorite icons. You can enable File History and set it to back up your Firefox data, including the places.sqlite file, to an external drive or network location. This way, you can easily restore your Firefox history and other data in case of a system failure or other issues.
Step 1. To backup your PC using File History, first, connect an external drive to your computer. Next, navigate to System > Storage > Advanced storage settings and select Backup Options. This will allow you to use File History for backing up your files.
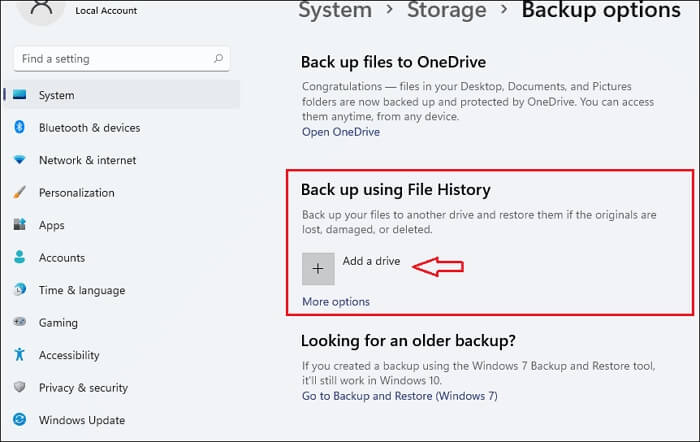
Step 2. Under "Automatically back up my files," click "On".
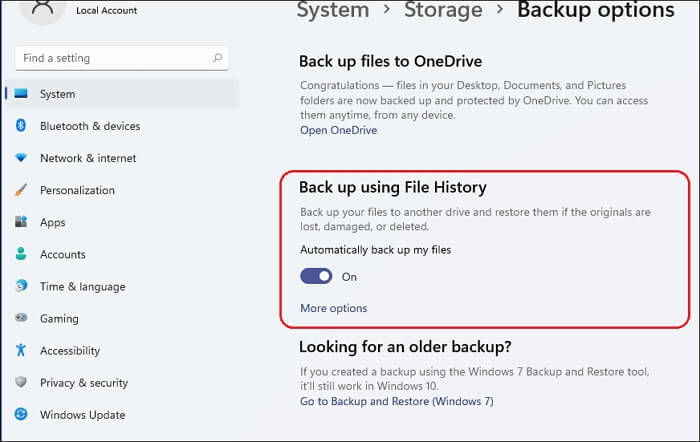
Step 3. Click on "More options" to customize the backup options.
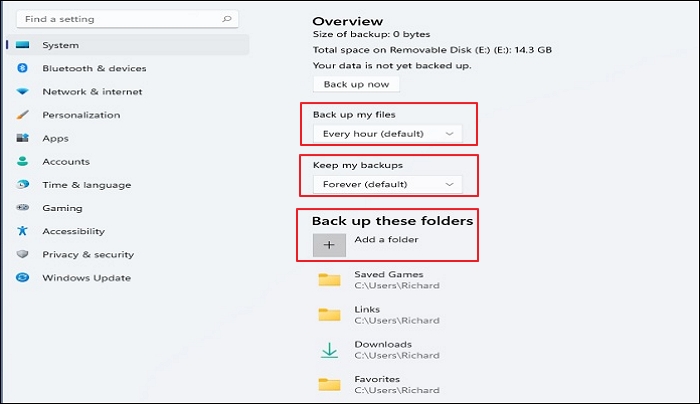
Step 4. Click on "back up now" and File History will back up files to the external drive connected to the computer.
The Bottom Line
To back up Firefox history, you can use professional backup software like Qiling Disk Master, or the built-in File History feature. Among these options, I recommend using Qiling Disk Master for its reliability and effectiveness in backing up your Firefox history.
Qiling Disk Master Pro - This software allows you to automatically back up Firefox history files and restore the backup when needed, and also enables you to compress backups to save space. Additionally, it allows you to install Windows on a new SSD without a USB drive.
FAQs
1. Where is browser history stored?
Most widely used browsers maintain a log of the browsing history in the SQLite database, which contains the title of the page, URL, time visited, and number of times accessed.
2. How long does Firefox keep history?
Only the most recent 30 days of browsing history are synced, and synced tabs are lost after 7 days, with synced history only valid for 60 days.
3. How do I see Firefox cache memory?
To view Cache in Firefox on your computer, simply open Firefox, type "about:cache" in the search box, and press Enter. This will display the entire cache file on your drive.
4. How do I transfer Firefox history to another computer?
To transfer Firefox data to a new laptop, sign out of Firefox on your synced computer, log into your Firefox account on the new laptop, and let data download. You can also export bookmarks or passwords to a file and import them on the new laptop by copying the file.
Related Articles
- How to Backup Office 365 Emails - Top 2 Methods of 2023
- Automatically Copy Files from One Folder to Another
- For Beginner's: Put a Windows 11 PC to Sleep
- Can You Reinstall Windows Without Losing Programs (Check the Answer!)
- Comparison: Should You Backup to Cloud or Hard Drive
- Windows 10 Game Save File Location🔥All You Want to Know
Finding save files in Windows 10 can be a challenge. This article will explain how different games store these files in different location. We will also explore these various save file locations and help you find the game files you need.