How to Replace M.2 SSD in PC [Works on Windows 11/10/8/7]
If you're looking for a detailed guide to replacing your M.2 SSD, you've come to the right place. This guide from Qiling provides a seamless upgrade process that allows you to replace your M.2 SSD without reinstalling Windows, using the easiest disk cloning tool available.
Key Takeaways
- ✅Replacing an M.2 SSD is a smart move to boost storage capacity and speed up system boot times.
- ✅Cloning data from an old M.2 SSD to a new one ensures that all data are copied, eliminating the need to reinstall Windows from scratch. This process allows for a seamless transition to the new drive, preserving all files, settings, and applications.
- ✅Qiling Disk Copy is the best SSD cloning software that allows you to upgrade your SSD with ease, requiring only a few clicks, and ensures safe booting from the new SSD.
Replacing or upgrading to an M.2 SSD is necessary to maximize your PC's performance and storage capacity, allowing you to increase storage capacity, improve system responsiveness and boot speed, or replace a failing drive.
Preparation Before M.2 SSD Replacing
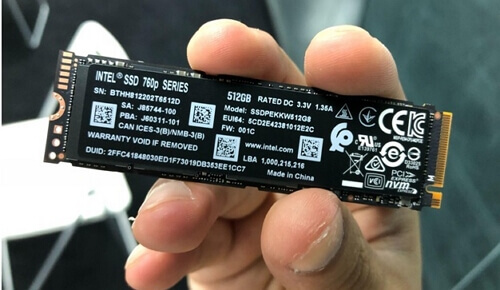
#️⃣Choose an M.2 SSD
M.2 SSDs come in two types: SATA M.2 SSDs and NVMe M.2 SSDs, differing in interface, speed, and price. Before replacing, it's essential to distinguish between them to choose the right SSD for your needs.
| 💾M.2 SATA SSD | 💾M.2 NVMe SSD | |
| 🖼️Interface | SATA | PCIe |
| ⏰Speed | a bit slower | a bit faster |
| 🕹️General performance | medium | excellent |
| 🎮Gaming performance | quick | high-speed |
| 🎗️Suitable for | Those who have a limited budget | Those who have enough budget |
#️⃣Select a disk cloning tool and clone data to the new M.2 SSD
A disk cloning software can duplicate the original M.2 SSD, allowing you to replace and upgrade the M.2 SSD without reinstalling the Windows OS, settings, or applications.
It's unfortunate that Windows OS doesn't have a built-in disk cloning utility, making it essential to find a reliable and effective SSD cloning tool for SSD replacement. Fortunately, Qiling Disk Copy is a robust disk cloning tool that can help you clone and move all data from the old M.2 SSD to the new one, making it a perfect choice for this task.
- Clone smaller SSD to larger SSD, and vice versa.
- This software is compatible with a wide range of storage devices, including M.2 SSDs, SATA SSDs, NVMe SSDs, general SSDs, and hard disk drives (HDDs), among others.
- Support cloning with bad sectors.
- Support sector-by-sector cloning to copy only used space.
- Eliminate the SSD formatting step to save time and effort.
- Both Disk mode and partition mode.
- Clone HDD to M.2 SSD.
- The system automatically detects and monitors the source and target disk sizes, then adjusts the partition accordingly to ensure optimal performance and compatibility.
Now download it and get prepared to start the M.2 SSD replacement.
Qiling Disk Copy is a straightforward tool that completes the disk cloning process with just a few clicks. Before cloning, connect the new M.2 SSD to your computer or laptop using a SATA to USB cable or an adaptor, ensuring it is recognized by the system.
Prior Notice:
- The "Sector by sector copy" feature in cloning a hard disk requires the destination disk to be at least as large as the source disk, making it impossible to clone a larger disk to a smaller one. If you want to clone a larger disk to a smaller one, this feature should be left unchecked.
- The destination disk will be completely erased, so take care.
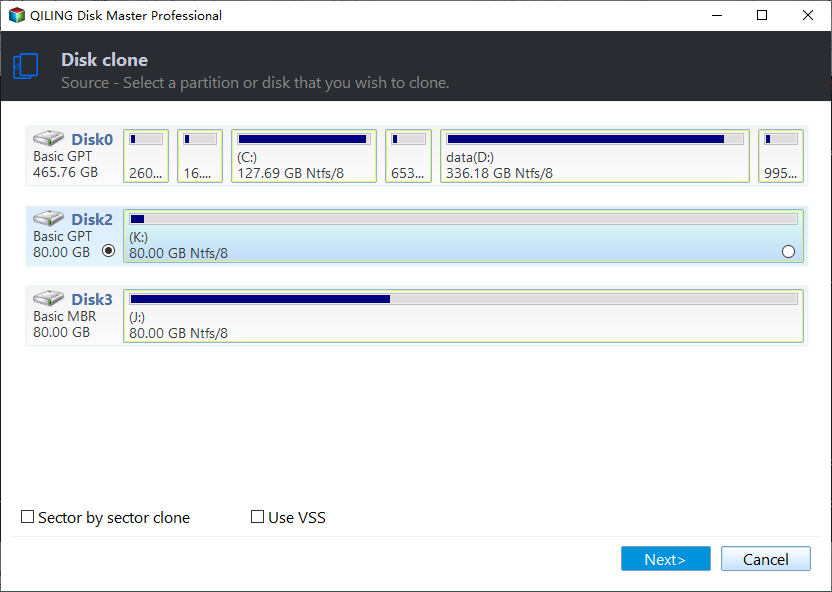
Step 1. To start copying or cloning an entire disk to another, select the disk you want to copy as the source disk under "Disk Mode" and click "Next".
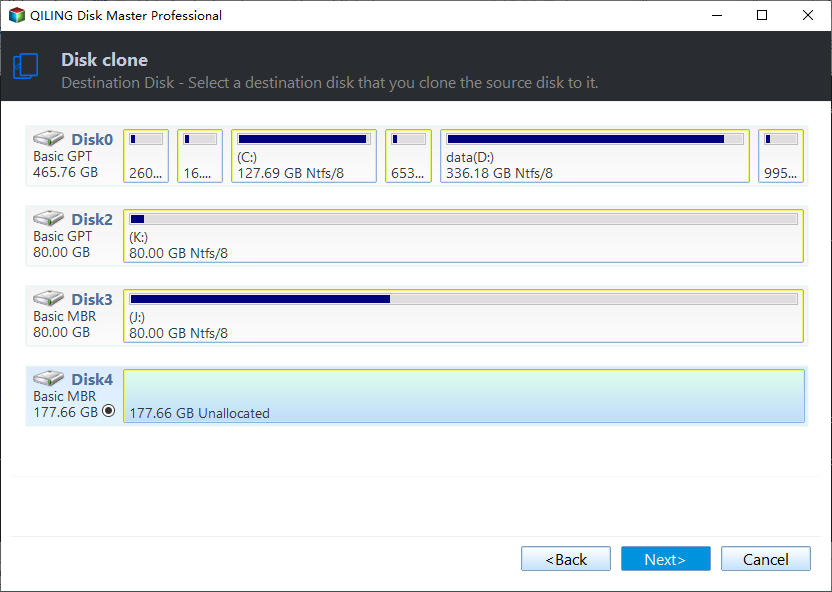
Step 2. Choose the other disk as the destination disk.
Step 3. To check and manage the disk layout, you can either drag the disk to change its position or edit the position and size of the disk. This will allow you to configure the disk layout of the destination disk as needed.
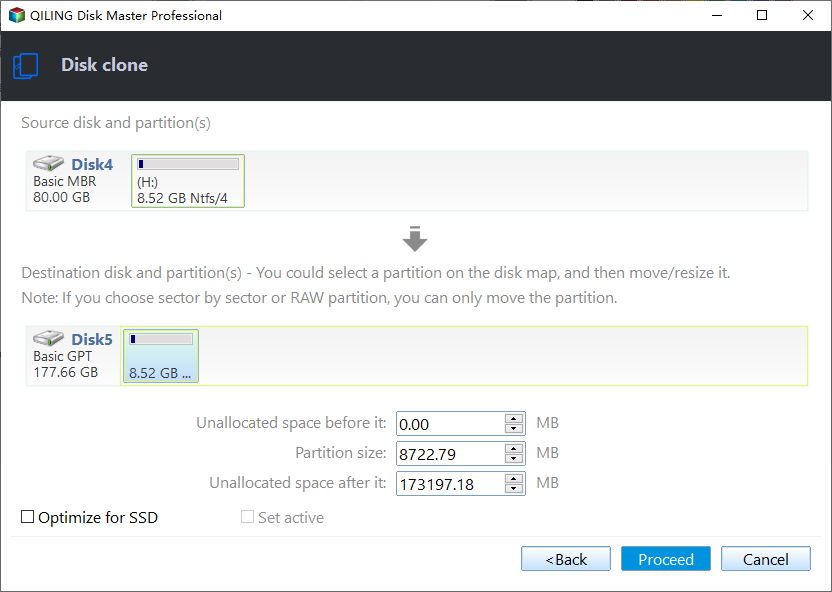
To optimize your SSD's performance, select the "Check the option if the target is SSD" option. This will allow your SSD to operate at its best.
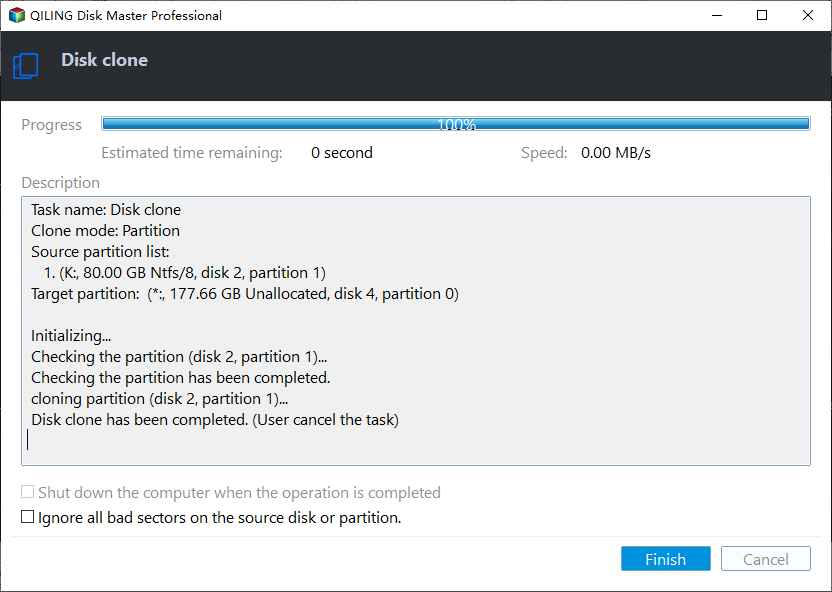
Step 4. Click "Proceed" to officially execute the task.
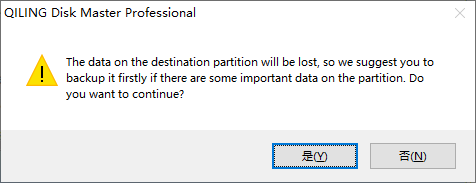
A message now appears, warning you that data will be lost. Please confirm this message by clicking "OK".
📖Also Read: Clone M.2 SSD with Only One Slot | Clone M.2 SSD to Larger M.2 SSD
If you're looking for a way to share this post on your social media platforms, you can simply copy and paste the link or the content of this post into your preferred platform's sharing feature. This way, you can quickly and easily share the useful information with your friends and followers.
How to Replace M.2 SSD: Step-by-Step Guide
Replacing an M.2 SSD is a straightforward process that involves seven simple steps. After preparing the necessary tools and materials, such as a screwdriver, Torx driver, and thermal tape, you can proceed with the installation. This includes removing the old SSD, disconnecting any cables, and releasing any clips or screws that hold it in place.
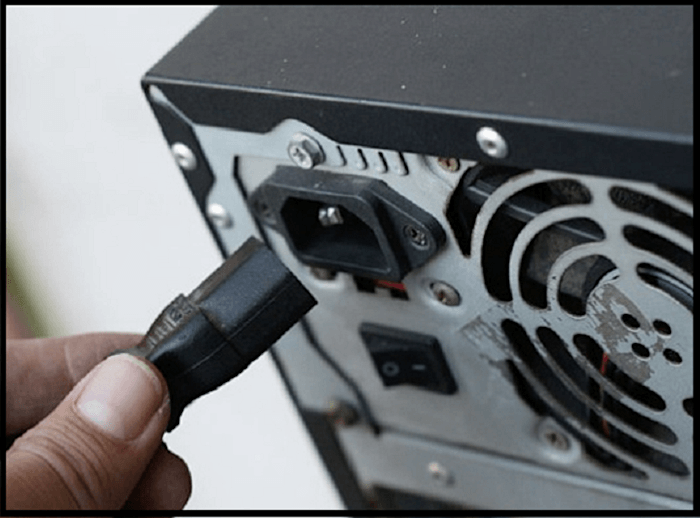
Step 1️⃣. Shut down your computer and disconnect the power cable.
You need to ensure that the operation is performed in a safe environment.
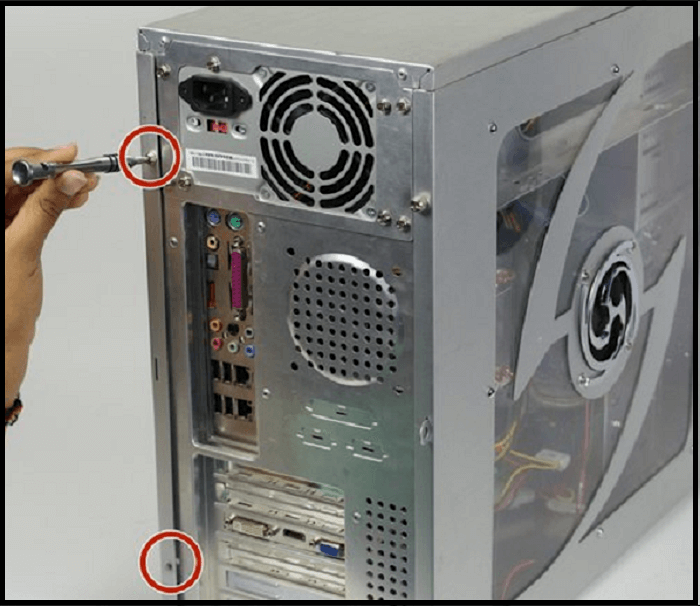
Step 2️⃣. Open the case of your desktop.
To open the desktop case or the laptop's backup cover, use a screwdriver. The process may differ depending on your specific desktop model, so check the user manual or manufacturer's website for guidance on how to open it.
Step 3️⃣. Find the motherboard and locate the M.2 slot on your motherboard.
The M.2 slot is a small slot on a motherboard that is specifically designed for M.2 SSDs. To identify the exact location and specifications of the M.2 slot, you can refer to your motherboard's manual.
Step 4️⃣. Remove the original M.2 SSD.
To remove an SSD from a motherboard, you may need to unscrew a retention screw or release a clip, depending on the motherboard design. Once the SSD is free, gently pull it out of its slot.
Step 5️⃣. Install the new SSD, and make sure it is fully seated.
- Attach any heatsinks or thermal pads that came with the SSD, if necessary, to aid in heat dissipation and performance.
- Align the SSD's notches with the slot and gently insert it at an angle, using light pressure to fully seat it, avoiding any forceful pushes.
- If the SSD has a retention screw, tighten it to secure the drive in place, but avoid overtightening.
Step 6️⃣. Close the case of your computer and reconnect all cables.
To restart your computer, use a screwdriver to close the case or the back cover, then reconnect all cables and turn it back on.
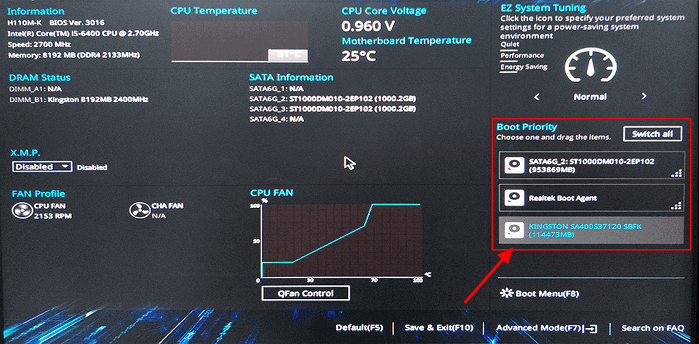
Step 7️⃣. Enter the BIOS settings to change the boot order.
To successfully boot from a cloned M.2 SSD, press F2/F8/Del key to enter the BIOS settings while restarting. Then, navigate to the boot settings and ensure the new M.2 SSD is recognized as a bootable device. Save the changes and exit the BIOS settings, and your computer will boot from the new cloned M.2 SSD.
🚩Further Reading: Can I Upgrade SSD to M.2 Without Reinstalling OS?
🎬Watch this video tutorial to replace an M.2 SSD
Replacing an M.2 SSD is a great way to boost your computer's performance and increase storage capacity. By following the steps above, you can complete the replacement with ease.
The Final Words
Replacing an M.2 SSD in your PC is a great way to boost your computer's performance and increase storage, effectively speeding up your system. Upgrading an M.2 SSD involves seven simple steps that can be easily followed, making it a great option for those looking to replace their hard drive and upgrade to a faster storage solution.
Qiling Disk Copy, which supports migrating all data from one M.2 SSD to another, allowing you to upgrade your M.2 SSD without losing data or reinstalling Windows OS. It's a convenient solution that you shouldn't miss, so download it and give it a try.
FAQs on How to Replace M.2 SSD in PC
1. Can I replace SSD myself?
Replacing an SSD by yourself is a feasible task if you follow these steps carefully. First, ensure you have the correct tools and a compatible replacement SSD.
- If you don't want to reinstall Windows OS, clone the old SSD to the new SSD.
- Shut down your computer and disconnect the power cable.
- To access the SSD slot on the motherboard, you will need to open the computer case using a screwdriver. Once the case is open, locate the motherboard, which is usually a large circuit board inside the case.
- Remove the original SSD.
- Install the new SSD, ensuring it's fully seated, and then proceed with the next steps.
- Close the case of your computer and reconnect all cables.
- To change the boot order, you'll need to restart your PC and enter the BIOS settings. Typically, you can do this by pressing a specific key (such as F2, F12, or Del) as soon as your PC starts booting up.
- Set the new cloned SSD as the boot drive and save settings.
- Your PC will run Windows on the new SSD currently.
2. Will I lose my files if I replace my SSD?
Replacing an SSD will result in data loss if data is saved on it, as the data will be erased when the drive is removed from the computer. To avoid this, it's recommended to clone or back up the data to another location before replacing the SSD. This ensures that the data is safely transferred and can be restored to the new drive.
3. Do I need to format a new SSD?
When installing a new SSD, formatting it is necessary in case of errors to ensure compatibility with your operating system. However, if you want to save time, you can use Qiling Disk Copy to clone the disk while bypassing the formatting step, resulting in a successful disk cloning.
Was this page helpful? Your support is truly important to us!
Qiling Disk Copy
Qiling Disk Copy is a user-friendly tool for cloning and migrating HDD/SSD disks, ideal for quickly and easily transferring an existing system disk to a new disk or SSD with minimal configuration required.
Related Articles
- How to Clone Windows OS from HDD/SSD to M.2 SSD
- How to Clone Windows 7 System With Clonezilla & Alternative
- Samsung SSD Clone Not Booting - How to Fix 🔥
- How to Clone a Drive (HDD/SSD) with Bad Sectors
- How to Migrate OS from MBR Disk to GPT SSD or HDD? (Bootable)
If you want to migrate OS from MBR disk to GPT SSD or HDD, here you can learn the simplest way to move OS from MBR to GPT disk without reinstalling everything from scratch. - Migrate OS from One SSD to Another with Professional Software
This article will show you how to migrate os in Windows from one SSD to another in a convenient and fast way.