Ways to Remove Green Check Mark on Desktop Icons
The green check marks on desktop icons are a visual indicator that your files and folders are backed up on OneDrive. This means that the marked files and folders have been uploaded to the cloud storage service and are available for you to access from anywhere. The green check marks do not pose any harm to your system and are simply a confirmation that your data is safely stored on OneDrive. If you're concerned about the marks, you can remove them by unmarking the files and folders for backup on OneDrive. However, this will not delete the files or folders themselves, but rather remove the visual indicator of their backup status.
Microsoft's OneDrive allows users to store and access their data from anywhere, regardless of the device or location, by backing up their desktop icons with green marks, indicating they are online.
The green dot typically indicates that a user is online and active on social media, work-related platforms, and even Microsoft OneDrive.
Why Do Desktop Icons Have Check Marks
The check marks on desktop icons indicate that the apps or files are backed up on the OneDrive Cloud, allowing for access from anywhere and easy transfer to other PCs.
OneDrive's check marks signify different types of backups, including synced, locally stored, and cloud-based backups, each with its own set of benefits and implications for data management and security.
- Green Outline checkmark: The desktop icon is essentially an online file that is not available offline, but can be downloaded when needed.
- Solid Green Checkmark: The file can be accessed offline and downloaded on the device, which might take up space on the device.
- Blue Mark: A blue checkmark on a file indicates that it is being downloaded or uploaded, and if present, it means the file is being uploaded to OneDrive.
- Red Mark: The Red Mark on OneDrive indicates a problem with uploading, likely caused by poor internet, improper synchronization, or syncing issues.
To know if we can remove the green check mark on desktop icons, the answer is yes. Let's look at the ways to remove them.
Get Rid of the Checkmark on My Desktop Icons
We have discussed four ways to remove the green checkmark on desktop icons:
- 1. Disable OneDrive on your device
- 2. Stop the OneDrive Sync
- 3. Rebuild new icon cache
- 4. Use Free Up Space feature
Disable OneDrive on your Device
To avoid the checkmarks appearing on icons, you can disable OneDrive. This will prevent the issue from occurring.
- Notice:
- If you disable OneDrive, it will no longer upload your files to the cloud.
Step 1. Open the system tray and click on the OneDrive icon.
Step 2. Navigate to settings.

Step 3. Click on Quit Drive to disable the feature.
Stop the OneDrive sync
OneDrive syncs with your device to upload files, but you can stop this by disabling the sync feature.
Step 1. Locate OneDrive on your system and open it.
Step 2. Navigate to settings.
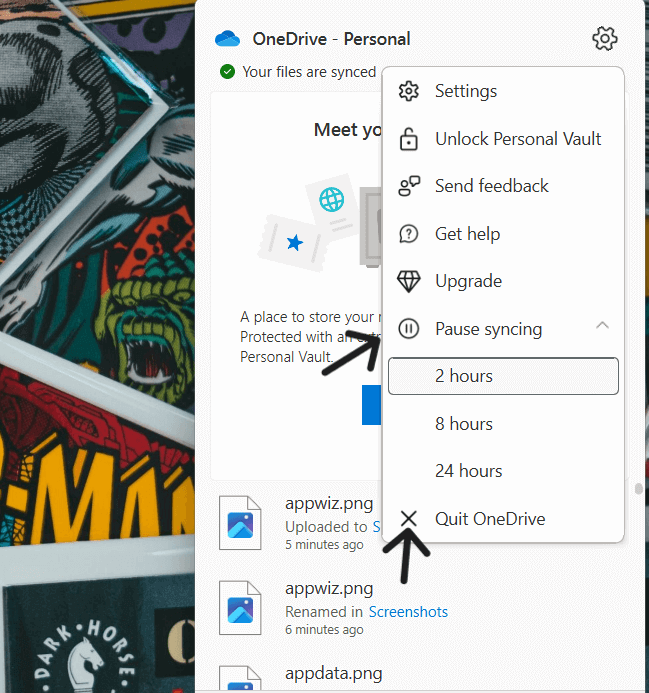
Step 3. Check "Pause Syncing" and select a timeframe.
Rebuild New Icon Cache
If the green check marks are still visible on desktop icons after trying the previous fixes, rebuilding the icon cache can be a solution. The Windows OS stores copies of all desktop icons in an icon cache.
Steps to build new icon cache:
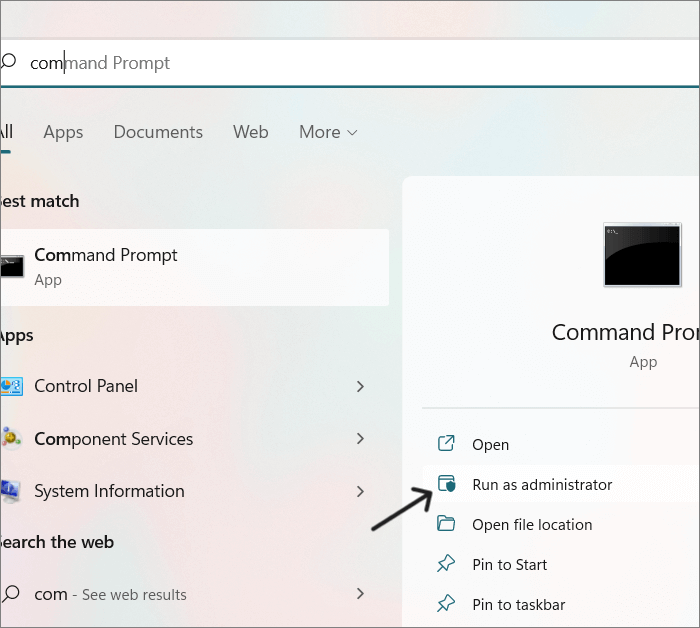
Step 1. To open the Command Prompt, search for "cmd" and select the top result. Then, right-click on the Command Prompt icon and select "Run as administrator" from the context menu. This will open the Command Prompt with elevated privileges.
Step 2. 1. Open a new Google Chrome browser window.
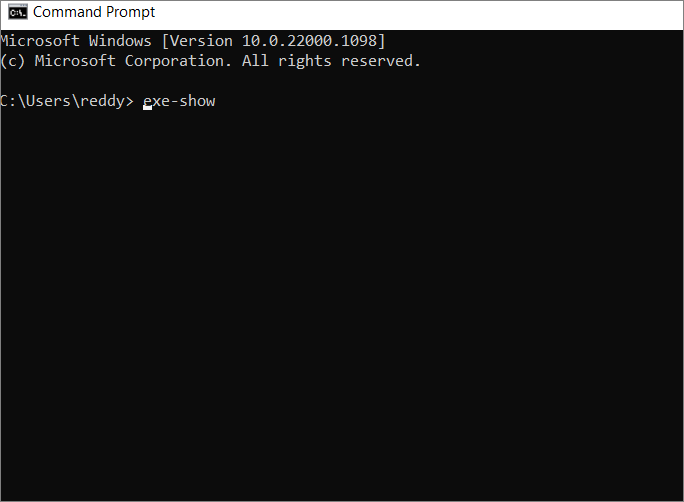
exe-show
taskkill /IM explorer.exe /F (note:- your desktop will go blank)
DEL /A /Q "%localappdata%\IconCache.db"
DEL /A /F /Q "%localappdata%\Microsoft\Windows\Explorer\iconcache*"
Shutdown /p
Step 3. Your PC will automatically shut down and restart again after a few seconds.
Use Free up Space Feature
OneDrive's "Free Up Space" feature helps clean copied files, removing green marks from desktop icons. However, removing files from the desktop won't affect the parent files, but you'll need to manually search and open them each time you use them.
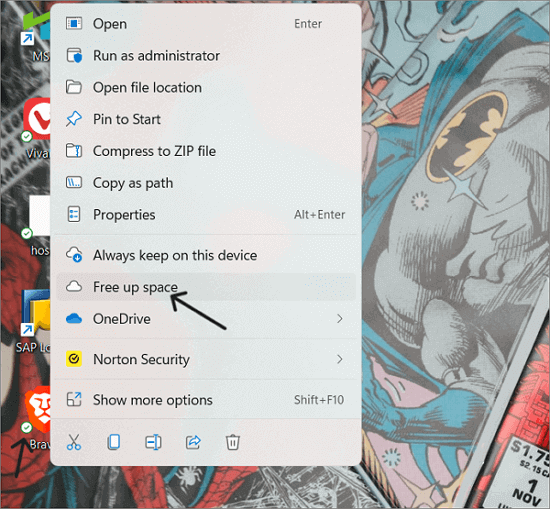
To use this feature, right-Click on the icon with a green check mark and select the "Free Up Space" option for each one.
Green check marks on your PC are a normal indication of OneDrive data backup, but if the issue persists, refer to Microsoft Community for further solutions.
Final Verdict
To resolve the issue of green check marks on desktop icons indicating files are uploaded to OneDrive, you can manage your OneDrive settings to remove them. If the problem persists, try rebuilding the icon cache on your device. This should help resolve the issue.
If you found this article helpful, consider sharing it with your friends. Your feedback is also valuable, so feel free to leave a comment to let me know what you thought of the article. If you have any questions or topics you'd like us to cover in the future, don't hesitate to share them in the comment section.
Related Articles
- Can I Upgrade My Motherboard and CPU Without Reinstalling Windows 10? [New Updated 2022]
- Solutions for Disk Not Ejected Properly on Mac
- Install IDE Hard Drive
- How to Solve OneDrive Sync Pending Error in Every Possible Way
- What Is Ping in Gaming? Everything You Need to Know
Learn what ping means in gaming, how it affects lag and online gameplay, and how to check and lower ping for a smoother gaming experience. - What Is RTOS? Real-Time Operating System Explained
RTOS or real-time operating system is used in many different types of computers and machinery. In this article, we'll define its basics, benefits and key features.