How to Clone a SATA SSD to an NVMe SSD
A SATA SSD is limited by its cable, not by the memory chips inside it. Moving the same Windows installation to an NVMe drive removes that ceiling, and a clone keeps every program and setting in place while the hardware underneath the system changes.
This guide covers the two checks that decide whether the move works at all, the preparation of the new drive, and the clone itself with Qiling Disk Master.
PAGE CONTENT
- Why Move Windows from SATA to NVMe
- Check the Slot and the Boot Support
- Prepare the NVMe Drive
- Clone the Disk with Qiling Disk Master
- Boot from NVMe and Compare the Result
- FAQs About SATA to NVMe Cloning
- Back Up Windows Before You Clone
Why Move Windows from SATA to NVMe
- The bus is the bottleneck. A SATA III port tops out near 600 MB/s, while an NVMe drive on four PCIe lanes reaches several thousand.
- Latency drops. The NVMe command queue answers requests faster, which shortens program start-up and file indexing.
- No cables in the case. The drive sits directly in the slot, so airflow improves and cable clutter goes away.
- The capacity stays similar. Replacing a 500 GB SATA SSD with a 1 TB NVMe gives both speed and room.
- Nothing has to be reinstalled. A clone carries the activation data and the registry across with the files.
The gain is largest on tasks that touch many small files at once, such as compiling code, loading large projects, and running virtual machines. Sequential copying feels faster too, but the difference is less dramatic than the numbers suggest.
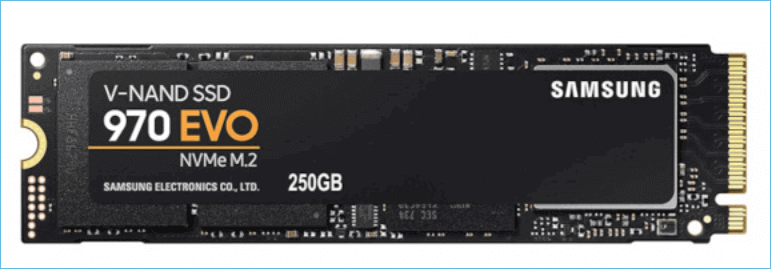
Check the Slot and the Boot Support
- Find the M.2 slot and its key. Most NVMe drives use an M key; a B key slot accepts SATA M.2 modules only.
- Confirm the lane count. A slot wired for PCIe x2 halves the potential speed, and some boards share lanes with a SATA port.
- Check the length. Slots usually accept 2280, while a 2242 or 2230 drive may need an adapter.
- Verify boot support in firmware. Older boards list NVMe drives as data disks until a BIOS update adds boot capability.
- Look for a second slot. Keeping the old SATA SSD connected during the clone makes the copy much simpler.
The slot is easy to confirm; the boot support is the part that catches people out. If the firmware cannot start from NVMe, the cloned drive will appear in Disk Management but never reach Windows.
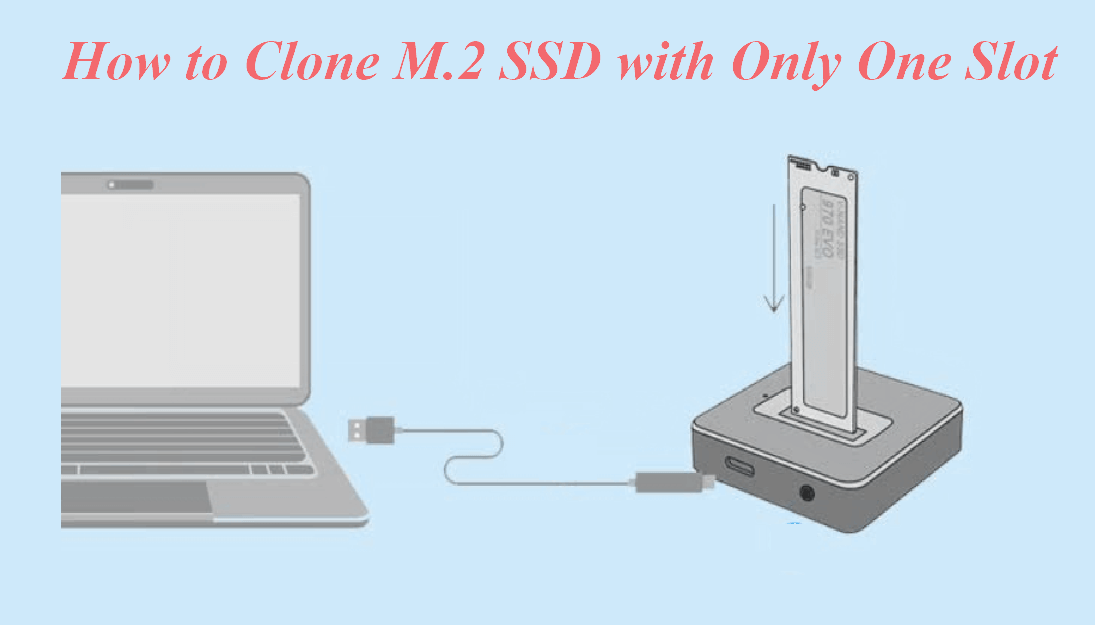
Prepare the NVMe Drive
- Install the drive with the slot powered off. Remove the battery on a laptop before fitting the module.
- Add the standoff screw. A drive held only by the connector can lift and lose contact under heat.
- Initialize the disk. A new drive appears as unallocated space in Disk Management, which is the expected state.
- Move existing data off it. Any partition already on the NVMe drive is erased by the clone.
- Update the firmware first. A BIOS update is easier before the system drive changes than after.
Do not create a partition on the new drive. The clone tool writes its own layout, and a prepared volume only gets in the way of the copy.
Clone the Disk with Qiling Disk Master
Qiling Disk Master copies the whole SATA system disk to the NVMe drive, including the EFI and recovery partitions that Windows needs at start-up. The destination is overwritten, so confirm it holds nothing you still need.
Watch the video tutorial below to clone the drive step by step with Qiling Disk Master.
Step 1. Open Qiling Disk Master, choose Clone, and then select Disk Clone.

Step 2. Select the SATA SSD as the source disk and click Next.

Step 3. Select the NVMe drive as the destination and confirm that its data will be replaced.

Step 4. Keep the EFI and recovery partitions, tick Optimize for SSD, and confirm that 4K alignment is applied to the new drive.

Step 5. Click Proceed, wait for the copy to finish, then shut the machine down before you remove the SATA cable.

Boot from NVMe and Compare the Result
- Set the boot order. Pick the NVMe drive in firmware or in the one-time boot menu.
- Disconnect the SATA SSD after the first successful start. Two system disks can confuse the boot manager.
- Confirm the drive letter. Windows should assign C: to the new drive without prompting.
- Measure the transfer rate. A benchmark tool should report speeds far above the 600 MB/s ceiling of SATA.
- Watch the temperature. NVMe drives run warmer than SATA models, so check the sensor under load.
If the firmware does not list the drive at start-up, the clone itself is not the problem. Update the BIOS or move the module to another slot wired directly to the CPU, then try booting again.
FAQs About SATA to NVMe Cloning
Can I clone a SATA SSD to an NVMe drive directly?
Yes. The interface does not matter to the clone tool, which copies sectors from one disk to another.
Do I need a second M.2 slot?
Not if you clone to an external enclosure first. With a free slot, the copy takes one pass with both drives installed.
Will Windows still be activated?
Yes, as long as the rest of the machine is unchanged. The licence is tied to the hardware, not to the drive.
Does an NVMe drive work on a board without boot support?
It works as a data disk only. Without a BIOS update, the firmware cannot start Windows from it.
Should I keep the old SATA SSD as a spare?
Keep it untouched until the new drive has run for a week, then wipe it and use it for storage or a second machine.
Back Up Windows Before You Clone
Moving a system drive to a different interface carries risk, and a failed clone can leave neither disk bootable. Create a full system backup first, so a mistake costs nothing but time.
Watch the video tutorial below to back up Windows and restore it if the clone fails.
Step 1. Open Qiling Disk Master and select System Backup to include the boot partitions.

Step 2. Save the image to a drive other than the target disk and start the backup.

Step 3. Click Proceed to start the system backup and wait patiently until it finishes. You can also tick Shut down the computer when the operation is completed to power off automatically.

Step 4. If the NVMe drive will not start, restore the image to the SATA SSD and boot from it again.

Conclusion
Moving Windows from SATA to NVMe is decided before the clone begins. Confirm the slot key, the lane count, and the firmware boot support, then fit an empty module and copy the whole disk with its boot partitions. Set the new drive first in the boot order and leave the SATA SSD alone for a week.
For more on drive interfaces, see How to Clone an M.2 SSD to a SATA SSD, How to Clone an HDD to an NVMe SSD on Windows 11, How to Clone an M.2 SSD with Only One Slot, and How to Clone Windows to a PCIe 4 SSD.
Related Articles
- How to Clone an M.2 SSD to a SATA SSD
Move a system back onto the older interface. - How to Clone an HDD to an NVMe SSD on Windows 11
Jump from a spinning disk straight to PCIe. - How to Clone an M.2 SSD with Only One Slot
Copy when both drives cannot be fitted at once. - 4K Alignment When Cloning to an SSD: Why It Matters
Alignment decides how fast the new drive feels. - How to Migrate OS to SSD Without Reinstalling Windows
Compare migration with a full disk clone.
Products
Articles & Tutorials
- Data Recovery
- Data Backup
- File Recovery
- File Backup
- System Backup and Restore
- Disk and Partition Clone
- Technical articles
- Mobile articles
- Disk Master Help
- Windows Data Recovery Tutorials
- Windows Secure Delete Tutorials
- Windows Partition Management Tutorials
- Windows File Backup and Restore Tutorials
- Windows System Backup and Restore Tutorials
- Windows Disk Backup and Restore Tutorials
- Windows Clone Tutorials