How to Transfer Files from iPad to PC With/Without iTunes
It's great to have your iPad files stored on the PC, either for management or backup purpose. Currently, you can do this in six ways that include iTunes, iCloud, Email, third-party software, USB cable, and third-party cloud services. All of them will be detailed in our post, just apply the one to transfer files from iPad to PC.
Whichever method you eventually decide to go with, be sure to back up your iPad first.
How to Transfer Files from iPad to PC Without iTunes in 5 Ways
If you prefer to transfer files from iPad to PC without iTunes, congratulations, there are five ways for this purpose. Each of the methods below has its own supported file types. Apply the one that fits your needs most.
Method 1. Copy files from iPad to PC via Qiling MobiMover
Applies To: Photos, Videos, Music, Contacts, Messages, PDF Files, and More
This is the easiest and most flexible way to copy files from iPad to PC. No need for an internet connection or specific technical skills. All you need is this easy-to-use iPhone data transfer software - Qiling MobiMover, which is specialized in managing iOS data between iOS devices and PCs freely. Unlike cloud services that offer limited storage space, Qiling MobiMover eliminates such kinds of worries.
Apart from that, Qiling MobiMover also comes with a video downloader that allows you to download videos from Twitter, Facebook, YouTube, and many other sites to your PC, laptop, Mac, and iPhone/iPad.
To transfer a file/files from iPad to PC without iTunes:
Step 1. Connect iPad to your PC with a USB cable. Once connected, tap "Trust This Computer" on your device's screen. Open Qiling MobiMover and select "Phone to PC" on the main screen. Click "Next" to start transferring data from iPad to your computer.
Step 2. MobiMover will read and load all the compatible files on your iPad automatically. Choose Contacts/Messages/Pictures/Audio/Video or other specific types of apps to transfer. The transferred content is kept on Desktop by default, so you need to change the default location before clicking "Transfer".
Step 3. MobiMover will immediately begin to transfer data from iPad to PC without iTunes. Don't interrupt the USB connection during the course. When it completes, you can open and check the transferred content. Some files, like contacts and messages, are kept as .html files, so you need to use a web browser to open such a type of file.
You can use the very same steps to transfer files between iPhone and Mac or PC if you need to.
Method 2. Transfer Files from iPad to Laptop/PC with iCloud
Applies To: Photos, Videos, Contacts, and Documents
Depending on the specific file types you are going to send, you will need different iCloud features. If you want to transfer photos from iPad to LapTop or PC without iTunes, use iCloud Photos. If you intend to share documents like Word/Excel/PPT/PDF files between your iPad and the computer, turn to iCloud Drive for help. No matter what you'd like to share, there are two universal requirements you need to meet:
- You are using the same Apple ID on the devices
- There is enough space in iCloud for you to store the content you are going to sync
If you are well-prepared, follow the steps below to learn how to transfer photos, videos, or documents wirelessly using iCloud.
Option 1. How to Transfer Photos from iPad to PC via iCloud Photos
Step 1. Turn on "iCloud Photos" on your iPad via Settings.
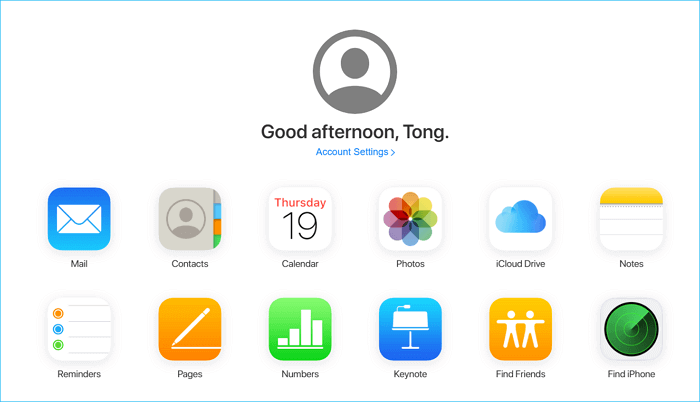
Step 2. On the Windows PC, go to iCloud.com and sign in with your Apple ID.
Step 3. Choose "Photos" and you will see your iPad photos in the gallery.
Step 4. Choose the items you want to transfer and download them to your computer.
If you have installed iCloud for Windows, go to the iCloud settings to enable "iCloud Photo Library" and "Download new photos and videos to my PC". Afterward, you can access your iPad files from the iCloud Photos folder on the computer.
Option 2. How to Share Files Between iPad and PC via iCloud Drive
Step 1. On your iPad, go to the "Settings" app and select [your name] > "iCloud".
Step 2. Scroll down to enable "iCloud Drive".
Step 3. Open the "Files" app and select "Browse" > "iCloud Drive". Search for the files you attempt to copy to your PC and upload them to iCloud Drive.
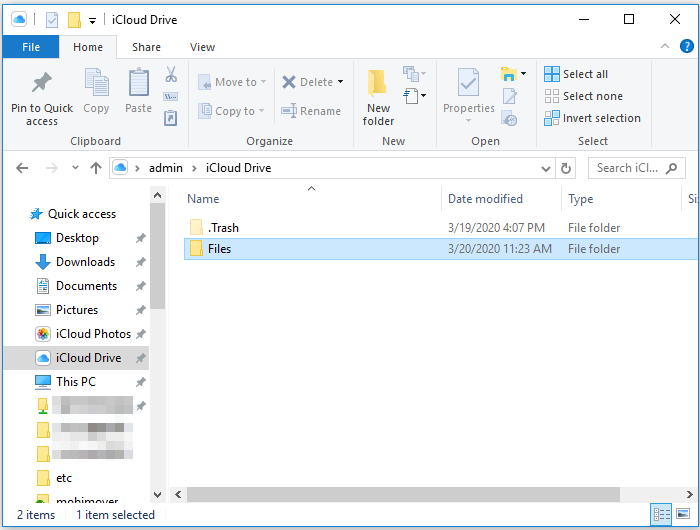
Step 4. If you have downloaded and set up iCloud for Windows, go to the iCloud Drive folder in File Explorer to access the files from your iPhone. If not, go to iCloud.com, sign in with your Apple ID, choose "iCloud Drive" among the options and then select and download the files to your PC.
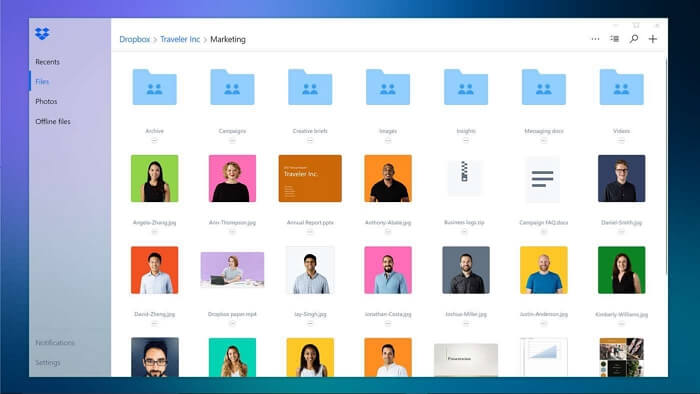
Method 3. Share Files Between iPad and PC via Dropbox
Applies To: Photos, Word/Excel/PPT Files, HTML Files, Texts...
iCloud is not the only file-sharing service that you can use, other services like Dropbox, Google Drive, and One Drive also work well to sync files across your devices, including iPad, Laptop, and PC. According to the size of the files, you may need to pay for extra storage space to get things done.
Step 1. Download and install Dropbox on your devices (at least on the iPad).
Step 2. Upload the files you want to share to Dropbox via the app on your iPad.
Step 3. On the computer, if you have installed Dropbox, you can access the files you uploaded from your iPad and then download them to your Windows PC accordingly. If not, go to Dropbox.com to access and download the files.
Method 4. Transfer Files from iPad to PC via Email
Applies To: Photos, Videos, Documents...
Basically, you can transfer any type of content that you can add to the email as an attachment using this method. Whether you want to transfer files from iPad to PC or vice versa, sending email attachments will help.
The general steps to send files from iPad to PC via email are:
Step 1. Create a new email on your iPad and add the files as attachments.
Step 2. Send the email to your own account and check it from the PC.
Step 3. Download the attachments to your computer.
Using email is a free, quick, and wireless solution for iPad to PC data transfer. However, if the files are large size, using this tip will be time-consuming. Thus, it's only recommended when you attempt to transfer files in a small size.
Method 5. Transfer Photos from iPad to PC via USB Cable
If you want to transfer only photos from iPad to PC, either AutoPlay, File Explorer, or Photos application can be helpful in solving this problem.
Step 1. Connect your iPad to your PC with a USB cable.
Step 2. Open your iPad and tap the "Allow" to allow this PC to access your iPad's files.
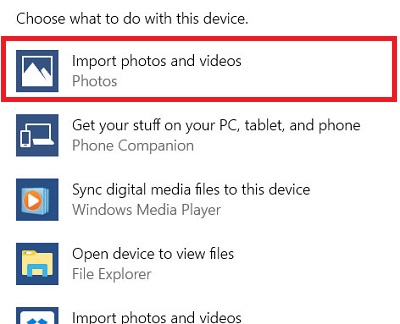
Step 3. Then you will see a notification indicating "Choose what to do with this device.
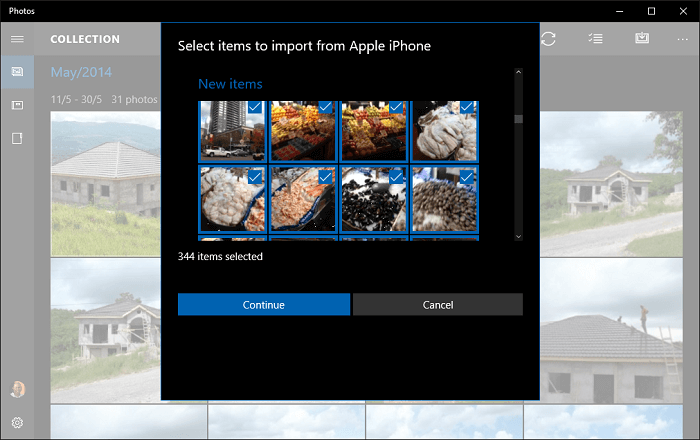
Step 4. If you're quick enough to click on this notification, it will display some choices as shown. Just choose "Import photos and videos." (If you miss this notification, you can use File Explorer or Photos app to transfer photos as well)
Step 5. Then, a new window will appear to let you choose the items you'd like to transfer. Besides, you can also choose the default way to house these photos. You can choose the items and then click on the "Continue."
Step 6. Click "Import" to start the transfer process.
How to Transfer Files from iPad to PC with iTunes
Applies To: Documents created by Keynotes, Numbers, Pages, or other apps that work with File Sharing
iTunes helps you share files between your iPad and the computer via a feature called File Sharing, which allows you to transfer files from iPad to PC using a USB cable or over a Wi-Fi connection. If you prefer to send files over Wi-Fi, you need to set up Wi-Fi syncing first according to the user guide provided by Apple.
To copy files from iPhone to PC with iTunes File Sharing using USB:
Step 1. Install or update to the latest version of iTunes on your PC.
Step 2. Connect the iPad to your Windows PC.
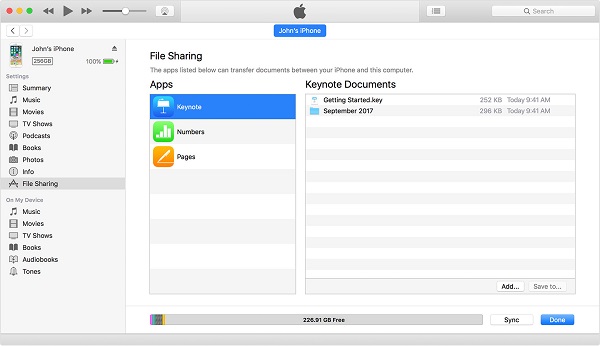
Step 3. In iTunes on your Windows PC, click the iPad button near the top left of the iTunes window.
Step 4. Click File Sharing, select an app in the list, then do one of the following:
- Transfer a file from your iPad to your computer: Select the file you want to transfer in the list on the right, click "Save to," select where you want to save the file, then click Save To.
- Transfer a file from your computer to your iPad: Click Add, select the file you want to transfer, then click Add.
Bonus Tip. How to Transfer Files from PC to iPad
All the methods above are also applicable to sending content from PC to iPad. In addition, there are two more ways for you to copy files from a computer to an iDevice, including using Windows File Explorer and iTunes syncing, which has been detailed in the guide on how to transfer files from a PC to an iPad. Refer to the guide if you need to.
The Bottom Line
Sharing files is quite common in our daily lives. That's the reason why you need to learn the tips on how to transfer files between your devices. With these tips in mind, you can easily help yourself out in many data transfer situations. Hope this guide will be helpful to you.
Related Articles
- How to Download Audio from YouTube on Mac
- How to Transfer Photos from iPad to PC in 4 Ways
- How to Transfer Photos from iPhone to PC in Windows 10 in 4 Ways
- How to Rip Audio from YouTube in 4 Ways