iPhone Stuck on Verifying Update in iOS 11/11.1/11.2? Solutions Here!
Quick Navigation:
- What is the "Verifying Update" on iPhone when updating to iOS 11?
- How to fix iPhone stuck on verifying updatein iOS 11/11.1/11.2
- 1.Lock and wake your iPhone repeatedly
- 2. Force restart your iPhone
- 3. Restore iPhone with iTunes
- 4. Restore iPhone to factory settings
iOS 11 has been out for a while, with updates up to 11.2.2, and most iPhone/iPad users have installed the latest version. However, some users have encountered an issue where their iPhone gets stuck on a spinning pop-up message saying "Verifying update…" while trying to install the update, making the device completely unusable. To fix this issue and make your iPhone available again, you can try specific solutions.
What is the "Verifying Update" on iPhone when updating to iOS 11?
When your iPhone is stuck on "Verifying Update" in iOS 11, it's essential to understand that this message doesn't necessarily mean your iPhone is stuck, but rather a normal process when updating to a new iOS version. The "Verifying Update" process can take a minute or two as Apple servers are contacted, or even longer for a new release. If you see this message, wait a while and check if your iPhone can be set up properly. However, if it takes too long (over 15 minutes) and no progress is made, your iPhone may be stuck, and you can try the following solutions to fix it promptly.
How to fix iPhone stuck on verifying updatein iOS 11/11.1/11.2
If your iPhone gets stuck on the "Verifying update" screen when updating to iOS 11, don't worry! As long as you have a good Wi-Fi connection and ample storage available, you can try the following methods to get your iPhone out of the issue.
1.Lock and wake your iPhone repeatedly
To fix an iPhone that's stuck on verifying update, try the power button trick. Press and release the Power button on the side or top of your device 5 to 10 times, then lock and wake it to resolve the issue.
2. Force restart your iPhone
If the power button trick doesn't work and your iPhone is still on the verifying updates screen, you can try to force restart your iPhone, which can fix many common iPhone issues in the new iOS version.
To force restart your iPhone 6 or 7, press and hold the Home button and the Sleep/Wake button simultaneously. Continue holding until the screen goes black, then release the buttons once the Apple logo appears on the screen.
To force restart an iPhone 8 or X, press and quickly release the Volume Up button, then quickly release the Volume Down button, and finally press and hold the Side button until you see the Apple logo on the screen.
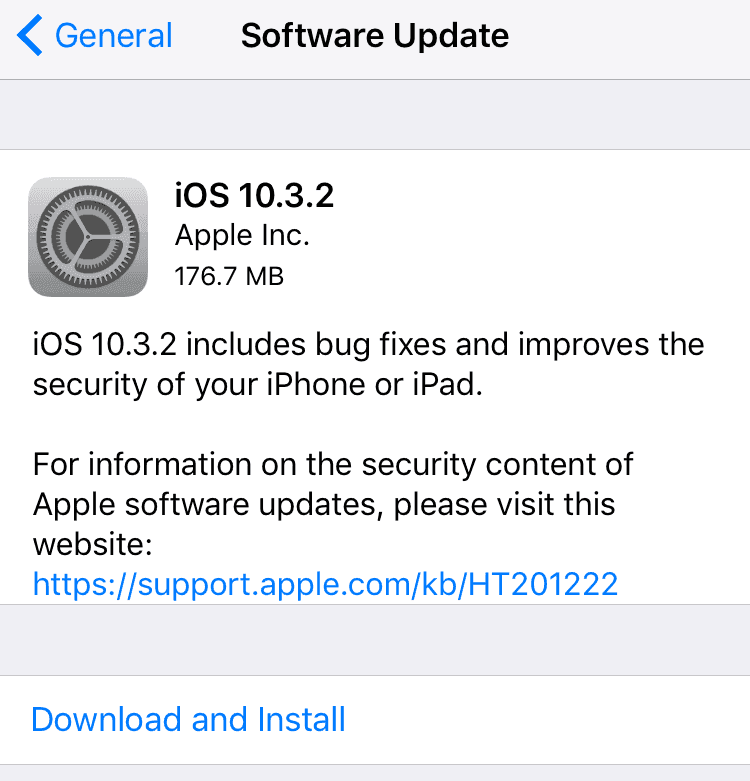
After the rebooting process is complete, go to Settings, then General, followed by Software Update, and finally Download and Install to reinstall the new iOS version.
3. Restore iPhone with iTunes
If the two methods above won't work, you'll have to restore your iPhone from an iTunes backup. Make sure you have a backup to restore from, or you'll reset your iPhone to its original settings.
- If your iPhone is not showing up on your Windows computer, try connecting it to the computer via a USB cable. If it still doesn't show up, check online for fixes.
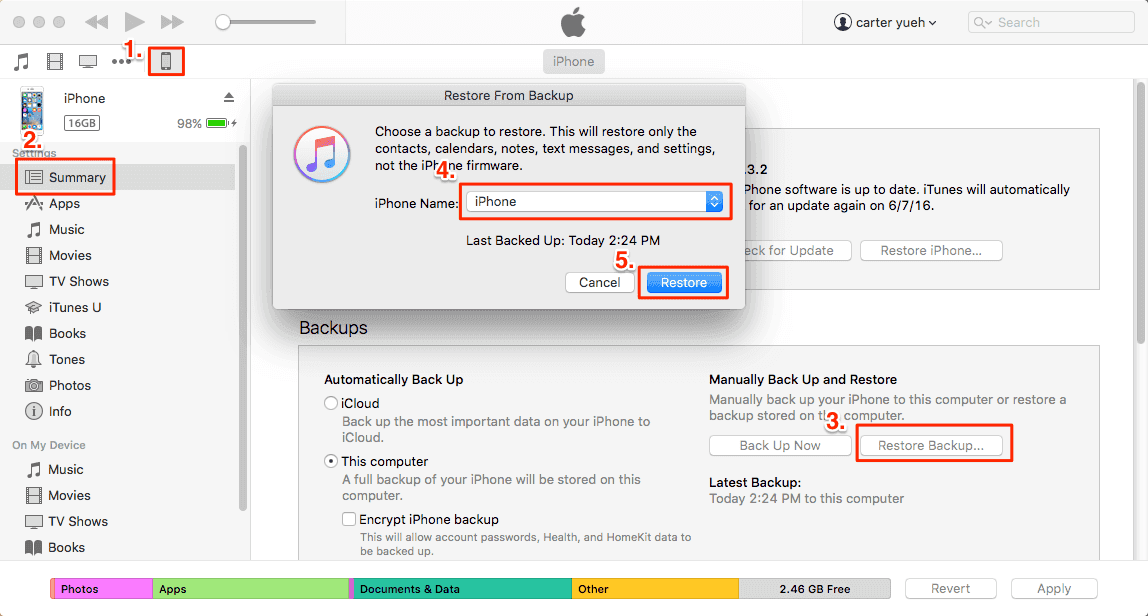
- To restore your iPhone, open iTunes, click on the "Device" button, and then select "Summary". From there, choose "Restore iPhone...".
- Choose the backup you need, and click "Restore".
4. Restore iPhone to factory settings
If you don't have any iTunes backups, you can still restore your iPhone to factory settings to solve the issue of being stuck on verifying update in iOS 11. Alternatively, you can use Qiling MobiMover Free, a 100% free iPhone data transfer software, to back up your iPhone data to your computer and then download the exported data back to your iPhone after the restoring process is complete.
Step 1. Connect your iPhone to the computer, launch Qiling MobiMover, and select "Phone to PC" mode. Then click "Next" to continue.
Step 2. All the supported files on your iPhone will be displayed, including photos, music, videos, contacts, notes, books, voice memos, and more.
Step 3. After selecting the files you want to transfer, click "Transfer" to begin the process. Transferring photos from your iPhone to your computer is a quick and easy process that can be completed in just a few minutes.
Related Articles
- How to Sync iPhone Photos to iCloud Easily and Quickly
- Erase an iPhone with iTunes Alternative Quickly and Free
- How to Lock Apps on iPhone X/iPhone 8/iPhone 7 in iOS 11
- iPhone Playlists Not Showing up in iTunes? Fixed Here!