How to Map a Network Drive in Windows 11? Your Complete Guide Is Here
A network drive is a shared location or disk drive that allows users within the same network to save and access files and applications. It can be a server drive, a NAS (Network-Attached Storage) drive, or a physical drive connected to a router, providing a centralized storage space for collaborative work and file sharing.
Mapping a network drive can be a convenient way to access shared files without having to type in the network drive path every time. To do this, you can map the network drive to your local computer, which won't take up much space on your local disk. This is a simple process that can be completed in Windows 11, and we can guide you through the steps to map a network drive.
| Workable Solutions | Step-by-step Troubleshooting |
|---|---|
| 1. Set Up a New Volume for Network Drive | Check for free space > Shrink a partition to create unallocated space...Full steps |
| 2. Turn On Network Discovery, File Sharing, Password Protected Sharing | Type Control Panel in the search box and click to open it...Full steps |
| 3. Map a Network Drive in Windows 11 | Double-click "This PC" from Windows 11 > click "Mape network drive"...Full steps |
Why Need to Map a Network Drive to a Local Drive
People need to map a network drive on their computers for various reasons, primarily due to the advantages of network drives. Mapping a network drive allows users to access shared files and resources on a network as if they were local files on their own computer, offering several benefits. By mapping a network drive, users can access shared files and resources on a network as if they were local files on their own computer, making it easier to work with shared files, collaborate with others, and manage data across the network. Additionally, mapping a network drive can also help to reduce the number of files stored on individual computers, freeing up local storage space and improving overall system performance. Overall, the advantages of network drives make it a useful feature for many users.
- Expand local computer storage, free up the local disk space.
- Fast to transfer or share files onto the network drive.
- Protecting personal and essential data from being lost due to an operating system (OS) crash or failure is crucial. This ensures that important information remains safe even in the event of a system failure, preventing data loss and potential financial or reputational damage.
- Portable storage devices, such as USB drives, enable users to access and utilize shared files from anywhere without the need for the original computer.
How Do I Map a Network Drive in Windows 11
If you're wondering how to map a network drive in Windows 11, or even Windows 10/8.1/8/7/XP/Vista and Windows Server computers, this guide has got you covered. We'll walk you through the complete process of mapping a network drive, and the tips provided will be applicable across all these operating systems.
Let's get started.
1. Set Up a New Volume for Network Drive
- Tool: Disk manager tool - Qiling Partition Master
- Duration: 1 minute
To avoid cluttering your local computer files with shared data from the network drive, it's a good idea to set up a new volume for mapping the network drive in Windows 11. This allows you to keep your local files organized and separate from the shared data.
Before starting, check if you have a new or empty volume on the computer. If you do, move on to the next guide. If not, create a new volume for the network drive using a reliable disk manager like Qiling Partition Master to help.
Here is how to do so:
Step 1. Check for free space
To divide a disk partition into multiple ones, ensure there's sufficient free space to allocate.
Step 2. Shrink a disk partition to create unallocated space
To resize a partition, start by right-clicking on it and selecting the "Resize/Move" feature, then proceed with the necessary adjustments.

To free up enough space, drag either end of the partition to the right or left, making it smaller, and observe the "Partition size" area to see how much space has been reduced. Then, click "Proceed".

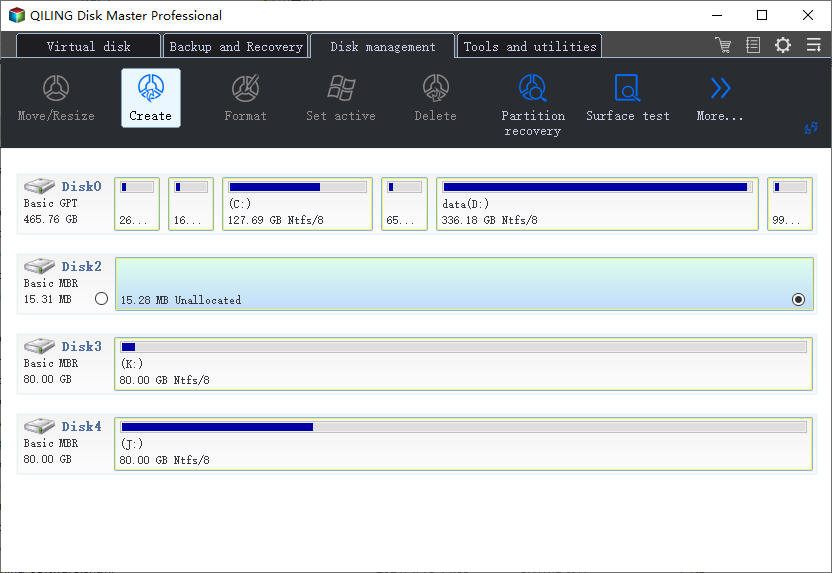
To free up space, go back to the main window, and there should be unallocated space appearing under the same disk of the shrinked one.
Step 3. Create a new partition on unallocated space
To create a usable partition drive, right-click on the unallocated space and select "Create..." from the context menu. This will allow you to format the unallocated space into a usable partition drive with a recognized file system.
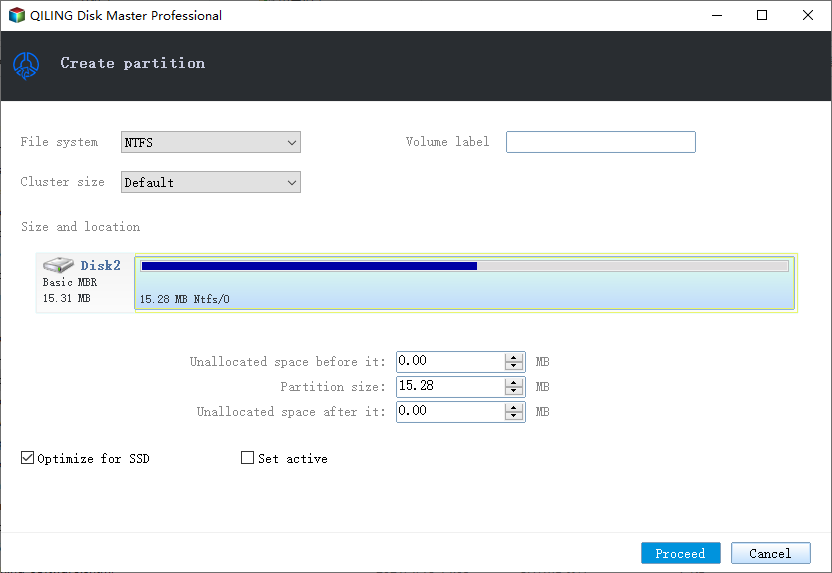
To customize the partition information, choose a drive letter, partition label, file system (NTFS, FAT32, EXT2/3/4, exFAT), and more settings in the Advanced Settings. Click "Proceed" to continue.
The app will create a partition on the unallocated space, and to partition a hard drive in many more partitions, the whole process can be repeated.
2. Turn On Network Discovery, File Sharing, Password Protected Sharing
- Tool: Network and Sharing Center Settings
- Duration: 2-3 minutes
To avoid unnecessary errors, turn on Network Discovery in Windows 11 by going to Settings, then Network & Internet, and finally clicking on Status. From there, toggle the switch under "Network discovery" to the "On" position. This will allow your computer to discover and connect to other devices on the network.
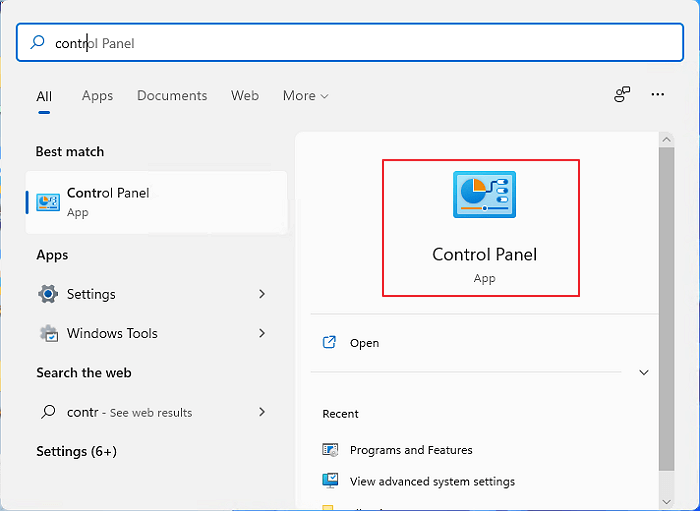
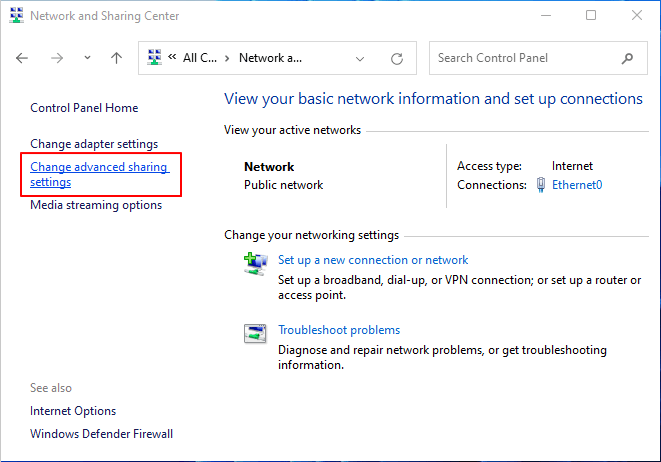
Step 1. To open the Control Panel, type "Control Panel" in the search box and click on it from the search results.
Step 2. To change the advanced sharing settings, you can click on the "Network and Sharing Center" and then click on the "Change advanced sharing settings" option on the left-hand side of the screen.
Step 3. To enable private network sharing, go to the Private section, check the boxes next to "Turn on network discovery" and "Turn on file and printer sharing".
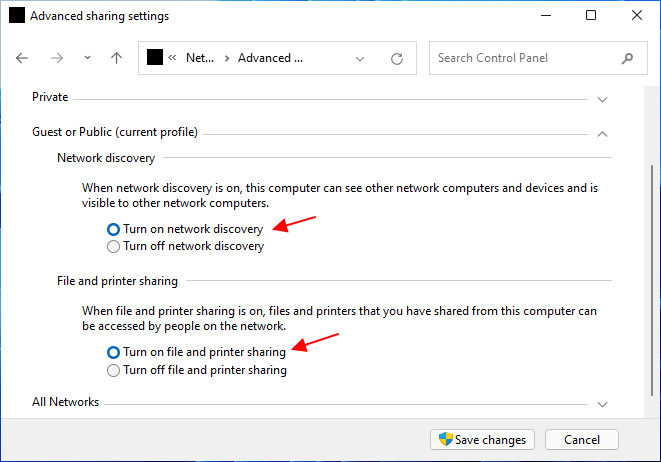
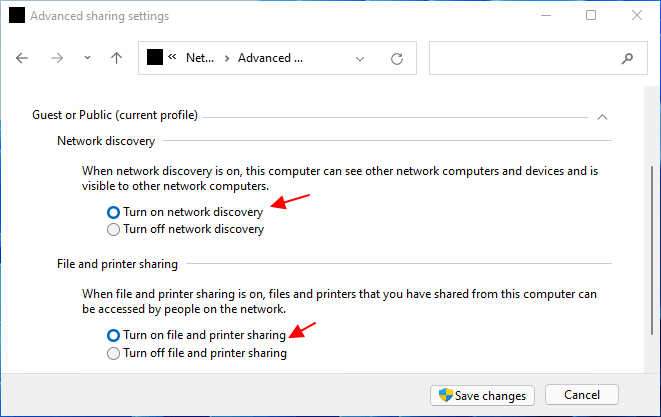
Step 4. At the Guest or Public section, check "Turn on network discovery" and "Turn on file and printer sharing" to allow sharing of files and printers with other devices on the network.
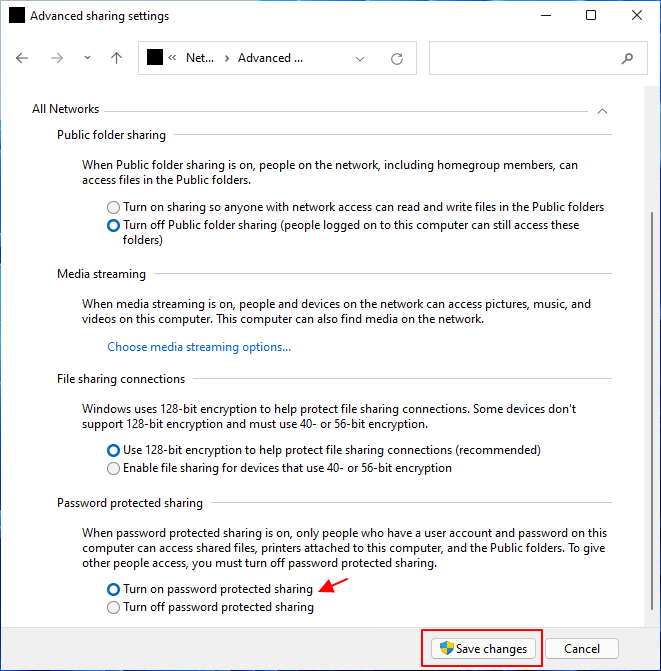
Step 5. At the All networks section, check the box next to "Turn on password protected sharing" to activate password protection for all networks, then click "Save changes" to save the settings.
3. Map a Network Drive in Windows 11
- Tool: File Explorer Menu Pane
- Duration: 2-3 minutes
To map a network drive in Windows 11, you'll need to set up your network discovery and file-sharing settings first. Once you've completed these settings, you can follow the guide steps to map a network drive. Let's get started.
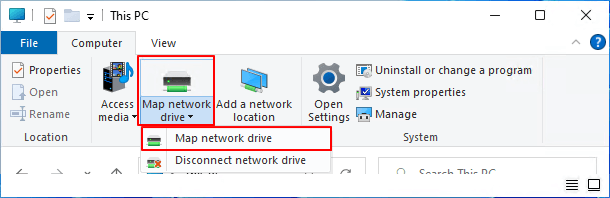
Step 1. Double-click "This PC" from Windows 11 desktop.
Step 2. To map a network drive, go to the top menu, click on "Map network drive" and select the option to map a network drive.
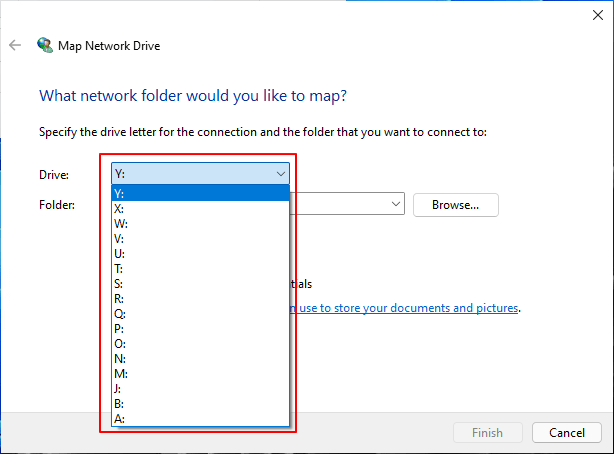
Step 3. At the Drive section, select the new volume for connection.
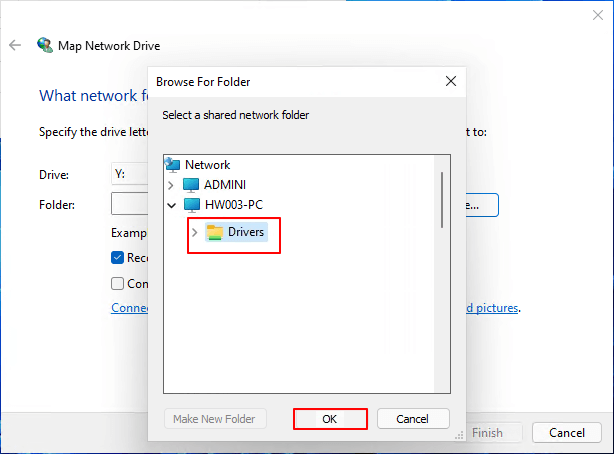
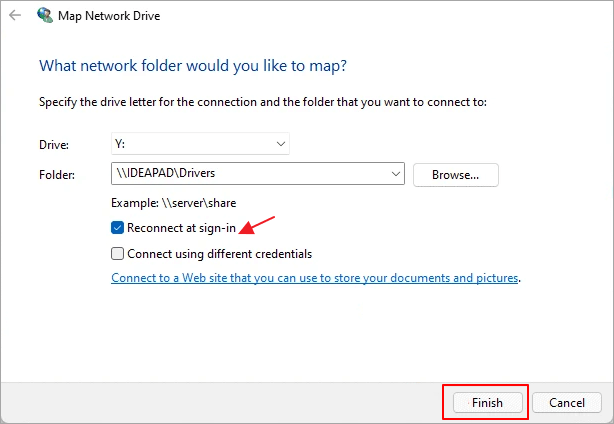
Step 4. To connect a network drive folder, click "Browse" next to the Folder section and select a network drive folder.
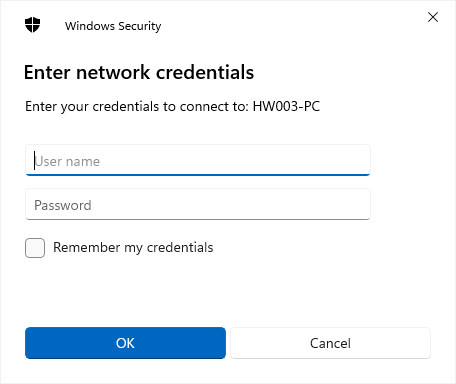
To confirm your network connection, follow these steps: Enter your network credentials if necessary. Click "OK" to confirm your network connection.
Step 5. Check "Reconnect at sign-in" and click "Finish" to complete.
Now, you'll see that your mapped network drive is showing up in File Explorer, allowing you to directly double-click to open and access network drive shared files and transfer data to the disk in Windows 11.

Bonus Tips of Using Network Drive in Windows 11
After mapping a network drive in Windows 11, you can use it to share and transfer files between your computer and the network, and be aware of using it for sharing and saving computer files.
Here are some tips to help you make good use of the network drive and protect your files: To avoid losing your files, make sure to back them up regularly, and consider using cloud storage services like Google Drive or Dropbox to store your files securely. You can also use version control software like Git to track changes to your files.
- Keep network connection stable in case of losing network drive.
- Copy files to network drive instead of cutting them from local Windows 11 computer.
- Set a password for accessing essential data on the network drive.
- Leave enough free space on the local drive to accommodate the size of the network drive.
While a network drive may not take up much physical space on a local disk, it's still essential to maintain a certain level of free space for smooth file transferring and sharing. To effectively manage a local hard drive disk layout, Qiling Partition Master can be a helpful tool.
Related Articles
- How to Check Update to Windows 11 and Set Up Your PC to be Windows 11 Compatible
- Windows 11 Taking Forever to Install? Get Complete Guide to Fix Windows 11 Slow to Install Issue
- Windows 11 Is Affecting Performance on AMD CPUs, Fixes Are Coming Soon
- How to Stop Windows 11 Update (Block It Forever)
- How to Repair C Drive [5 Proven Ways]
Have you ever received a warning message that says 'Scanning and repairing drive C'? In this post, you will discover five practical ways to check and repair the C drive. - How to Upgrade PS5 SSD [Step-by-step Guide]
If you're running out of space on your PS5, upgrading the SSD (solid-state drive) can significantly improve your gaming experience. To upgrade, you'll need to purchase a compatible PS5 SSD, such as the Sony PS5 SSD or a third-party option, and follow the manufacturer's instructions for installation. Upgrading the SSD will allow you to download more games, access them faster, and enjoy a smoother gaming experience. This is a simple and effective way to breathe new life into your PS5 and take your gaming to the next level.