[3 Ways] How to Uninstall Apps on Windows 11
In Windows 11, uninstalling apps requires more than just deleting their icons from the desktop. To completely remove a program and its configuration files, you'll need to follow the proper steps. With the latest changes to the operating system, including a centered taskbar and revamped UI design, it's possible that the process of uninstalling apps has also been updated. In the following section, we'll provide a detailed guide on how to uninstall apps on Windows 11.
Method 1. Uninstall Apps from Start Menu
The Start menu contains most apps installed on your computer, allowing you to uninstall unwanted apps directly from there. To do so, simply click on the Start menu, navigate to the app you want to uninstall, right-click on it, and select "Uninstall" from the context menu. This will initiate the uninstallation process, which may take a few seconds to complete. Once done, the app will be removed from your computer, freeing up space and resources.
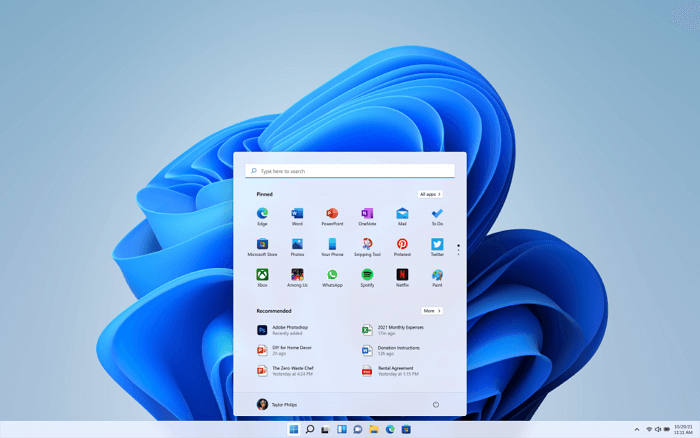
Step 1. Click the Windows icon to open the Start menu.
Step 2. To uninstall an app, find the app you want to remove, right-click on it, and select the "uninstall" option from the context menu.
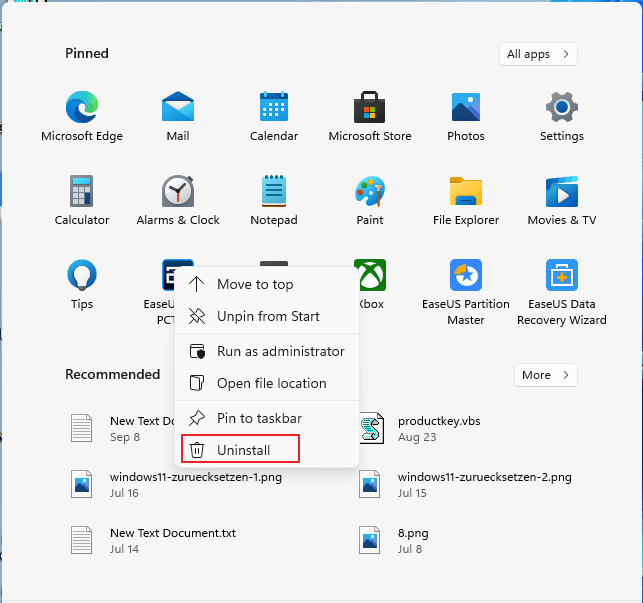
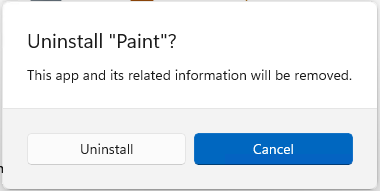
Step 3. If the app is from the Microsoft Store, you'll see a prompt window saying the app and its related info will be removed. Click "Uninstall" to start the automatic uninstall process.
To uninstall a Win32 app, click "Uninstall" and it will take you to the "Programs and Features" page, where you can find the app, right-click on it, and choose "Uninstall".
Method 2. Uninstall Apps from Settings
To uninstall apps on Windows 11, you can customize everything on your computer from the Settings app. This includes getting rid of an app, which can be done by following these steps: go to Settings, then Apps, and finally, click on the app you want to uninstall and select Uninstall. Alternatively, you can also right-click on the app in the Start menu and select Uninstall. This will remove the app from your computer.
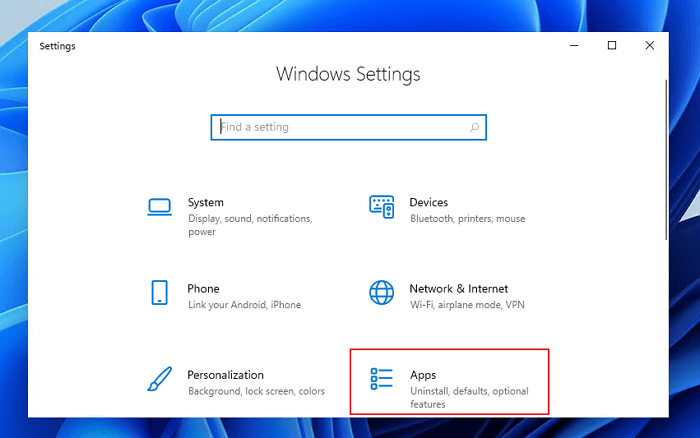
Step 1. To open Windows Settings, press the Windows key and the I key at the same time. Then, click on the Apps option.
Step 2. Scroll down to the apps list on the Apps & Features page, find or search for the app you want to delete.
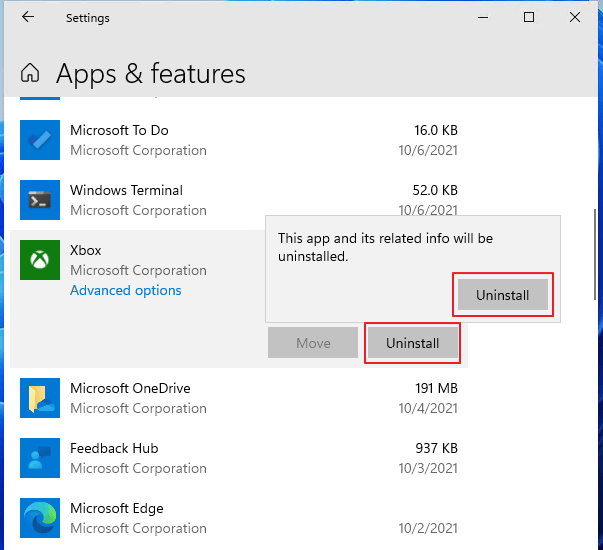
Step 3. To uninstall the target app, double-click it, select the "Uninstall" option, confirm the prompt, and then click "Uninstall" again to proceed.
Method 3. Uninstall Apps from Control Panel
On Windows 11, you can uninstall apps from the Control Panel by going to the Control Panel, clicking on "Programs and Features", and then selecting the app you want to uninstall and clicking "Uninstall".
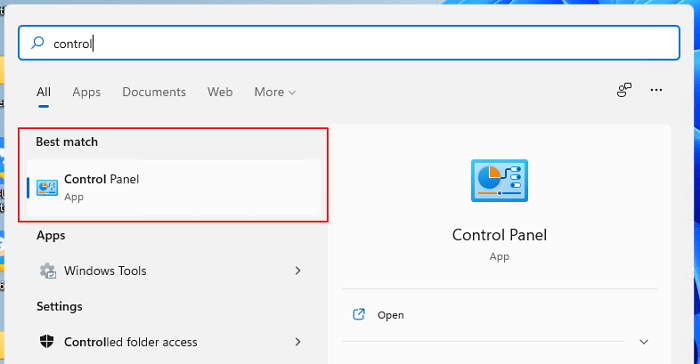
Step 1. To access the Control Panel on your computer, simply enter "Control Panel" in the search bar, and select the best match from the search results. This will open the Control Panel window, where you can manage various system settings and features.
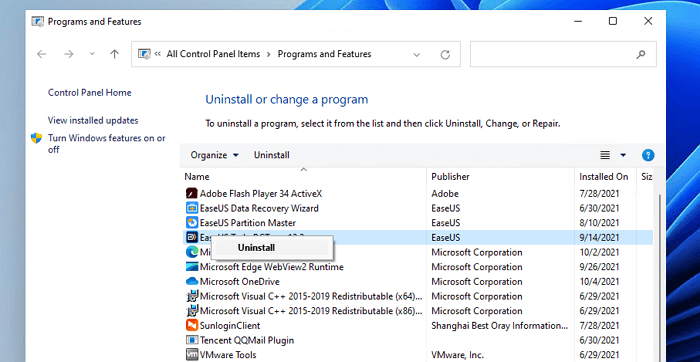
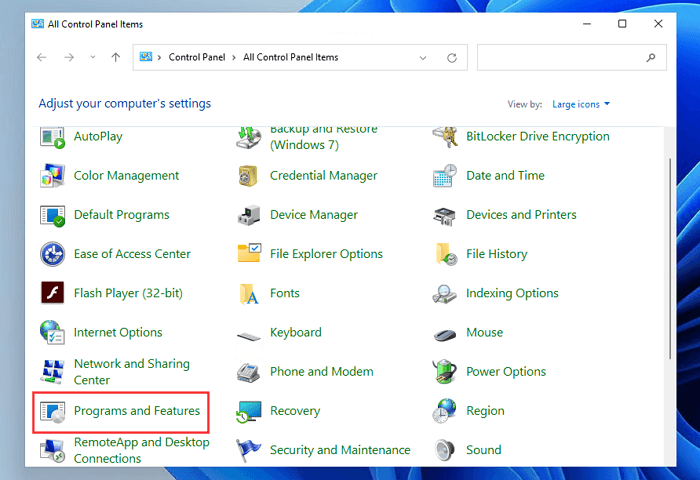
Step 2. Select the "Programs and Features" option.
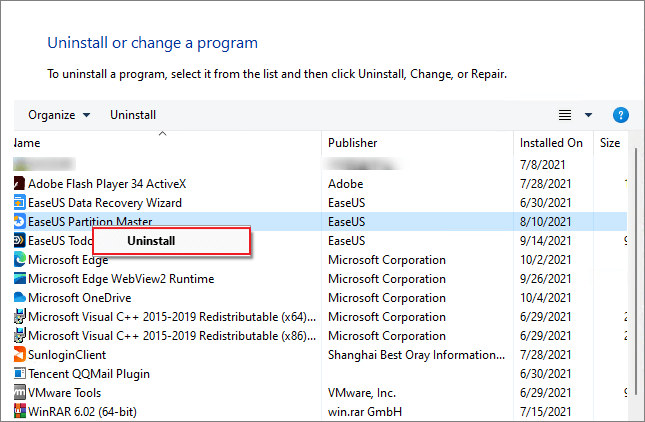
Step 3. To uninstall an application on your computer, go to the list of installed apps, select the one you want to remove, right-click on it, and click "Uninstall".
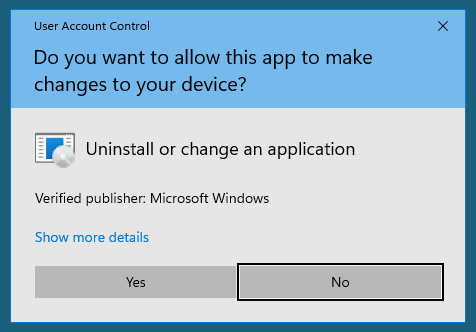
Step 4. Click "Yes" to allow the app to make changes to your device and start the uninstall process.
Final Thoughts
To uninstall apps on Windows 11, you can choose from three methods: using the Start menu, the Settings app, or the Control Panel. You can select any one of these methods to apply. If you're curious about other Windows 11 features, you can read everything you need to know about Windows 11.
To check if your Windows 10 PC is eligible for an update to Windows 11, go to Settings > Update & Security > Windows Update, and click on the "Check for updates" button. If your PC is eligible, you'll see a "Download and install now" option.
To check if your computer is eligible for the Windows 11 update, you can run a computer health check and a Windows 11 compatibility check. This includes verifying the presence of TPM 2.0, UEFI secure boot, and meeting the minimum system requirements set by Microsoft, which include a 64-bit processor, 4GB of RAM, and a 64GB hard drive, among other specifications.
Related Articles
- How to Fix High Memory Usage in Windows 11
- Turn On Secure Boot for Windows 11 Installation
- Windows 11 Games Crash or Freeze? Don't Miss Quick Fixes Here!
- How to Stop Windows 11 Update (Block It Forever)
- Find The Best Alternative to MBR2GPT Disk Conversion Tool
What's the best alternative to MBR2GPT disk conversion tool? Here, a more powerful and easier third-party disk management utility will be introduced to replace MBR2GPT and make you free from those annoying errors like MBR2GPT missing in Windows 10 v1703 and defects. - Solved: Unable to Format External Hard Drive in RAW
Do you feel frustrated because you are unable to format external hard drive in RAW? Read this article patiently and find effective solutions here.