How to Fix 'The semaphore timeout period has expired'
This article provides three solutions to this problem 'The semaphore timeout period has expired. The table below gives an outline. Read the content for details.
| Workable Solutions | Step-by-step Troubleshooting |
|---|---|
| Fix 1. Disable firewalls and anti-virus | In Windows 10/8.1/8/7, press "Windows + R" keys to bring up the "Run" box, input control to open...Full steps |
| Fix 2. Perform a clean boot | "regedit" and press Enter to open the Registry Editor. In the Registry Editor, navigate to the following path: HKEY_CURRENT_USER\Software\Microsoft\Windows\CurrentVersion\Explorer\Shell Folders.msconfig to open System Configuration...Full steps |
| Fix 3. Convert FAT32 to NTFS | You can convert FAT32 to NTFS to break the file size limit. The file system conversion is very simple...Full steps |
What's the 'semaphore timeout period has expired' error
The 'The semaphore timeout period has expired' error occurs in various situations in Windows 10, 8, or 7, manifesting in different forms, including when trying to access or delete files, during system shutdown, or when using certain applications, often resulting in system crashes or freezes.
When trying to transfer or copy large files over a network, you may encounter the error "Error 0x80070079: The semaphore timeout period has expired", which can be caused by a variety of factors including network congestion, outdated network drivers, or issues with the Windows operating system. [2] This error message indicates that the system is unable to access the file or folder due to a timeout period expiring, which can be frustrating and time-consuming to resolve.

You're trying to open a portable drive, such as an external USB hard drive, that's correctly connected to a computer, but the access failed due to the error "Location is not accessible, the semaphore timeout period has expired."

People may encounter a system error when transferring large files between their Windows system and an external device, or when accessing a certain driver connected to their computer. This error prevents access to the current drive or completion of the transfer process. The issue is often related to a 'semaphore' problem within the local network, between the computer and an external driver, or the file transfer limit on a portable drive.
Fix 'The semaphore timeout period has expired'
The fixes for network driver, external driver, or file transfer limit associated problems are four-fold. Starting from simple to complex, they are: checking the driver settings, updating the driver software, checking the external driver compatibility, and lastly, adjusting the file transfer limit.
- Disable Firewalls and anti-virus software (Temporarily)
- Perform a clean boot
- Convert FAT32 to NTFS
- Update drivers of network adapters
Fix 1. Disable Firewalls and anti-virus software
Disabling Windows Firewall or anti-virus software might allow file transfers to resume, but it's essential to note that this would also compromise your computer's security protection, potentially allowing malicious software to run. It's recommended to troubleshoot the issue by checking the software's settings or contacting the software's support team for assistance.
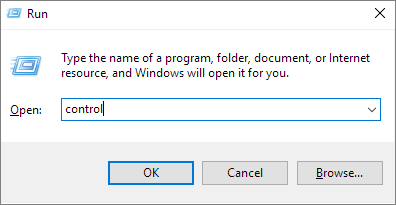
Step 1: In Windows 10/8.1/8/7, press "Windows + R" hotkeys to bring up the "Run" box, input control to open Control Panel.
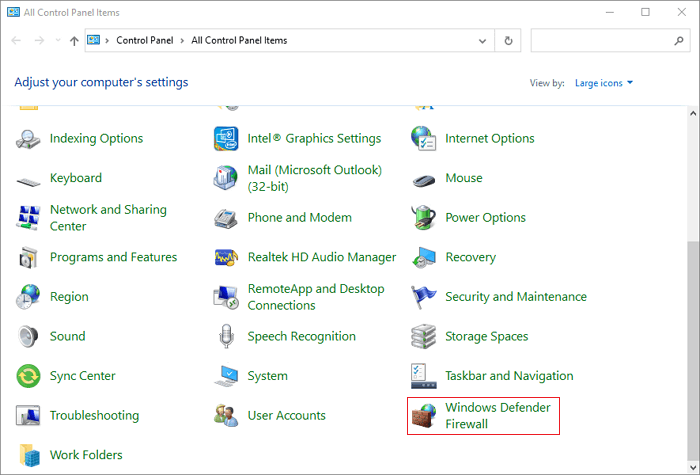
Step 2: In the Control Panel, type firewall in the search, and click the "Windows Firewall" in the results.
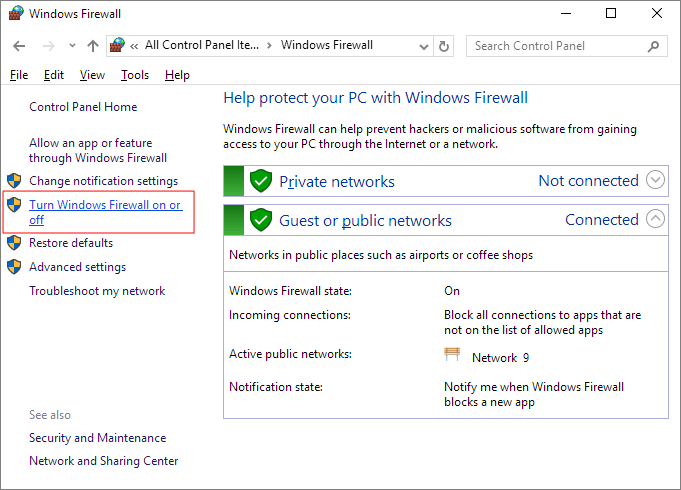
Step 3: On the left pane, click "Turn Windows Firewall on or off".
Step 4: Click "Turn off Windows firewall (not recommended)" under both private and public network settings. Click "OK".
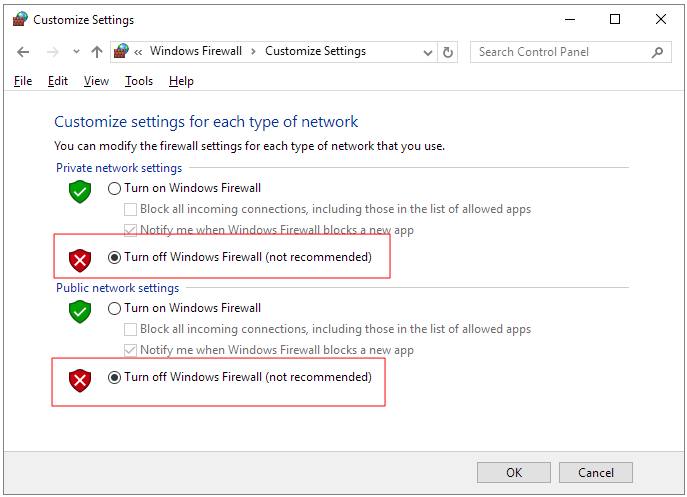
For Windows users experiencing file transfer issues due to the Windows firewall, disabling the firewall can resolve the problem. To do this, turn off the firewall, retry copying files, and if the issue is resolved, you can re-enable the firewall again. This should resolve the semaphore error caused by the firewall blocking the file transfer process.
For anti-People are using various virus software products, but the process of turning off their protection mechanisms is surprisingly similar. To disable the protection, one typically goes to the software's settings, where they can find the option to turn off the protection mechanism.
Fix 2. Perform a clean boot
The issue of "the semaphore timeout period has expired" can be resolved by rewriting the code to avoid file or program conflicts. This can be achieved by using synchronization primitives such as mutexes or locks to ensure that only one thread or process can access the shared resource at a time.
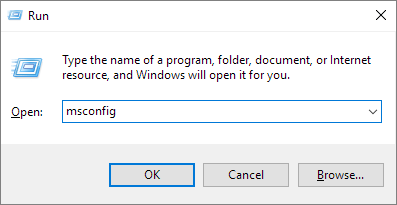
Step 1: In Windows 10/8.1/8/7, press "Windows + R" hotkeys to bring up the "Run" box, input msconfig to open System Configuration.
Step 2: Switch from the default General tab to "Services", tick the box "Hide all Microsoft Services". Click "OK".
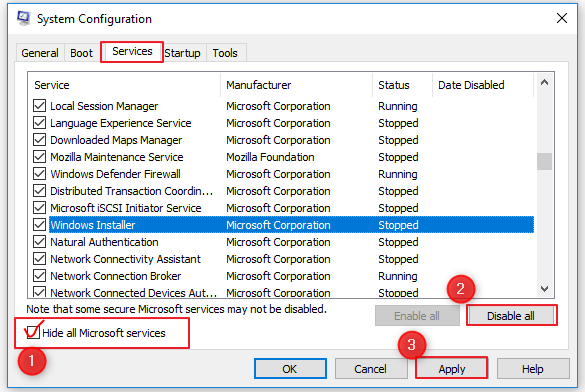
To resolve the issue, you can try restarting your computer in a clean boot state, which will disable all non-essential startup programs. Then, attempt the file transfer again. Hopefully, this will allow the process to complete without any issues.
Fix 3: Convert FAT32 to NTFS
FAT32 has a 4GB file size limit, whereas NTFS has no such restriction, allowing for seamless transfer of large files.
To convert FAT32 to NTFS, you can use the built-in Disk Management tool in Windows, but this will result in total data loss. Alternatively, you can use a third-party software to clone the existing partition, convert it to NTFS, and then replace the original partition with the cloned one, preserving your data. This method is safer but may take longer.
We suggest using a third-party free partition manager software for a safe conversion of FAT32 to NTFS without losing data.
Fix 4: Update drivers of network adapters
The most common network file transfer problem is often caused by an outdated network adapter driver. This can lead to issues such as the "semaphore timeout period has expired" error.
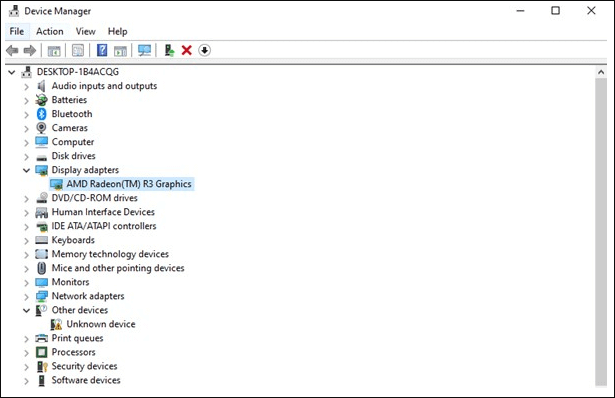
Step 1: In Windows 10/8.1/8/7, press "Windows + R" hotkeys to bring up the "Run" box, input devmgmt.msc and hit Enter.
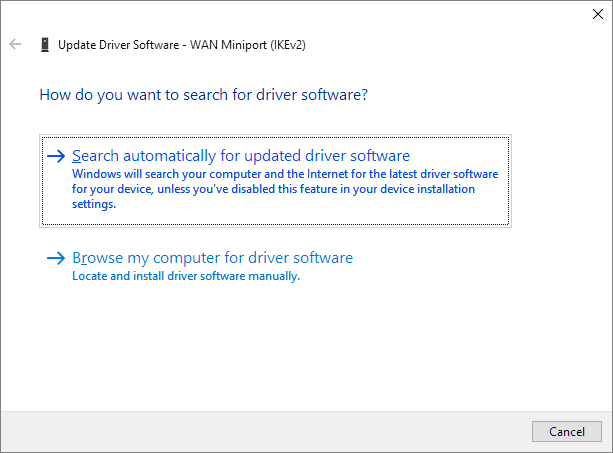
Step 2: In Device Manager, expand Network adapters, and right-click on the network driver and choose "Update driver software".
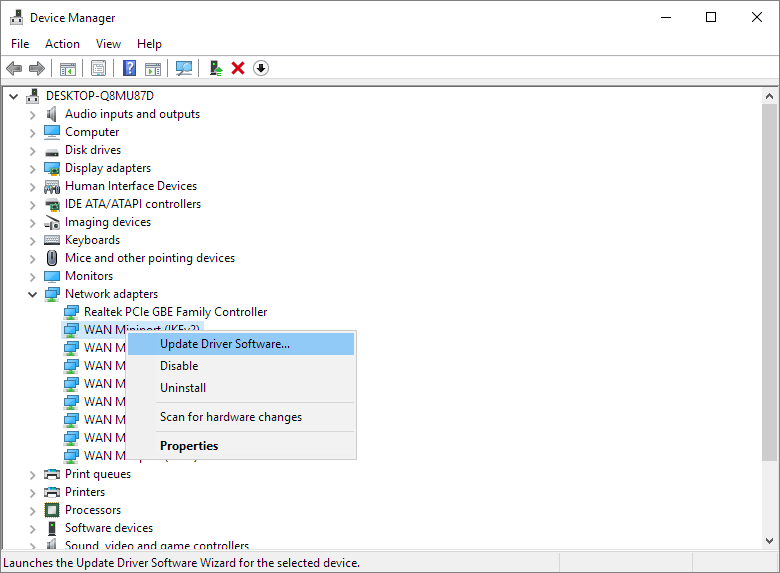
Step 3: When prompted, choose "Search automatically for updated driver software" and click "OK".
Restart your system once the latest driver is installed.
How to protect data from 'The semaphore timeout period has expired' error
Various hard drive/network drive issues often involve data, and even with available fixes, the semaphore error should not be overlooked.
Back up hard drive
Backup is a crucial aspect of operating system and data protection, yet it's often overlooked. However, when a system crashes, the hard drive is formatted, or a partition disappears, the importance of backup becomes starkly evident. Fortunately, Windows offers free backup solutions, including Backup and Recovery in Windows 7 and File History in Windows 10, which can be used to safeguard hard drive data. It's essential to utilize these tools to prevent data loss and ensure business continuity.
Qiling Backup, a popular backup software, offers versatility in all backup purposes, including system backup, hard drive/partition backup, and file backup. Its scheduling feature allows users to set backup tasks daily, weekly, or monthly, making it a preferred choice over Windows built-in programs for many worldwide users.
Recover hard drive data for Free
If a semaphore error has caused data loss or inaccessibility, Qiling hard disk data recovery software can still rescue the data. It can recover data from an inaccessible hard drive that reports various errors, such as "semaphore timeout period has expired", "invalid raw file system", or "hard drive needs formatting", before it can be used.
Step 1. Select file types and click "Next" to start
To recover data, open Deep Data Recovery, select the desired file types, and click "Next" to initiate the recovery process.

Step 2. Scan the hard drive partition
Select the drive on your hard disk where you lost or deleted files, click "Scan" and let Qiling data recovery software scan for all lost data and files on the selected drive.

Step 3. Check the results
After the scan is completed, you can apply the "Filter" feature or click the "Search files or folders" option to find the lost files on the hard drive.

Step 4. Restore lost hard drive data
Select the files you want to recover and click "Recover" to save them to a different location.
Related Articles
- Fix Micro SD Card Not Detected in PC, Android Mobile Phone or 3DS
- Recover Data from Encrypted (EFS) Hard Drive Partition in Windows
- Free Fix Hard Drive Partition Shows 0 Bytes Error in Windows 11/10/8/7
- Kingston Flash Drive Recovery
- How to Recover Deleted Safari History on Mac
Safari history, unlike local files that can be retrieved from Trash after accidental deletion, is permanently lost once deleted. However, if the user genuinely needs to recover their Safari history, this article aims to provide assistance in doing so. - Recover Deleted WhatsApp Messages on iPhone/Android with 4 Easy Ways
Accidentally deleted some essential WhatsApp messages? You can recover deleted WhatsApp messages on your iPhone with some quick fixes and professional software, even if you're using an Android device.