What Is macOS Catalina | Upgrade macOS Catalina Guide
What Is macOS Catalina
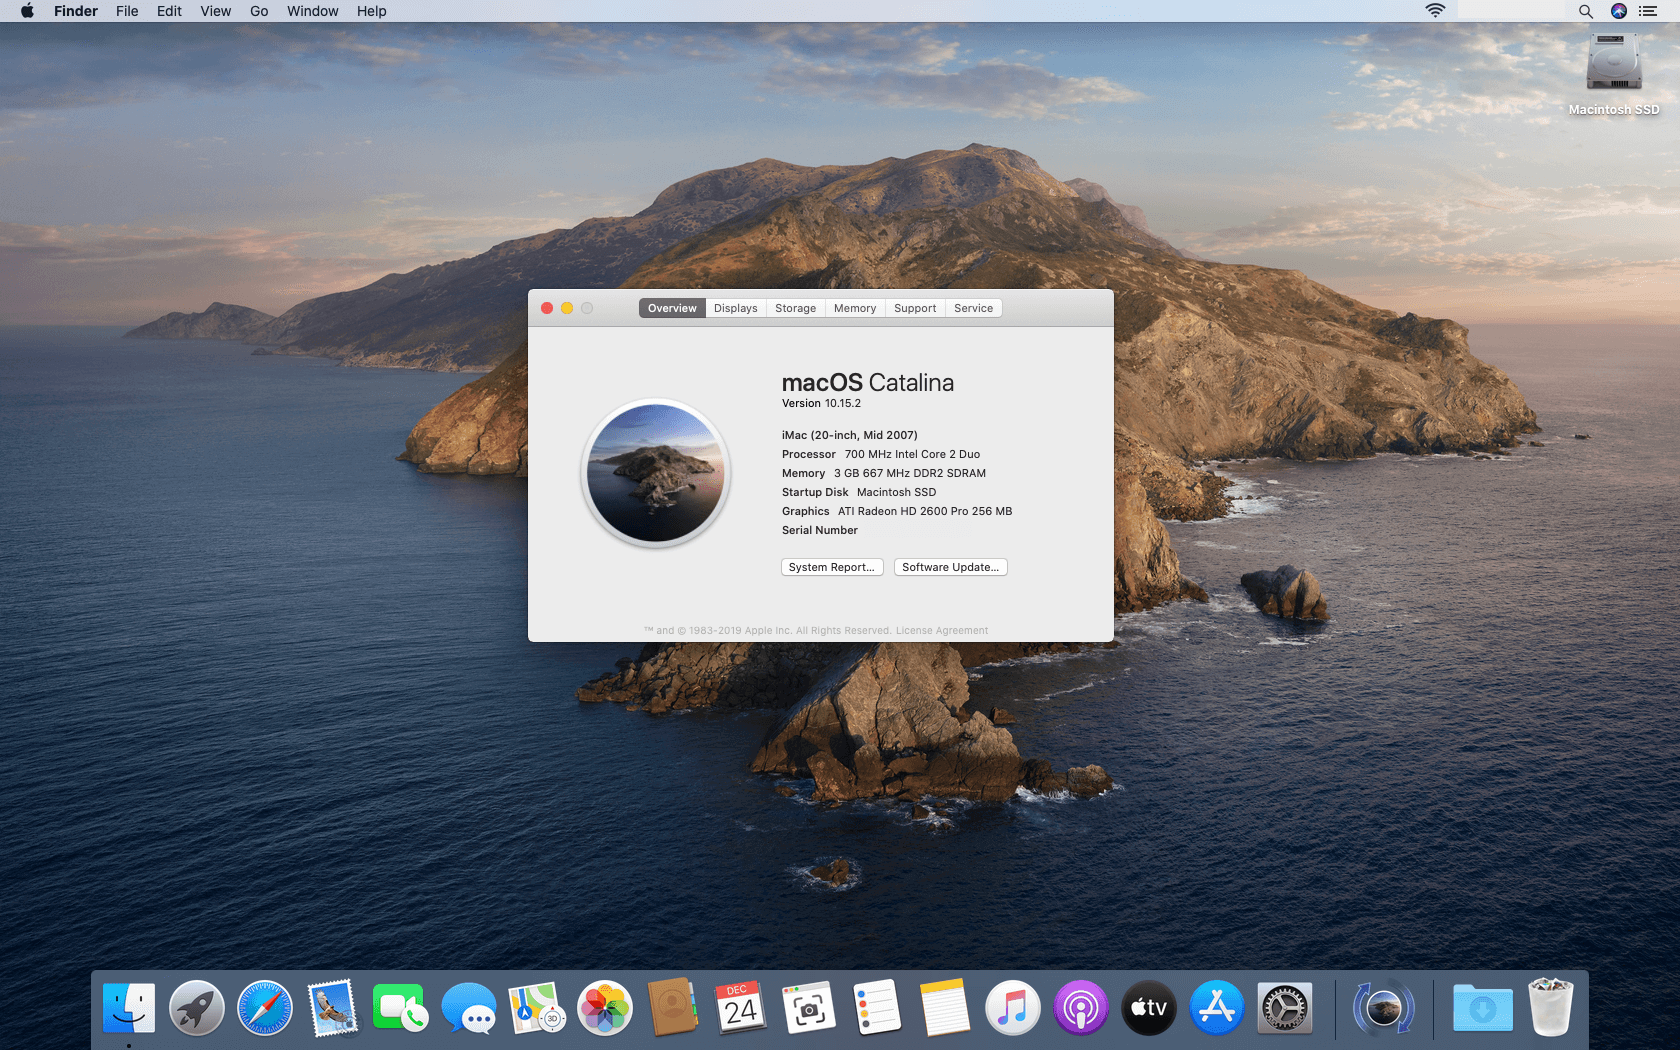
macOS Catalina was released on October 7, 2019, as the 16th version of the Mac operating system, named after Santa Catalina Island. It is the first macOS to support only 64-bit applications and marks the last significant version number of 10.
After macOS Catalina, Apple released macOS Big Sur on November 12, 2020, which was version 11, and support for macOS Catalina ended on October 30, 2022.
New Features of macOS Catalina
macOS Catalina introduced major changes to the system and applications on Mac, including the replacement of iTunes with Music, TV, and Podcasts apps, and the introduction of a new Finder sidebar and Quick Actions. The operating system also brought improved security features, such as Gatekeeper and XProtect, and enhancements to the Touch Bar on compatible Macs.
- Photos Redesigned
- Find My APP
- Sidecar
- Remove iTunes
- Screen Time Limit
- Safari Updates
- Voice Control
- Reminders
- New Security and Privacy Features
macOS Catalina has undergone significant improvements, including hardware and software enhancements. Two key upgrades are notable:
1. The iPad can be used as a drawing tablet with Sidecar, allowing users to use their iPad as a second screen.
2. Screen Time allows users to set communication limits, helping prevent children from interacting with strangers online, and provides reports on how much time is spent on specific apps.
Which Mac Models Are Compatible with macOS Catalina
Here are Mac models compatible with macOS Catalina, and you can check if your Mac can run it by referring to this list:
- MacBook Pro in mid-2012 and later
- MacBook Air in mid-2012 and later
- MacBook in early 2015 and later
- iMac Pro 2017
- iMac in late 2012 and later
- Mac mini in late 2012 and later
- Mac Pro in late 2013 and 2019
Is macOS Catalina Still Usable
Apple support for macOS Catalina ended on October 30, 2022, making it necessary for users to upgrade to newer versions for continued support.
How to Update to macOS Catalina
If your Mac is compatible with macOS Catalina, you can follow the steps below to update your Mac to macOS Catalina. First, make sure your Mac is connected to a power source and has enough free space on the startup disk to download and install the update.
Step 1. Backing up your Mac is a crucial step to protect your data in case something goes wrong during an update. By creating a backup, you can ensure that your important files, documents, and other data are safe and can be restored if needed.
Step 2. Open the "APP Store" on your Mac, and type macOS Catalina in the search bar.
Step 3. Click "Get" to download the updated files.
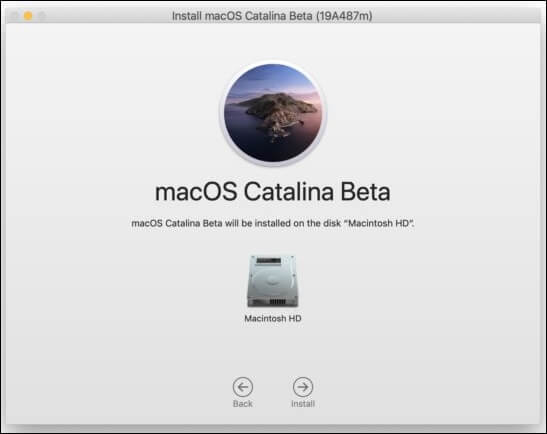
Step 4. Click "Continue" to proceed when an Install macOS Catalina app opens automatically.
Step 5. Click "Agree" in the windows to confirm the installation.
Step 6. Click "Install," and macOS Catalina will be installed on your Mac's startup disk, which is the default setting.
When your Mac restarts, follow the on-screen instructions to set up and start using macOS Catalina.
After updating to macOS Catalina, users may experience data loss during the update process. To recover lost data, users can utilize third-party software, such as Deep Data Recovery for Mac, which can effectively and easily retrieve lost data.
Deep Data Recovery
- Recover lost data on your Mac with ease, including documents, photos, audio, music, emails, and more.
- To recover deleted files from the Trash, formatted hard drives, memory cards, digital cameras, and other storage devices, you can use specialized software. These tools scan the device for recoverable files and allow you to preview and select the ones you want to recover.
- Support data recovery from unbootable Macs or recovering lost data due to update progress, allowing users to restore their important files and get back to work.
macOS Catalina VS. Monterey
macOS Monterey was released on June 7, 2021. It can be run on the following Macs: MacBook (2015 and later), MacBook Air (2013 and later), MacBook Pro (2013 and later), Mac mini (2014 and later), iMac (2014 and later), iMac Pro (2017 and later), and Mac Pro (2013 and later).
| macOS Catalina | macOS Monterey | |
|
Mac models |
any Mac Pro Mac mini in late 2012 and later |
Mac mini 2014 or later Mac Pro 2013 or later |
| iMac models | any iMac Pro iMac in late 2012 and later |
any iMac Pro iMac autumn 2015 or later |
| MacBook models | MacBook 2015 and later MacBook Pro 2012 and later MacBook Air 2012 and later |
MacBook 2016 or later MacBook Air 2015 or later MacBook Pro 2015 or later |
The main differences between macOS Catalina and Monterey are:
User interface: macOS Monterey has introduced significant changes to the user interface, including the addition of sidebars to applications and curved corners to Finder windows. Additionally, most application icons have been updated to round rectangles, giving the operating system a neater and more streamlined appearance.
Control Center: The Control Center, a feature previously exclusive to iOS, was first introduced in macOS Big Sur and is also available in Monterey. It enables users to swiftly access applications and tasks, and a new indicator was added to alert users when their Mac's microphone is in use.
Safari: Compared to macOS Catalina, Safari on macOS Monterey has made improvements, including reduced energy consumption and the addition of new features such as a customizable homepage background and contents, built-in web page translation, and web page previews.
Messages and FaceTime: In Messages, you can pin conversations to the top of the list, mention people in group chats, and add GIFs on Monterey. FaceTime also allows users to use Portrait mode to blur their background, and invite anyone to a call, even if they do not use an Apple device.
Upgrade macOS Catalina to Monterey
To upgrade to macOS Monterey, first check the table to ensure your Mac is compatible, then free up space on your Macintosh HD to ensure 26GB of available storage.
Steps to upgrading macOS Catalina to Monterey:
Step 1. Download the macOS Monterey installer on your Mac.
Step 2. Before upgrading your Mac's operating system, make sure to back up your files using Time Machine, which can be set to automatically backup your data at regular intervals. This precautionary measure ensures your files are protected in case anything goes wrong during the upgrade process.
Step 3. Launch the Monterey installer.
Step 4. When the Install macOS Monterey app opens, click "Continue" to proceed.
Step 5. Click "Agree" in the windows to confirm the installation.
Step 6. After clicking "Install," macOS Monterey will be installed on your startup disk by default.
When your Mac restarts, follow the on-screen instructions to set it up, and your Mac will be upgraded from Catalina to Monterey.
macOS Catalina VS. Ventura
macOS Ventura was launched on October 24, 2022. The following Mac models are compatible with macOS Ventura: MacBook (2015 and later), MacBook Air (2018 and later), MacBook Pro (2017 and later), iMac (2017 and later), iMac Pro (2017), Mac Pro (2019 and later), Mac mini (2018 and later).
- MacBook Pro introduced in 2017 or later
- MacBook Air introduced in 2018 or later
- MacBook introduced in 2017 or later
- Mac mini introduced in 2018 or later
- iMac introduced in late 2017 or later
- iMac Pro
- Mac Studio
- Mac Pro introduced in 2019 or later
Compared to macOS Catalina, macOS Ventura has several new features, including:
- Mail: improve the function of Mail, including smart search correction, undo send, missing recipients and attachments, etc.
- Safari's enhancements include features like sharing, tab groups, and pinned tabs within tab groups, allowing for more organized and efficient browsing experience. Additionally, the browser now offers web page image translation, making it easier to navigate and understand content from different languages.
- Passkeys on macOS Ventura provide a more secure alternative to passwords, offering a safer sign-in method for users.
- Continuity Camera: users can use their iPhones as their webcam.
- Accessibility: background sounds are now available on your Mac.
- The clock app on iPad and iPhone is now available on Mac, allowing for smooth continuity between devices.
Upgrade macOS Catalina to Ventura
To upgrade to macOS Ventura, ensure your Mac is compatible with the operating system, and have at least 26GB of available storage on your Mac's startup disk.
Steps to upgrading macOS Catalina to Ventura:
Step 1. Go to the Apple menu in the corner of your screen and select "System Preferences".
Step 2. Before upgrading your Mac, it is a good idea to back up your data using Time Machine. This will ensure that your files and settings are safe in case something goes wrong during the upgrade process.
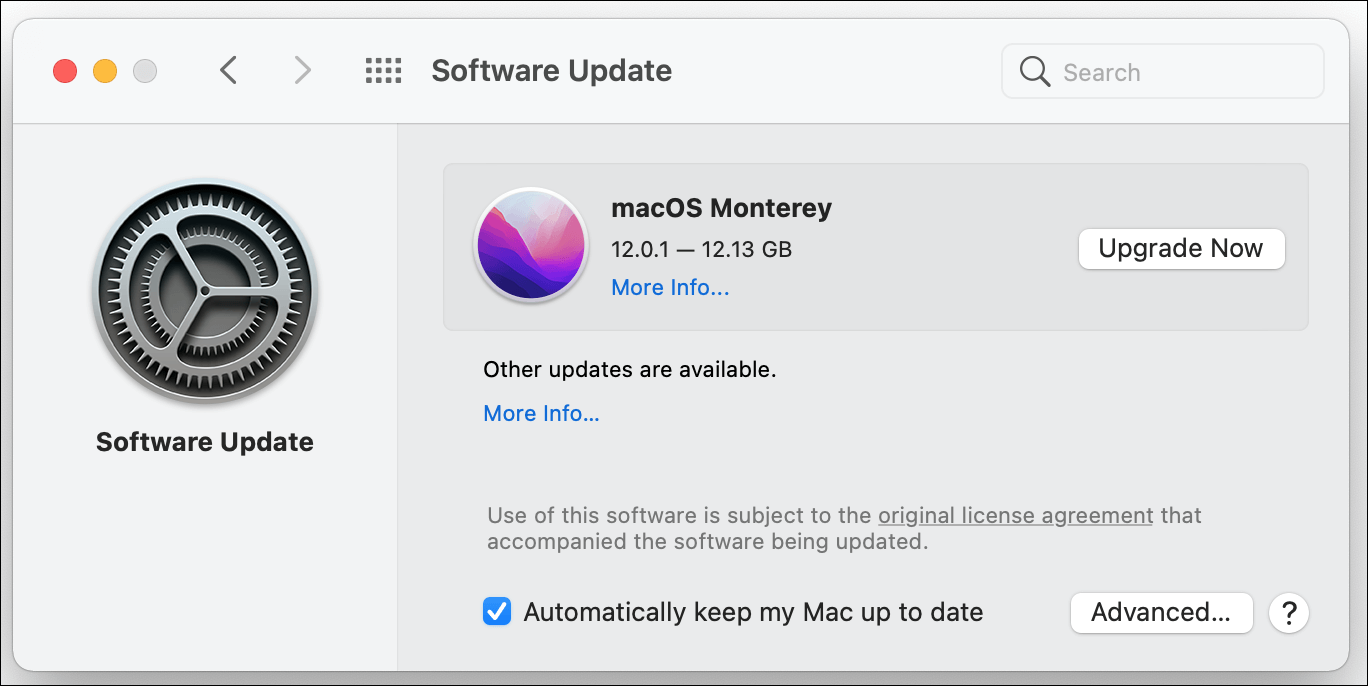
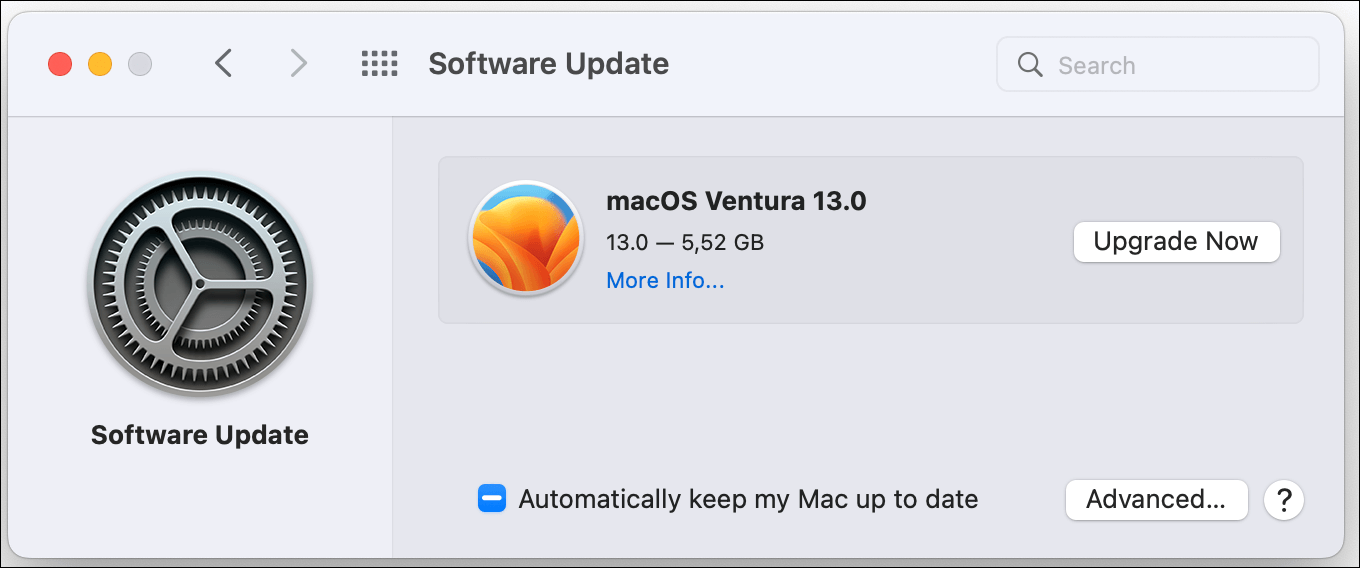
Step 3. Click "Software Update" and follow the prompts to download and install macOS Ventura. Click "Upgrade Now" to initiate the installation process.
Step 4. To install macOS Ventura, click the "Continue" button when the Install macOS Ventura app opens automatically. This will initiate the installation process.
Step 5. Click "Agree" in the windows to confirm the installation.
Step 6. Once you click "Install", macOS Ventura will be installed on your startup disk, which is typically the default location for the operating system on a Mac. This means that your Mac will automatically boot up with the new operating system when you turn it on.
When your Mac restarts, follow the on-screen instructions to set it up, and your Mac will be upgraded from Catalina to Ventura.
What Is macOS Catalina FAQ
Here are some questions people also ask when they search for macOS Catalina:
1. Can I upgrade Catalina to Big Sur?
Check your Mac's compatibility with macOS Big Sur, download the operating system from the App Store, create a bootable USB installer, and reinstall the operating system on your Mac.
2. How long can I stay on macOS Catalina?
macOS Catalina will no longer receive security updates starting in November 2022, so it is recommended to upgrade to the latest version.
3. Does Catalina slow down my Mac?
When you first start up your Mac after upgrading to Catalina or any new version of macOS, it may slow down. This is due to the routine housekeeping chores that your Mac performs, including removing old temporary files and caches, and rebuilding new ones.
4. Which macOS is faster?
Apple does not provide specific speed numbers for macOS, but many users thought that macOS Monterey was the fastest.
Conclusion
Apple announced that support for macOS Catalina would end on October 30, 2022, so users running the operating system are advised to upgrade to a newer version like macOS Monterey or Ventura.
Upgrading to macOS Monterey or Ventura from Catalina is a straightforward process, but it is essential to back up your important files beforehand to prevent data loss. If you have forgotten to make a backup, do not worry - Deep Data Recovery can help you recover your files even from an unbootable Mac.
Related Articles
- SanDisk Unveils 4TB Extreme Portable SSD V2 for Lightning-Fast On-The-Go Storage
- MacBook Pro Full Information | MacBook Pro Models, Features, and Comparison
- NetBIOS: What It is, How It Works and How to Use It
- [Beginner Guide] What Is VMware? What Is It Used for?
- My Computer Turns on but the Screen Is Black Windows 10, How to Fix
Are you learning how to fix the - New Computer Keeps Freezing? Find Causes & Solutions Here
Are you facing issues with your computer freezing and lagging? This article will provide reasons and solutions to overcome this problem, so keep reading to find out more!