Dish Hopper External Hard Drive Format: What Is the Best & How to Set [Ultimate Guide]
The Dish Hopper allows users to share or store recordings using external hard drives. However, users may need to format the hard drive for various reasons such as improving security, changing the drive's function, or installing a new file format, or to troubleshoot hardware issues.
If you're looking to change the format of your Dish Hopper external hard drive but aren't sure about the best format, pleae read this article, you'll find the best format for your Dish Hopper external hard drive and a step-by-step guide on how to set it up. Let's dive into the details!
What Is the Best Dish Hopper External Hard Drive Format?
The best file system format for your Dish Hopper external hard drive depends on your needs, but some common options include various external hard drive formats.
- FAT32: The Windows File Allocation Table 32 (FAT32) is the oldest file system still in use today, replacing the FAT16 format used by MS-DOS and Windows 3 with the introduction of Windows 95.
- exFAT: The exFAT file system has been available to users since its introduction in 2006, following service pack updates for Windows XP and Windows Vista.
- NTFS: Windows typically uses the NTFS file system for formatting drives when it's installed, which is a newer and more reliable file system.
- Ext2: The JFS (Journaling File System) is a file system for the Linux kernel, created by French software developer Rémy Card as an alternative to the extended file system.
- Ext3: The Linux kernel often uses a journaled file system like ext3 or third extended filesystem, which ensures data integrity even in case of an abrupt system shutdown.
| Features | FAT32 | exFAT | NTFS | Ext2 | Ext3 |
|---|---|---|---|---|---|
| Speed | 4-5 MB/s | 15 MB/s | 25 MB/s | 1.44 MB/s | 120 MB/s |
| Size Limit | 2TB | 16 EiB | 256TB | 4TB | 32TB |
| Security | No recoverability and file compression | No encryptions and user permissions | Provide encryption, recoverability, and user permissions | No protection for malware attacks and software defects | Prevents loss of data integrity |
| Performance | Best on small storage volumes | Improved performance on USB and flash drives | Best performance on large files | Extend storage limits and improve performance | Good performance on large files |
Although ext3 is as good as NTFS in supporting large files and has a better hard drive speed, it is better suited for Linux kernel than Windows, whereas NTFS is more suitable for Windows-based storage devices.
ExFAT is a better choice for portable storage devices like external hard drives due to its improved efficiency in managing power and memory. It also allows for seamless use with both Windows and macOS. The only reason to use FAT32 now is to access files from older operating systems. Ultimately, the decision comes down to personal preference, with ExFAT being a more efficient and versatile option for most users.
Set the Best Dish Hopper External Hard Drive Format
To set up the best format on your Dish Hopper external hard drive, you have two excellent options. First, you can use the built-in formatting feature on your Dish Hopper to format your external hard drive, or second, you can use a computer to format the drive using the Disk Management tool or a third-party formatting software. The latter option is recommended if you're not sure which format to use or if you need more advanced formatting options. By following these steps, you can ensure that your Dish Hopper external hard drive is properly formatted and ready for use.
1. Set Dish Hopper External Format via Qiling Disk Master
To set your Dish Hopper External format using Qiling Disk Master, you can use this free disc manager to easily manage your Windows partitions.
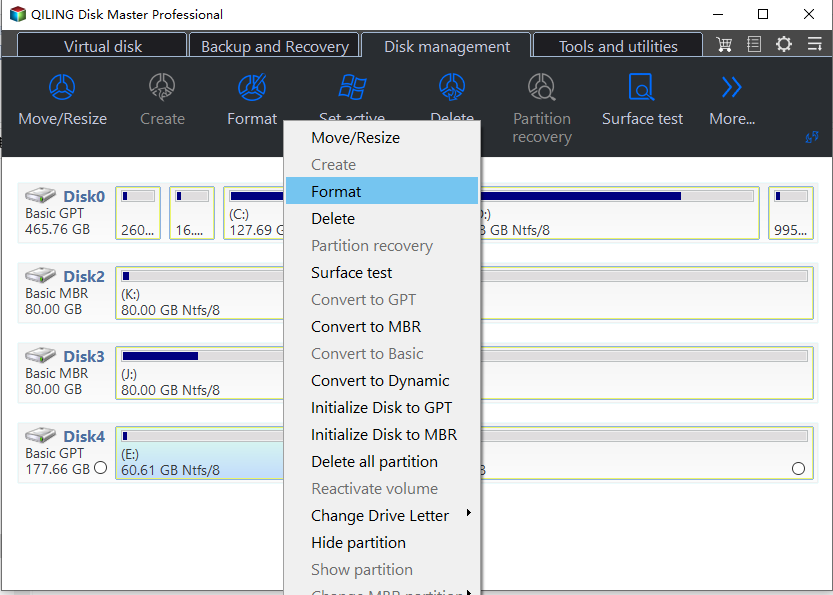
Step 1. Launch Qiling Disk Master, right-click the partition on your external hard drive/USB/SD card which you want to format and choose the "Format" option.
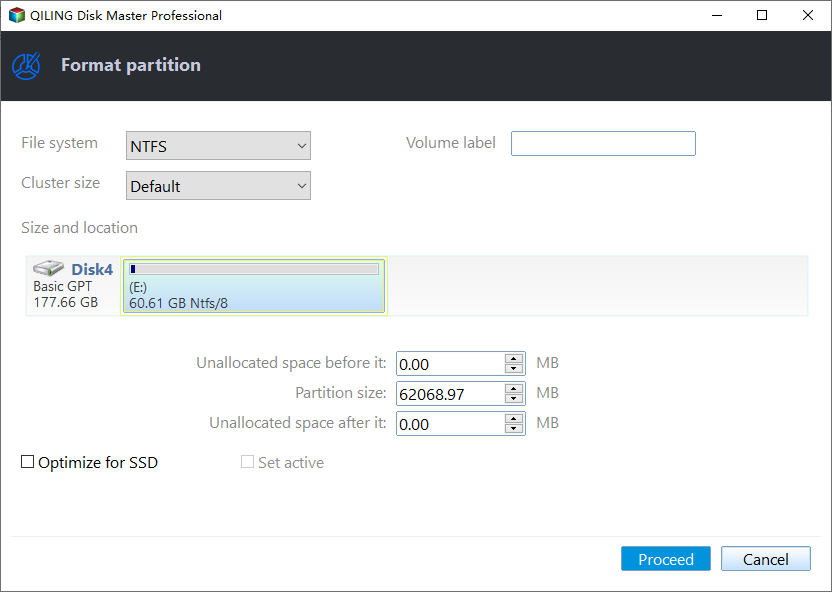
Step 2. Assign a new partition label, file system (NTFS, FAT32, EXT2, EXT3, EXT4, exFAT), and cluster size to the selected partition.
Step 3. 1. Connect your external hard drive/USB/SD card to your computer.
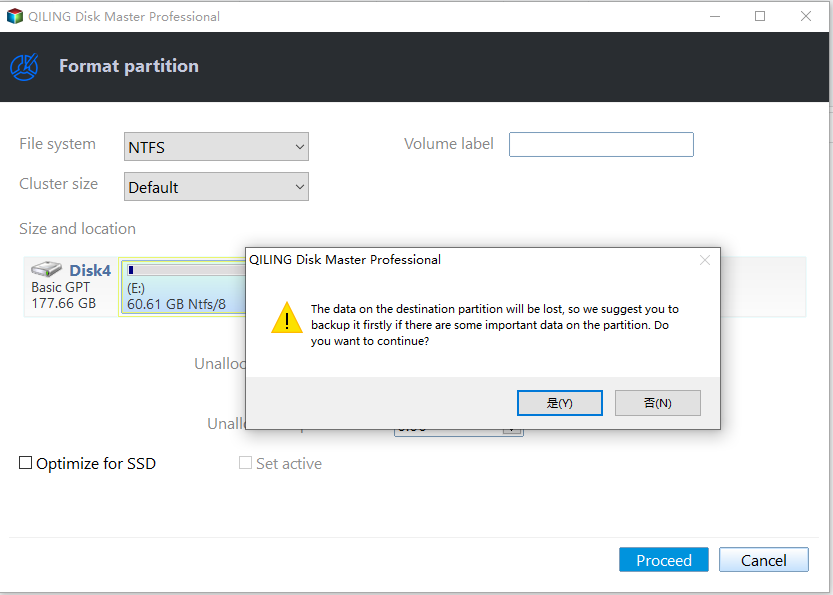
Step 4. In the Warning window, click "Yes" to continue.
Set the best Dish Hopper external hard drive format by Qiling Disk Master today! Besides setting the format, you can also easily convert NTFS to FAT32, check disk, and fix the corrupted file system.
2. Set Dish Hopper External Format via File Explorer
To set the external format of a Dish Hopper hard drive, you can use Windows File Explorer if your computer has recognized the drive, eliminating the need for additional software. This method allows for formatting the disc without issues, although it may not offer the same level of customization as specialized software like Qiling Disk Master.
To set the Dish Hopper external format via Windows File Explorer, navigate to the "This PC" section, right-click on the "Dish Hopper" icon, and select "Properties." In the Properties window, click on the "Hardware" tab and then click on the "Dish Hopper" device.
Step 1: Connect your Drive to the Computer
First and foremost, connect your Dish Hopper drive to your computer via a USB port.
Step 2: Open File Explorer
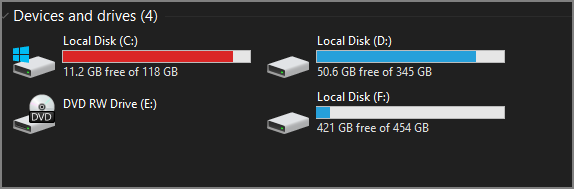
Open "Windows File Explorer" in the Search menu, click on "This PC" and find the drive under the "Devices" and drive section.
Step 3: Format the Hard Drive
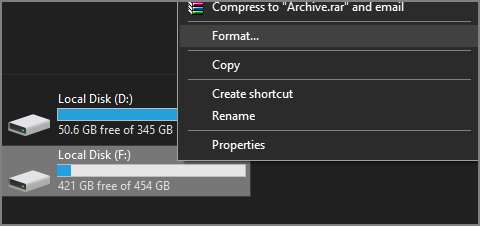
You need to right-click on the Dish Hopper drive and select "Format" from the menu.
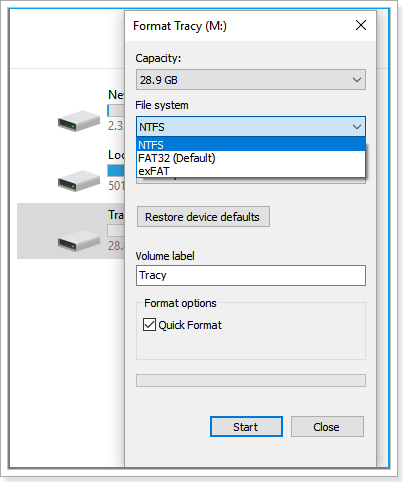
Step 4: Set Best Format
To set up the format for your external drive, go to the Format window and select the desired format under the "File System" section. You can also set the capacity and volume label at this time. Check the "Quick Format" box and click "Format" to complete the process. This will put the drive in the best external format, specifically the Dish Hopper format.
Conclusion
This guide is about setting up the best format on your Dish Hopper external hard drive. Formatting your hard drive is necessary when you want to set up a new format or prevent security risks. Now that you've read this, you should know how to do it. If you found it helpful, please share it with friends and let us know how we can improve the guide in the comments.
FAQ of Dish Hopper External Hard Drive Format
After reading the article, you must have some questions. You'll find answers to those questions here:
1. How do I use an external hard drive with Dish Hopper?
To use an external drive with your DISH Hopper, you'll need to connect the external drive to the Hopper using a USB cable, then navigate to the "Settings" menu on your Hopper and select "External Storage." From there, you can format the external drive, which will allow you to use it to store recordings and other content.
Step 1. Connect your external drive to your DISH Hopper receiver.
Step 2. Call the DISH Hopper network to activate your hard drive if you're connecting it for the first time.
Step 3. They will prompt you to the authentication window; click Yes to authenticate. Now, you can use it to send your recordings.
2. What format are DVR hard drives?
The most common DVR hard drive formats include FAT32, NTFS, EXT2, and exFAT.
3. Why is my DVR not recognizing my hard drive?
If your DVR is not recognizing the hard drive, it may be due to a faulty or loose connection, incorrect hard drive settings, or a corrupted DVR system. You may need to check the hard drive's power and data cables, reset the DVR's hard drive settings, or even perform a system reset or reformat the hard drive to resolve the issue.
- The ribbon on the hard drive is torn.
- The SATA port on the main board has failed.
- There can be insufficient power.
- An incompatible hard drive was installed, preventing the Optiview DVR/NVR from reading it.
Related Articles
- Disk Boot Failure - Insert System Disk and Press Enter in Windows 10
- HP Laptop Stuck on Loading Screen - Why & Fixes
- How to Export Chrome Bookmarks to Safari - 2024 Updated
- Transfer Data from Mac to Mac (Old to New) - 6 Tested Methods
- Working on Updates 100% Complete Don't Turn Off Your Computer [6 Fixes]
When your computer freezes on the “Working on updates 100% complete” screen, don't panic! There are 6 fixes to safely complete updates without shutting down. Read on to learn how to troubleshoot and resolve this issue. - How to Fix Xbox External Hard Drive Not Working [Full Guide in 2023]
Xbox external hard drive not working can be a frustrating error, but fortunately, this guide explores eight effective solutions to fix this issue.