How to Fix Drag and Drop Not Working [8 Ways Included]
Why Is Drag-and-drop Not Working
The drag-The drag-and-drop functionality is a convenient feature that enables smooth system operations, allowing users to quickly move files, images, or other items from one location to another. However, when this feature malfunctions, it can be difficult and hinder productivity. If you're experiencing issues with drag-and-drop not working, it's essential to troubleshoot the problem to resolve the issue and maintain seamless system functioning.
Let us first understand the key causes of this problem.
- Hardware issues. The primary cause of the drag-and-drop not working problem may be mouse or touchpad issues.
- Improper setting. The system may malfunction due to incorrect operating system or program settings.
- Touchscreen issues. To resolve drag-and-drop issues on your system, ensure the touch screen driver is calibrated and up-to-date, as any touchscreen problems can cause problems with this feature.
- Third-party software issues. Third-party software, such as antivirus or security tools, can interfere with the drag-and-drop feature.
- Corrupted system files. Any system file issues, such as deleted or corrupted files, can cause drag-and-drop problems.
8 Ways to Fix Drag-and-drop Not Working
After experiencing issues with the drag-and-drop feature not working, it's time to explore its solutions. By trying these methods one by one, you can easily get the drag-and-drop feature up and running. The top eight fixes for this problem include a series of troubleshooting steps that can be used to resolve the issue.
- Way 1. Run the SFC and DISM Scans
- Way 2. Restart File Explorer
- Way 3. Check Mouse Drivers
- Way 4. Install Windows Updates
- Way 5. Run Hardware & Devices Troubleshooter
- Way 6. Edit Windows Registry
- Way 7. Perform a Clean Boot
- Way 8. Reset your PC
Way 1. Run the SFC and DISM Scans
The issues with drag-and-drop can be caused by corrupted system files. To resolve this, run the System File Checker (SFC) and Deployment Image Servicing Management (DISM) on your system. The SFC scan identifies and replaces corrupt files, while the DISM scan directly replaces these files from Microsoft. This can help resolve the problems you're experiencing with drag-and-drop.
Here are the quick steps to run SFC and DISM scans in one paragraph:
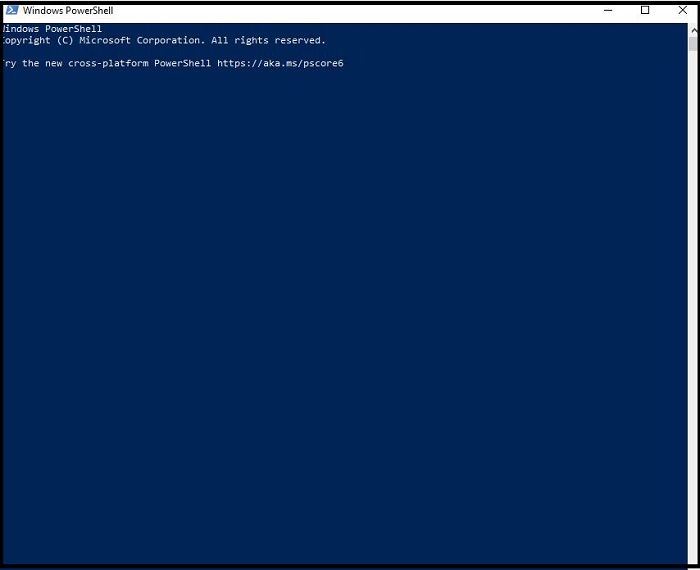
Step 1. Type "Powershell" in the search bar.
Step 2. Select the "Run as Administrator" option from the right-side menu.
Step 3. Type the command sfc / scannow and press enter.
Step 4. Wait until the SFC scan is complete.
Step 5. The command DISM /Online /Cleanup-Image /RestoreHealth is used to repair and restore Windows image. It checks the integrity of the system, fixes any corrupted files, and restores the system to a healthy state.
Step 6. Wait until the DISM scan is complete, then reboot your system to check if drag-and-drop is functioning properly.
Way 2. Restart File Explorer
To restart File Explorer, you can simply close it and reopen it, or you can restart your entire system if you're experiencing issues. If you're experiencing freezing issues, you can try restarting File Explorer by closing it and then reopening it. If that doesn't work, you can restart your entire system by pressing the Windows key + X and selecting the Restart option. Alternatively, you can also restart your system by going to the Start menu and selecting the Power button, then selecting Restart.
Step 1: To open the Task Manager, go to the "Start" menu and select the "Task Manager" option.
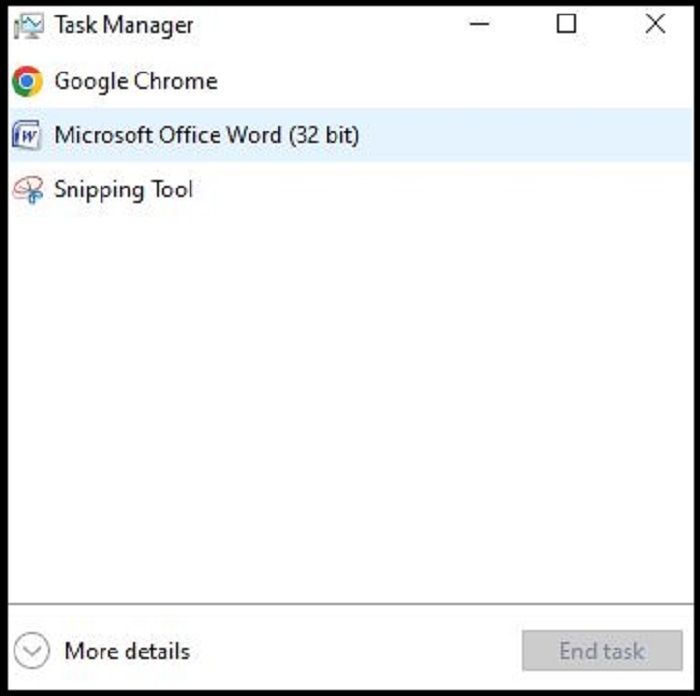
Step 2: To troubleshoot issues with Windows Explorer, select the "Processes" option from the Task Manager, and then choose the "Windows Explorer" option from the list of running processes.
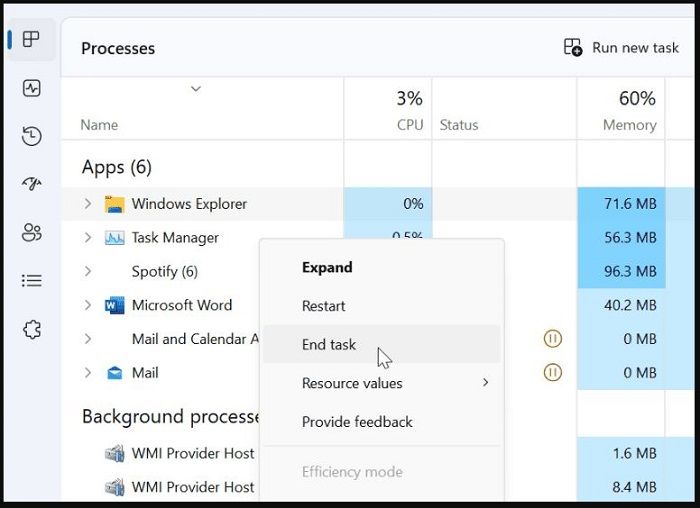
Step 3: Select "End task" from the options to close the Task Manager and the desktop will reappear after a second.
Step 4: To open File Explorer, select the "Run new task" option, type "explorer.exe," and select "OK."
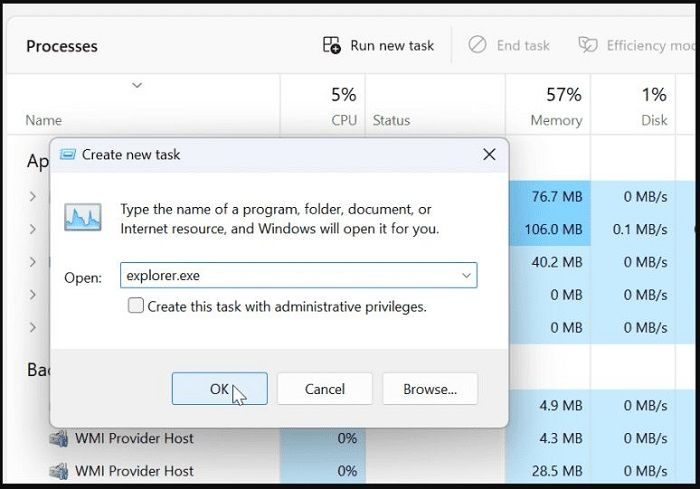
Step 5: The file explorer will restart, and upon completion, it will confirm whether the drag-and-drop feature is functioning correctly.
Way 3. Check Mouse Drivers
The problem with the drag-1. Check the mouse driver version in the Device Manager. 2. If the driver is outdated, update it from the manufacturer's website or through Windows Update.
Step 1: Select the device manager.
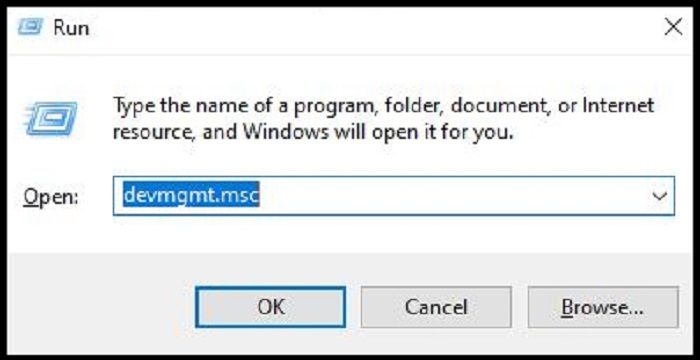
Step 2: Press "Windows + R" to open the "Run" dialogue.
Step 3: Enter the "devmgmt.msc" and select the "OK" option.
Step 4: Select and expand the "Mice and other pointing devices."
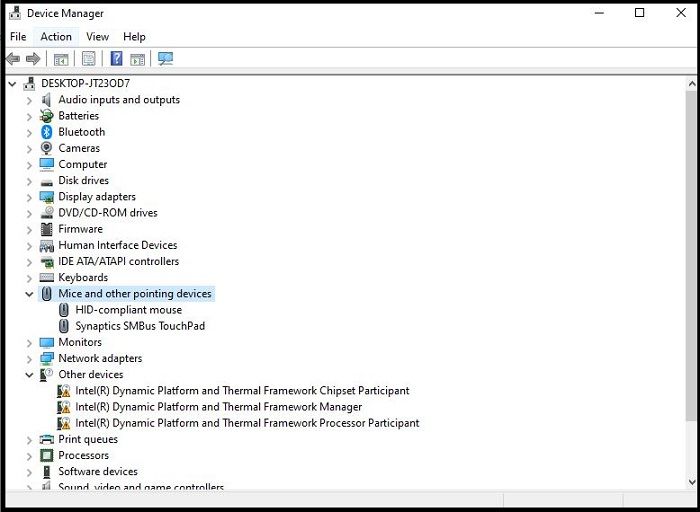
Step 5: To update your mouse driver, right-click on your mouse and select the "Update Driver" option from the context menu. Alternatively, you can launch the mouse custom software to check for any available updates. This will ensure your mouse is running with the latest drivers, which may improve its performance and functionality.
Way 4. Install Windows Updates
The drag-The and-drop feature may stop functioning due to Windows update issues, but can be resolved by installing Windows updates. To do this, follow these quick steps:
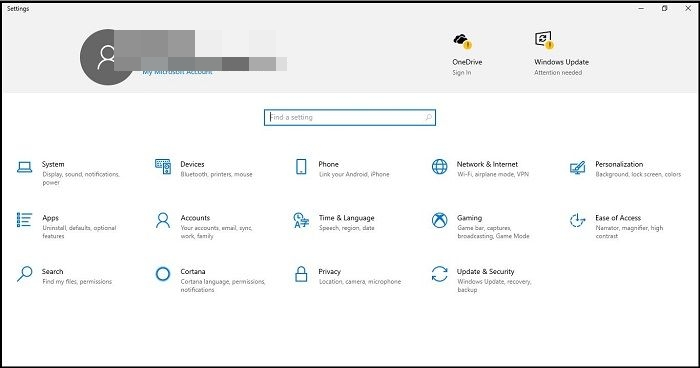
Step 1: Open the "Settings" option on your system.
Step 2: Select the "Update & Security" option.
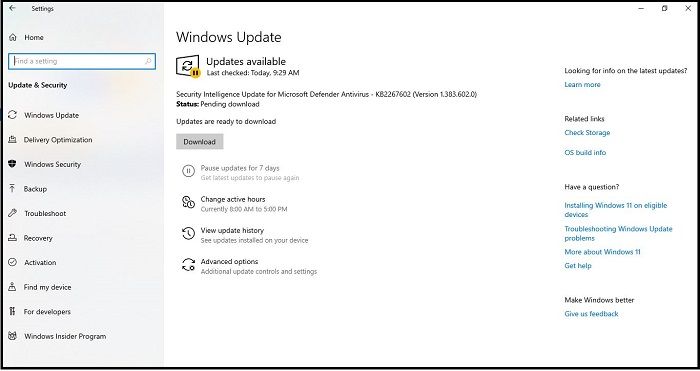
Step 3: Check the Windows Update and then start installing the update.
Way 5. Run Hardware & Devices Troubleshooter
To troubleshoot drag-and-drop issues, run the Hardware and Devices Troubleshooter on your system. This can be done by going to Settings > Update & Security > Troubleshoot settings, then selecting "Hardware and Devices" and following the on-screen instructions. This may resolve the problem.
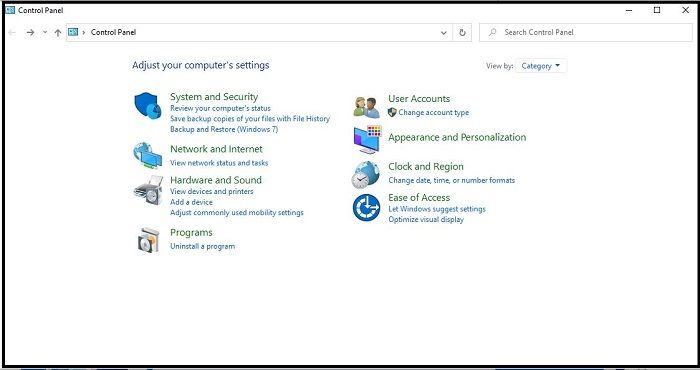
Step 1: Go to the start menu and select "Control Panel."
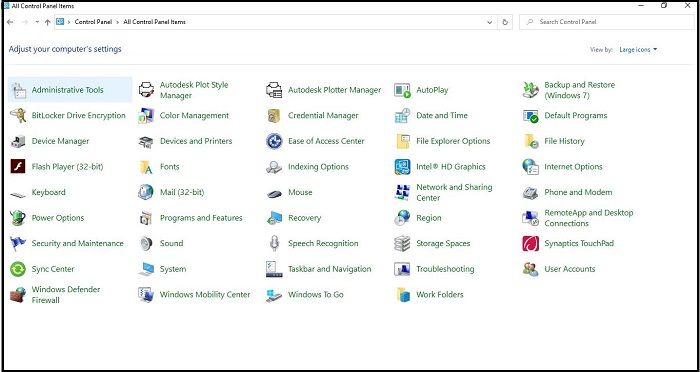
Step 2: Select the "View by" option and choose "Large icons" from the list.
Step 3: Now, select the "Troubleshooting" option.
Step 4: Select the "Hardware and Sound" option.
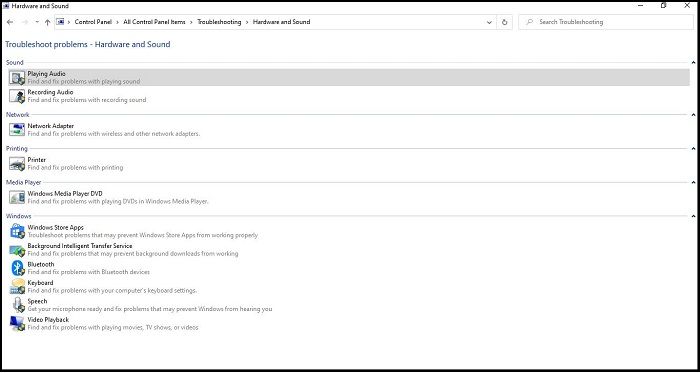
Step 5: Next, choose the "configure a device" option.
Step 6: Press the "Next" option and run the troubleshooter option.
Way 6. Edit Windows Registry
The Windows Registry is a database of settings and information that's essential for software and hardware functioning. To recover from the drag-and-drop problem, editing the Windows Registry is a viable option. The process involves accessing the registry on your system, which can be done by following a series of steps.
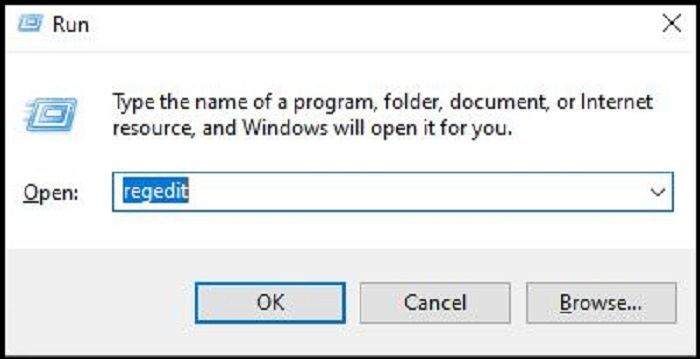
Step 1: Go to the "Start" option and select the "Run" option.
Step 2: Type "regedit" in the text bar and press enter.
Step 3: Select the path Computer\HKEY_LOCAL_MACHINE\SOFTWARE\Microsoft\Windows\CurrentVersion\Policies\System
Step 4: Select "EnableLUA" and the "Modify" option.
Step 5: Change the "Value data" option from 1 to 0.
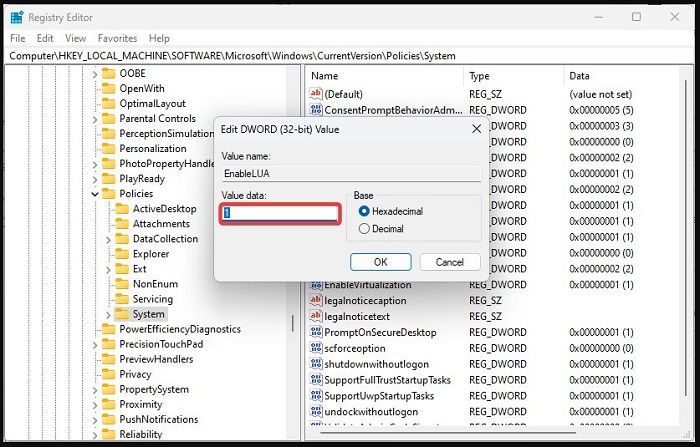
Step 6: Click on "OK" and then restart your system.
Way 7. Perform a Clean Boot
Users often opt for the clean boot option when the drag and drop function doesn't work, as it starts Windows with minimal startup programs and drivers.
To clean boot your system, follow these steps: First, press the Windows key + R to open the Run dialog box, then type "msconfig" and press Enter. In the System Configuration window, click on the "Boot" tab, then select the "Clean boot" option.
Step 1: Open the System Configuration app.

Step 2: To hide all Microsoft services in the Task Manager, go to the "Services" option and select the "Hide all Microsoft services" option.
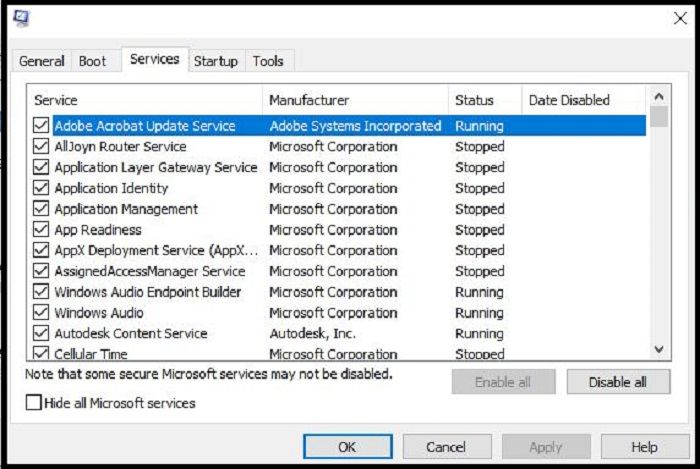
Step 3: Next, select the "Disable all" option.
Step 4: To open Task Manager, go to the "Startup" option and select the "Open Task Manager" option.
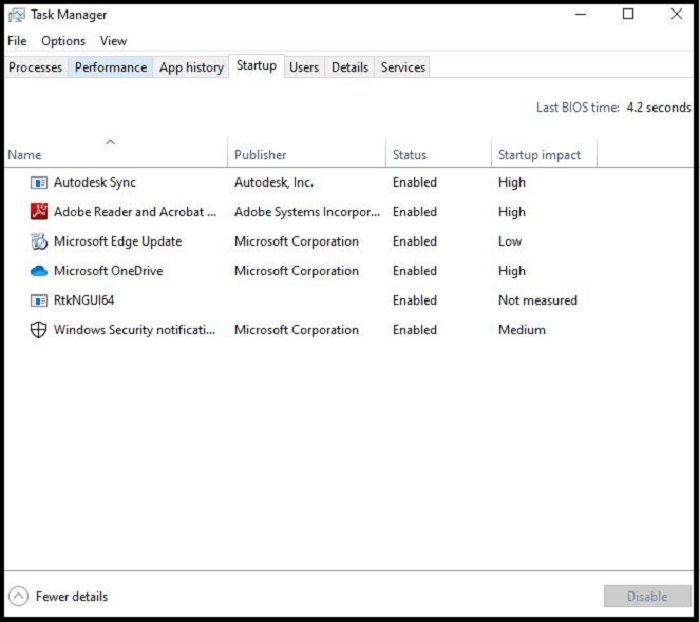
Step 5: Go to the "Task Manager" and select the "OK" option.
Step 6: Now reboot your system.
Way 8. Reset your PC
To reset your system and use drag-and-drop efficiently, follow these simple steps:
Step 1: Go to the "Settings" option.
Step 2: Select the "Update & Security" option.
Step 3: To start the recovery process, select the "Recovery" option and then the "Get Started" option under "Reset this PC."
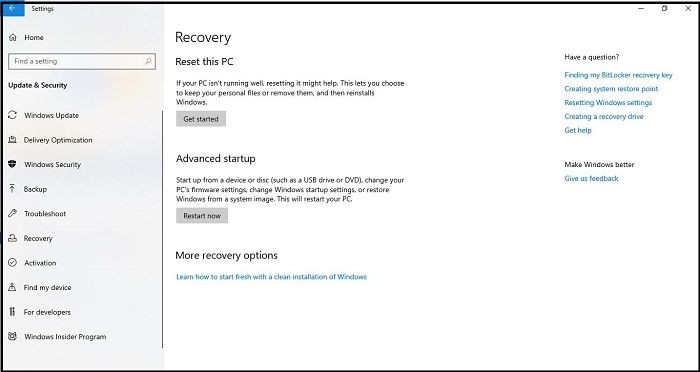
Step 4: Select the "Choose an option" and the "Keep my files" option.

Step 5: Complete the reset option by following the screen instructions.
Additional Guide: How to Backup Files Instead of Drag-and-drop
Many users who have tried various methods to fix the drag-and-drop issue often look for alternative solutions to create a file backup. This helps protect data during power outages or system failures by creating a copy of the files or folders. Fortunately, a suitable option is available, such as Qiling Disk Master Pro.
Qiling Disk Master Pro offers a simple yet intelligent backup solution to prevent data loss, allowing you to automatically back up your file, system, disk, partition, and computer app, with various backup modes such as full, incremental, and differential backups, and save them to local drive, NAS, Security Zone, and Cloud, including creating an image of your SD card and compressing backups for space-saving, with 250G free cloud storage.
Here is how to back up your files.
Step 1. To initiate a backup, click the Select backup contents option.

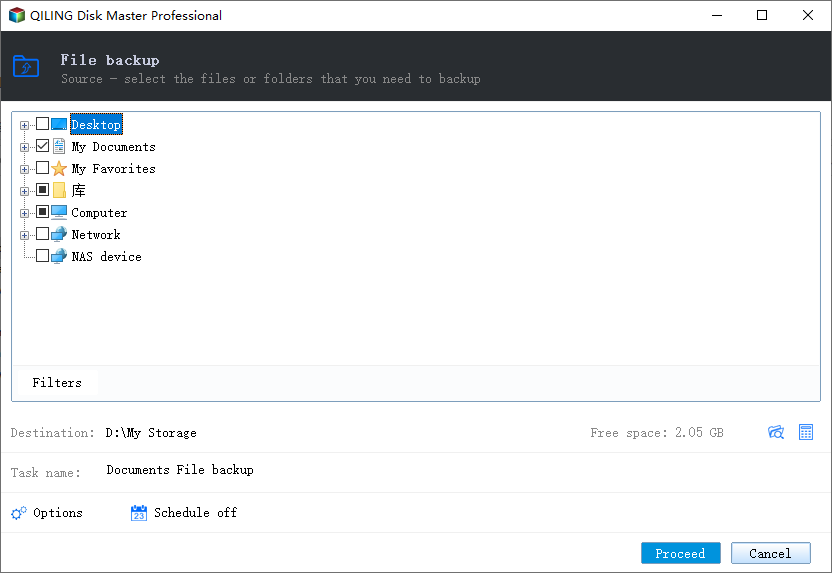
Step 2. There are four data backup categories: File, Disk, OS, and Mail, and clicking on File backup is the next step.
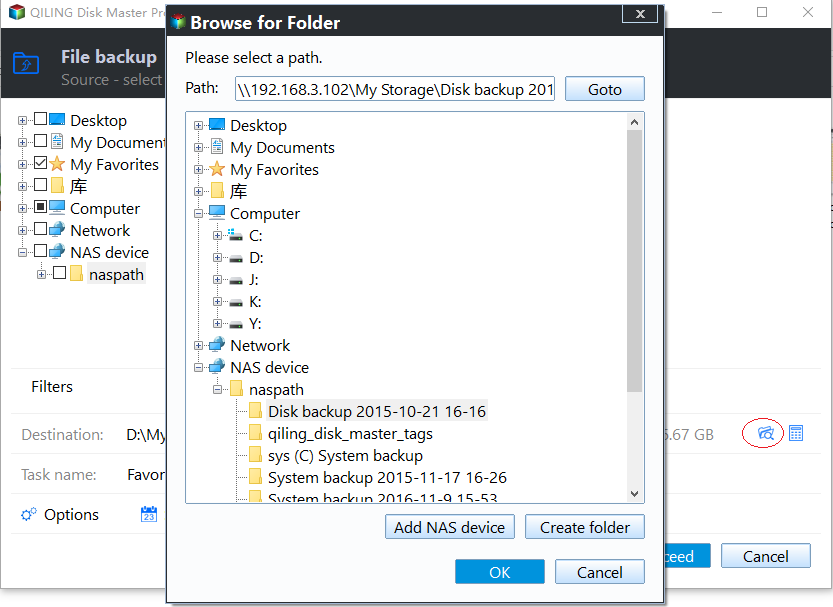
Step 3. On the left, both local and network files will be shown, allowing you to browse and select the desired backup files, and expand the directory to access them.
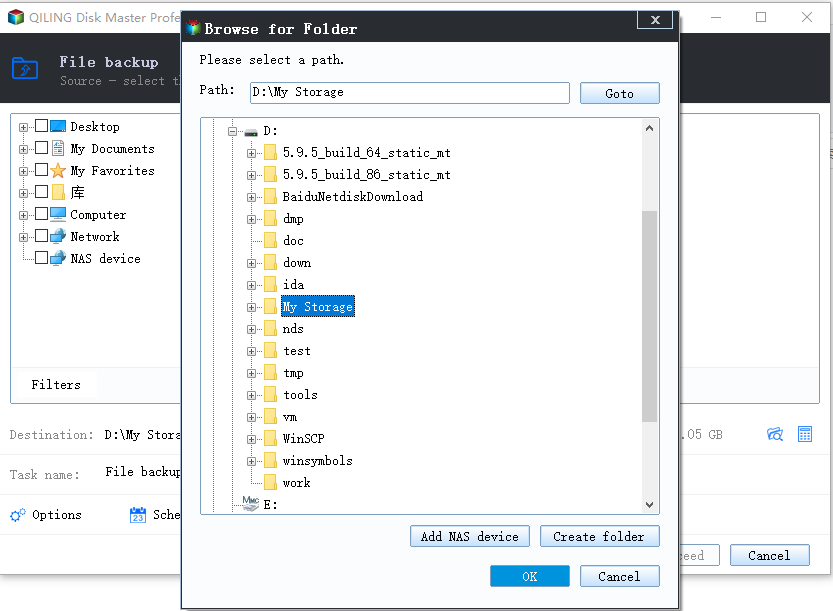
Step 4. Follow the on-screen instructions to choose a location to store the backup.
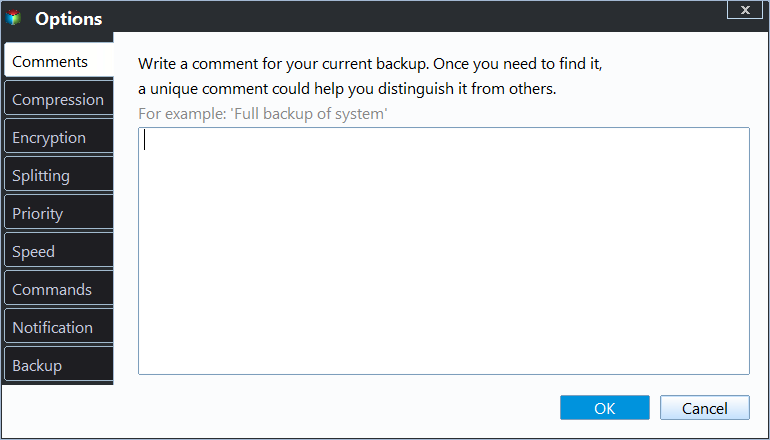
To encrypt the backup with a password, click on "Options" in the "Backup Options" section, then select the desired encryption method. Next, click on "Backup Scheme" to specify the backup schedule, such as daily, weekly, or monthly, and choose the event that will trigger the backup to start. Additional options may also be available to customize the backup process according to your specific needs.
Step 5. The backup may be stored on a local disk, Qiling's online service, or Network-Attached Storage (NAS).
Step 6. Qiling Disk Master allows users to back up data to both a third-party cloud drive and its own cloud drive.
To back up data to a cloud drive provided by a third party, select Local Drive, scroll down to add Cloud Device, and add and log in to your account.
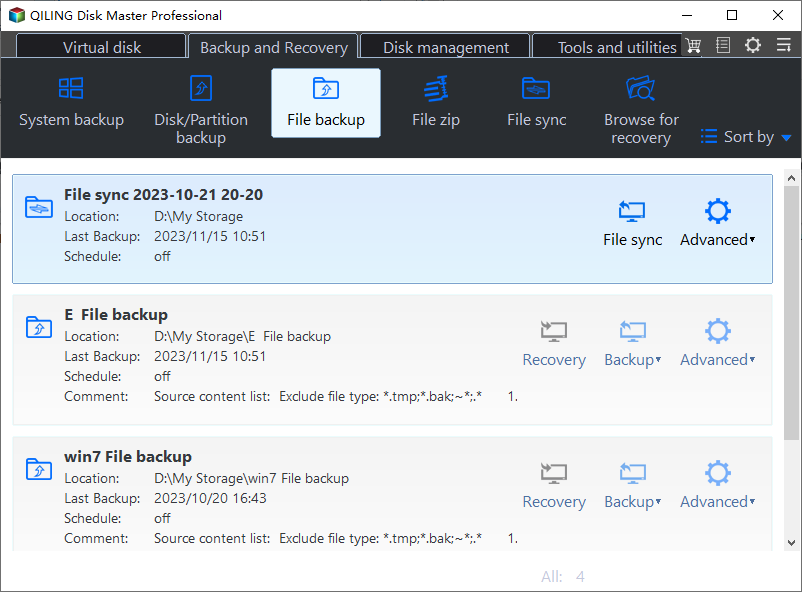
Step 7. To start the backup process, click Proceed. Once the backup job is complete, it will be displayed as a card on the left side of the panel. You can then right-click on the backup job to perform additional actions.
Final Verdict
The drag-and-drop functionality on your system is now worry-free, allowing you to quickly move files or folders for improved efficiency. If issues arise, such as outdated drivers, outdated Windows, or malware, understanding the key reasons can help resolve the problem. The good news is that you can quickly fix the drag and drop not working issue on your system.
To resolve the Windows 11 drag and drop issue, users can try various methods such as system reset, updates, clean boot, or running a troubleshooter. Alternatively, they can use the powerful Qiling Disk Master Pro to back up their files, eliminating the need for drag and drop functionality. Simply download and try it to resolve the issue.
FAQs
1. How do I drag and drop a file?
The steps to use drag-and-drop a file are as follows:
Step 1: Long-press the selected files using the mouse.
Step 2: A thumbnail will appear.
Step 3: Drag the files to the required location on your system.
2. How do I activate drag-and-drop?
The steps to activate drag-and-drop on your system are as follows:
Step 1: Go to the file location selected for drag-and-drop.
Step 2: To drag and drop the file, select it, hold down the mouse button, and move the mouse while keeping the button pressed. This will move the file to the desired location.
Step 3: Press and hold Alt + Tab to quickly switch between open windows on your computer. This keyboard shortcut allows you to navigate through your open applications and find the one you need with ease.
Step 4: To navigate to the desired location, press Alt + Tab to switch between open windows, and once you've reached the desired location, release the Alt + Tab shortcut.
Step 5: To drop the file at the desired location, release the mouse button.
3. How do I drag multiple files into a folder?
To drag multiple files into a folder, you can select the files you want to move by holding down the Ctrl key (or Command key on a Mac) while clicking on each file. Once you have selected all the files you want to move, you can then click and drag them into the desired folder.
Step 1: Go to the location where the desired files are stored, so you can drag and drop them into a single folder.
Step 2: To select multiple files, hold the left mouse button on the top-left portion of the first file and drag the mouse to highlight the files you want to select.
Step 3: Drag the box until all desired files are highlighted.
Step 4: Dragging selected files to another location is a straightforward process once they are highlighted.
Related Articles
- Hard Drive Not Spinning? Causes and Fixes Here!
- 3 Best Ways on How to Backup Registry From Command Line
- How to Update/Reinstall macOS Without Losing Data
- Games Keep Crashing on Windows 10/11 - 13 Quick Fixes
Fix games that keep crashing on Windows 10 or 11. Check drivers, overheating, game files, system resources, and compatibility issues. - How To Change Startup Programs on Windows 10? [Updated 2023]
You can change startup programs in Windows 10 in various ways, including Settings, Task Manager, and the Startup Folder. By stopping unnecessary startups, you can make your computer boot faster, while adding apps you want to run automatically at startup on your computer. - What Is Wake on LAN and How to Enable Wake on LAN in Windows 10
Are you wondering What Is Wake on LAN and How to Enable Wake on LAN in Windows 10? This article contains the perfect solution for you to switch on your computer remotely! So, keep reading to know more.