Clone a Drive When You Have Only One SATA Port
A desktop board with a single SATA header leaves no obvious place for a second drive. Cloning normally needs the source and the target attached at the same time, which is exactly what one port cannot offer. The workaround is to attach the new drive through USB and copy while Windows still runs from the old one.
This guide covers the USB bridge options, the limits of each, and how to finish the copy without opening the case twice.
PAGE CONTENT
- What One SATA Port Really Limits
- Choose a USB Adapter and Connect It
- Risks and Tricky Spots
- Clone the Drive with Qiling Disk Master
- Swap the Drives and Verify
- FAQs About Single Port Cloning
- Back Up Before the Swap
What One SATA Port Really Limits
- Both drives cannot connect. The board exposes one header, so only one disk runs on it.
- USB bridges the gap. A SATA-to-USB adapter or dock acts as the second connection.
- Port speed matters. USB 3.0 copies far faster than an old USB 2.0 port.
- Optical bays are gone. Most current cases have no 5.25-inch bay to reuse.
- Power comes from the adapter. 2.5-inch drives draw power over USB; 3.5-inch drives need a dock.
The source stays on the board's SATA port, the target hangs off USB, and the clone runs from the live system. No reboot into a rescue tool is required.
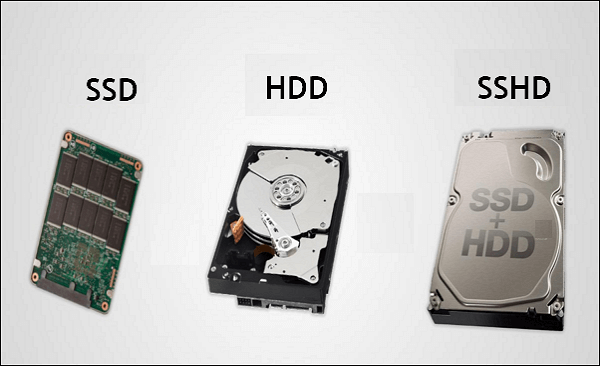
Choose a USB Adapter and Connect It
- Pick USB 3.0 or faster. Look for a 5 Gbps or 10 Gbps bridge chip.
- Match the drive size. A 2.5-inch adapter powers small drives; 3.5-inch models need a powered dock.
- Use the rear ports. Rear I/O ports tend to deliver steadier power and speed.
- Avoid unpowered hubs. A hub can drop a transfer when the drive draws more current.
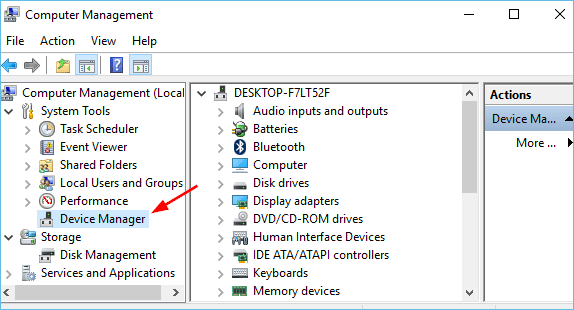
- Check the drive letter. Confirm the target appears in Disk Management before cloning.
Connect the adapter, wait for Windows to list the disk, and note its capacity. If nothing appears, try another port before blaming the drive.
Risks and Tricky Spots
- USB dropouts. A loose cable can reset the bridge and stall the copy.
- Slow 3.5-inch writes. Unpowered docks throttle large drives.
- Wrong source selection. Both disks look similar, so confirm the model and size.
- Target size mismatch. The new drive must hold the used data of the old one.
- Case airflow. An open side panel during a long copy collects dust.
Label the two drives before you start. Selecting the wrong one erases the system you meant to keep.
Clone the Drive with Qiling Disk Master
Qiling Disk Master lists the SATA drive and the USB target side by side. The steps match a two-port setup, and the software handles the boot files for the new disk.
Watch the video tutorial below to clone the drive step by step with Qiling Disk Master.
Step 1. Open Qiling Disk Master, choose Clone, and then select Disk Clone.

Step 2. Select the source disk and click Next.

Step 3. Select the destination SSD and confirm that its data will be replaced.

Step 4. Choose the clone mode and confirm the system partition gets the C letter on the target.

Step 5. Click Proceed, wait for the copy to finish, then shut the machine down before you remove any cable.

Swap the Drives and Verify
- Shut down cleanly. Remove the USB target only after the power is off.
- Fit the new drive. Connect it to the single SATA port and its power lead.
- Set boot order. Enter the BIOS and select the new drive.
- Check the system volume. Confirm Windows boots and reads the full capacity.
- Keep the old drive. Store it until the new one has booted twice.
If the system does not start, the clone probably missed the boot partition. Re-clone with every partition selected and verify the boot files again.
FAQs About Single Port Cloning
Can I clone a drive with only one SATA port?
Yes. Connect the target through a USB adapter or dock and clone from the running system.
Is a USB SATA adapter fast enough?
A USB 3.0 bridge reaches 5 Gbps, which is close to SATA III speed in practice.
Do I need a powered dock?
Only for 3.5-inch drives, which draw more current than a USB port supplies.
Will cloning through USB keep Windows bootable?
Yes, as long as the boot and system partitions are included in the clone.
What if Windows does not see the USB drive?
Try a rear port, a shorter cable, or another enclosure before assuming the drive is faulty.
Back Up Before the Swap
A clone through a USB bridge is more fragile than an internal copy. Take a system image first so the old drive can be restored if the adapter fails.
Watch the video tutorial below to back up Windows and restore it if the copy fails.
Step 1. Open Qiling Disk Master and select System Backup to include the boot partitions.

Step 2. Save the image to a drive other than the target disk and start the backup.

Step 3. Click Proceed to start the system backup and wait patiently until it finishes. You can also tick Shut down the computer when the operation is completed to power off automatically.

Step 4. If the clone or the boot repair fails, restore the image and then reassign drive letters or rebuild the boot records from Windows Recovery.

Conclusion
One SATA port is not a dead end. Put the target on USB, keep the bridge powered and steady, and confirm the copy boots before you move the new drive onto the board. The single port then serves the SSD exactly as it served the old disk.
For more on USB-based cloning, see Clone an HDD to an SSD With a USB Cable Only, Clone a Drive With a Docking Station, Clone a Drive With an NVMe Enclosure, and Clone a SATA SSD to an NVMe SSD.
Related Articles
- Clone an HDD to an SSD Without Software
Compare the manual alternatives. - Clone a Drive With Clonezilla
Copy the disk from a bootable tool. - Clone an IDE Hard Drive to a SATA SSD
Move an older system to new hardware. - Clone an M.2 SSD to a SATA SSD
Switch form factors safely. - Clone an External Drive to an Internal SSD
Turn a USB drive into a system disk.
Products
Articles & Tutorials
- Data Recovery
- Data Backup
- File Recovery
- File Backup
- System Backup and Restore
- Disk and Partition Clone
- Technical articles
- Mobile articles
- Disk Master Help
- Windows Data Recovery Tutorials
- Windows Secure Delete Tutorials
- Windows Partition Management Tutorials
- Windows File Backup and Restore Tutorials
- Windows System Backup and Restore Tutorials
- Windows Disk Backup and Restore Tutorials
- Windows Clone Tutorials