2 Ways to Partition C Drive in Windows 7 Without Formatting
Windows 7 is still a widely used and popular Windows version, especially among small and large offices and individuals. If you have a Windows 7 computer and want to partition your existing drive to store different sets of files separately, you'll need to format the C drive. This will allow you to keep your files organized and avoid losing them in case of a system failure or other issues.
Be aware that creating a new C drive partition in Windows 7 will delete all data on the C drive, but Qiling can guide you through the process without formatting. Continue reading this article and share it on social media to help other users.
How to Partition a C Drive in Windows 7 Without Formatting
There are 2 ways to partition a C drive, but one is much easier to use than the other, which involves multiple steps.
Way 1. Professional Partition Utility - Qiling Disk Master
Qiling Disk Master Pro is a tool that allows you to format your drive's C partition without formatting, as well as convert the file system and partition style, and perform various other disk-related operations.
Option 1. Partition New Hard Drive
You can use the "New Disk Guide" function in Qiling Disk Master to partition a new hard drive and set it as a C drive with just one click. This feature guides you through a step-by-step process to partition the new hard drive.
Step 1. To create a new partition on the Qiling Disk Master, open the Partition Manager, right-click on "Partition this disk" on the New Disk, and select "Create".

Step 2. Set the number of partitions you need to create, and set the partition style to your disk - MBR or GPT. This will determine how many partitions you can have and how they are organized on your disk.
Once you have selected the settings you want to use, click "Proceed" to start the verification process.
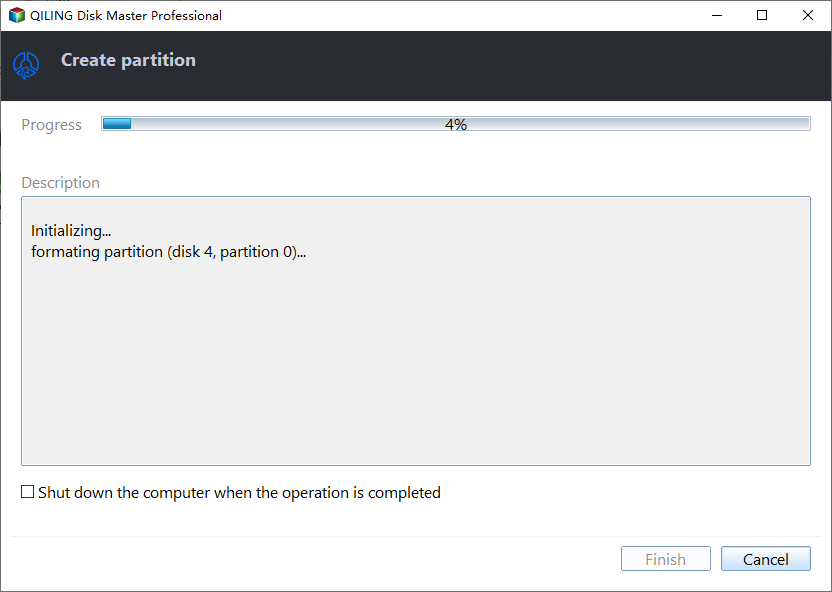
Step 3. Wait a memont, it's will finalize partitioning the new HDD/SSD or external disk.
Option 2. Partition Existing C Drive
Partitioning the C drive is a common need for all users, and Qiling Disk Master provides a "Partition Manager" section to assist in resizing, creating, and deleting partitions without losing data.
Important: Although this process is relatively safe, it's essential to back up all data in advance to prevent accidental deletion.
Step 1. Launch Qiling Disk Master to check for free space at the Partition Manager section.
- If your hard drive has unallocated space, you can skip the first two steps and go straight to Step 3 to create a partition, as the space is already available for use.
- If the hard drive has no unallocated space, continue with Step 2. In this case, you'll need to delete or format one of the existing partitions to free up space.
Step 2. Shrink a disk partition to create unallocated space.
Right-To free up space on your drive, click on the target drive partition with a lot of free space and select "Resize/Move".

To resize the partition, drag either end of the partition rightwards or leftwards to decrease its size, which will create ample unallocated space, and you can see the exact decrease in size in the "Partition size" area.
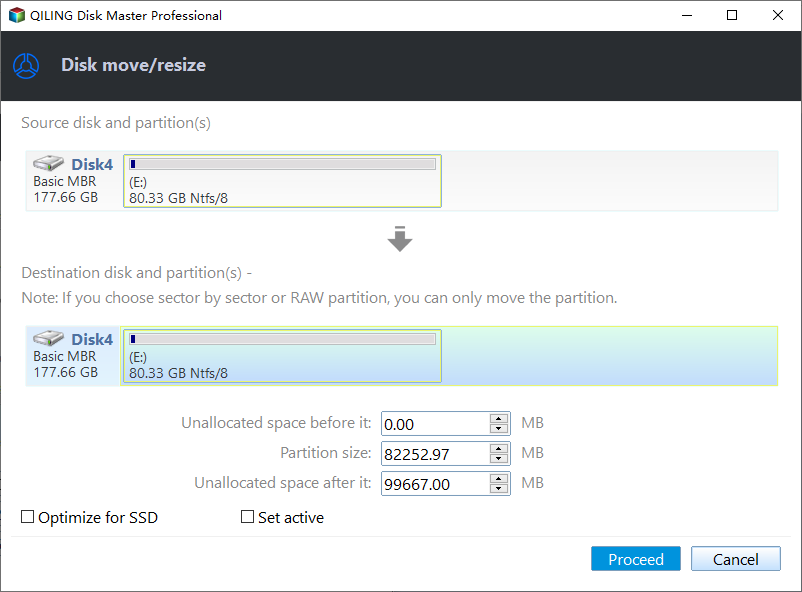
Click Proceed" to save all the changes.
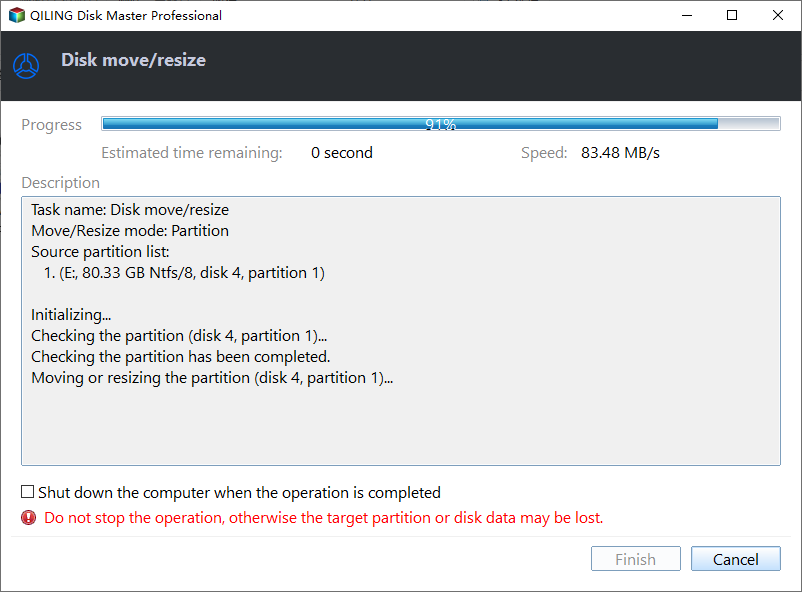
Go back to Partition Manager, there should be unallocated space appearing on the same disk and you can continue with the next step to create new partition on your hard drive.
Step 3. Create a new partition with unallocated space on the target hard drive.
Right-click on the unallocated space and choose "Create".
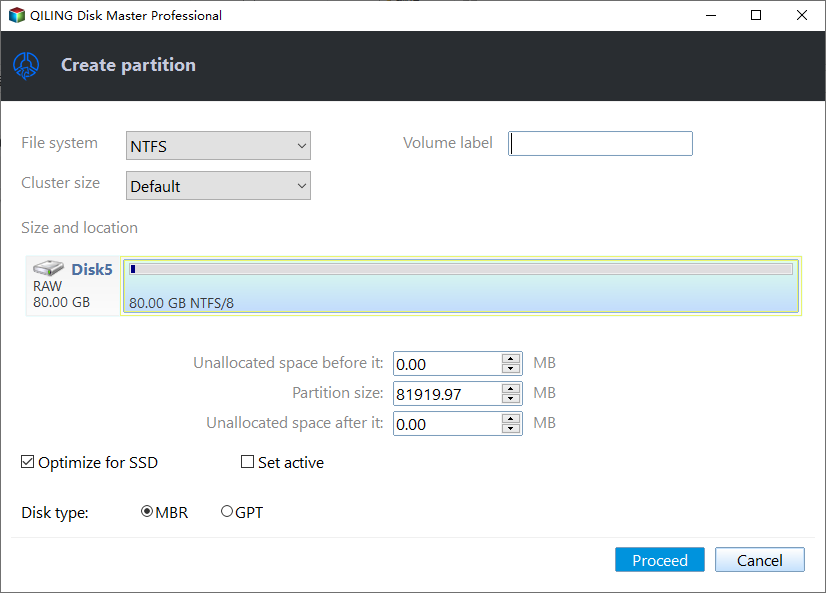
In the Advanced Settings, you can customize various partition settings, including the partition size, drive letter, label, and file system type (such as NTFS, FAT32, EXT2/3/4, or exFAT).
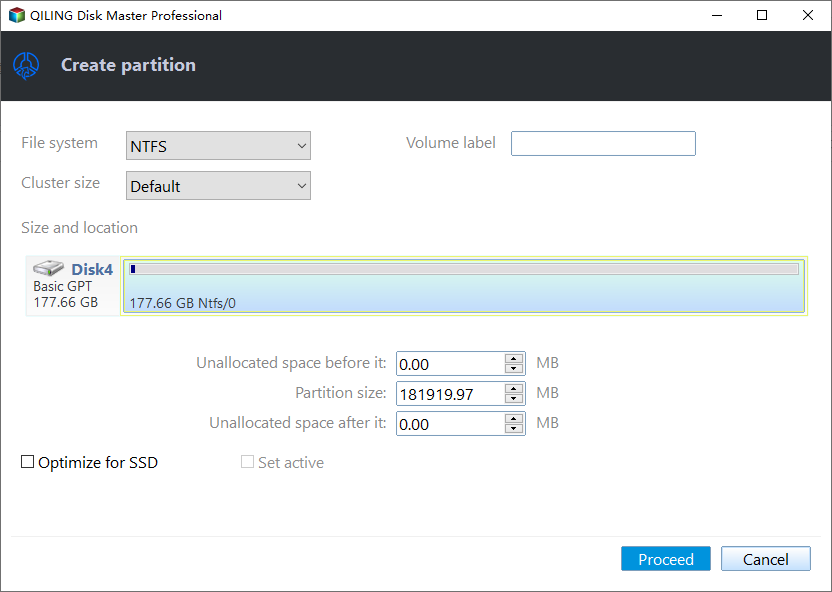
To create a new partition on your disk, click "New" and select the unallocated space. Choose the partition type, set the size, and label the partition. Then, click "Proceed" to complete the process.
Way 2. Run Disk Management
Disk Management, a built-in Windows feature, allows you to create partitions, format internal or external drives, and more. However, when applying Disk Management to an existing drive, such as the C drive, the entire drive will be completely formatted, making it essential to back up any important data before proceeding. On the other hand, using Disk Management to create a partition for a new hard drive is a viable option.
Option 1. Partition New Hard Drive
Step 1. To access Disk Management, click the "Start" option and search for and open "Disk Management."

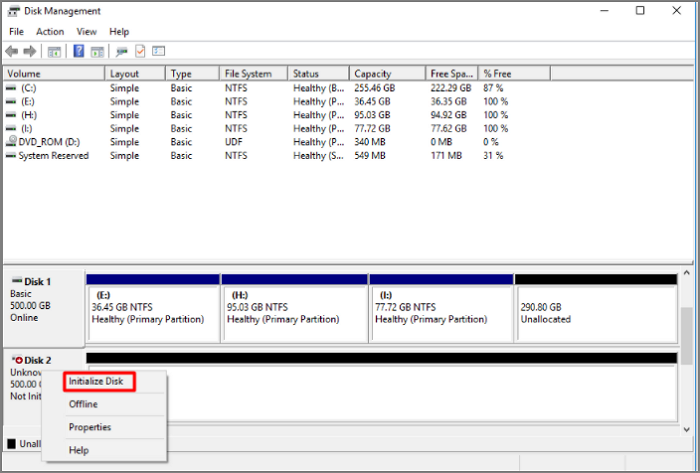
Step 2. To erase the data on a hard drive, select the hard drive, right-click it, and choose the "Initialize Disk" option. This will completely erase all data on the drive, making it ready for a fresh installation of an operating system.
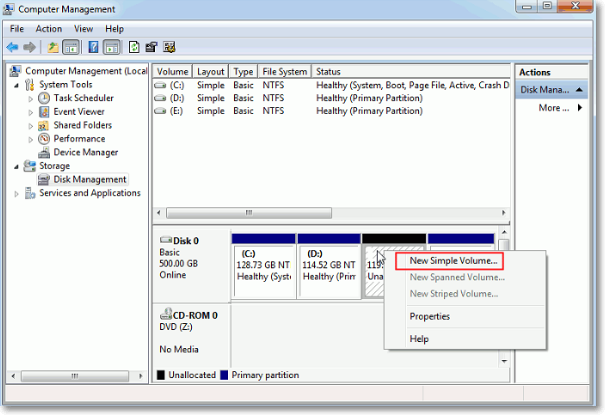
Step 3. To create a new partition, right-click on the unallocated space and select "New Simple Volume" from the context menu that appears. This will initiate the New Simple Volume Wizard, which will guide you through the process of creating a new partition.
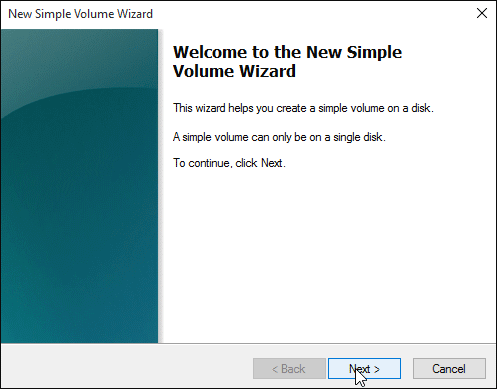
Step 4. To create a new volume, a "New Simple Volume Wizard" will launch. This wizard allows you to select the volume size, file system, and other settings to complete the process.
Option 2. Partition Existing C Drive
Step 1. Open Disk Management.
Step 2. To create a new simple volume, right-click on the unallocated space of your hard drive and select "New Simple Volume" from the context menu.
Step 3. To create a new simple volume, choose the "Next" button in the "New Simple Volume Wizard" section.
Step 4. Follow the on-screen prompts and add unallocated space from the C drive to the drive whose space you want to increase.
In addition to the C drive, you can also partition other storage devices as follows:
Why We Need Partition C Drive
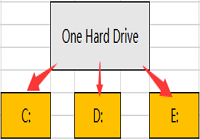
You can keep your Windows 7 installation on the C drive, but it's better to partition it and create separate drives for different purposes. This way, you can keep your operating system on the C drive, and use other drives like D for media files, E for work files, and so on, to keep your system organized and clutter-free.
Here are a few reasons why you should partition your C drive: You can keep your OS and programs organized and prevent accidental deletion of OS files, which can corrupt your Windows OS. This way, you can keep your OS and programs organized and prevent accidental deletion of OS files, which can corrupt your Windows OS. Partitioning your C drive also helps you to free up space on your C drive by moving programs and files to other partitions, which can improve your computer's performance. Additionally, partitioning your C drive allows you to install multiple versions of Windows on different partitions, which can be useful if you need to use different versions of Windows for different purposes.
- Install another OS
- To set a different file system than Local Disk C
- Easy Backup Creation
- Higher Data Safety
For more information, you can read the related article below to find out:
The Pros and Cons of Partitioning Hard Drive
Deciding whether to partition your hard drive depends on several factors. Partitioning can offer benefits such as improved organization, easier data management, and enhanced security, but it also has some drawbacks like increased complexity and potential data loss risks. Understanding the pros and cons will help you make an informed decision about partitioning your hard drive.
Conclusion
Windows 7 remains a popular operating system worldwide, and users often want to create a partition on their C drive for organization or other reasons without formatting the drive. Qiling Disk Master is a useful tool that can help achieve this, allowing users to create a partition on their hard disk without losing any data.
The Disk Management tool can help you partition an existing C drive, but it will format the drive in the process. For a new drive, it's a viable option. However, for both new and existing drives, Qiling Disk Master offers a more user-friendly and efficient solution, allowing you to format the drive with just a few clicks, making it accessible to people of all ages and skill levels.
FAQs About How to Partition a C Drive in Windows 7 Without Formatting
To partition a C drive on Windows 7 without formatting, you can use the built-in Disk Management tool. This tool allows you to create, delete, and resize partitions on your hard drive.
1. How do I partition an existing C drive in Windows 10?
To partition an existing C drive in Windows 10, follow these steps: First, open the Disk Management tool by pressing the Windows key + R, typing "diskmgmt.msc," and pressing Enter.
- Open Disk Management.
- To create a new simple volume on your hard drive, select "New Simple Volume" from the context menu by right-clicking on an unallocated space.
- In the "New Simple Volume Wizard" part, click "Next."
- Complete the process by following the on-screen instructions.
2. How do you split a C drive into two?
To split a C drive into two, follow the below steps:
- Open Disk Management.
- Right-click on the C drive and hit "Shrink Volume."
- Choose "New Simple Volume" by right-click on the available space.
- Follow the on-screen prompts.
3. How do I extend the C drive in Windows 7?
Here's how to extend a C drive in Windows 7 in one paragraph:
- Launch Disk Management.
- Right-click on the C drive and perform "Shrink Volume."
- Locate on the unallocated space and choose "New Simple Volume…"
- The New Simple Volume Wizard allows you to choose the size and more that you want to allocate on the new partition.
Related Articles
- Top 6 SSD Benchmark Tools Recommend and Free Download
- How to Fix Virtual Disk Manager the System Cannot Find the File Specified in Windows 10/8/7
- Fix Steam Not Recognizing External Hard Drive Error
- 20 Tips | How to Speed Up Windows 11/10 [2023 Newest]
- How to Fix My Computer Freezes When USB Plugged in Windows 11/10/7
Does your USB flash drive freeze computer when plugged in? if your computer freezes when USB plugged in Windows 11/10/7. This article will guide you to fix your problem with effective methods. Read on and follow the guide below. - My Laptop Keeps Crashing When Watching Videos
Relax! If you are trapped by a crashing laptop when watching videos, we can help. This post provides professional help for you to fix the 'laptop keeps crashing when watching videos' issue. You may not need to try them all, just work your way down until you find the one that works for you.