How to Install Windows 10 Step by Step with Pictures
To install Windows 10 on your PC, start by creating a bootable USB drive or CD/DVD with the Windows 10 installation media. Then, insert the drive or disc and restart your computer. Next, follow the on-screen instructions to select your language and other preferences, and then choose whether to do an upgrade or a clean install. If you choose to upgrade, Windows 10 will automatically detect and transfer your files, settings, and applications to the new operating system. If you choose to do a clean install, you will need to reinstall your applications and restore your files from backups. Finally, follow the on-screen instructions to complete the installation and activate your Windows 10 license.
- Time spent: 5-10min from creating installation media to installing Windows 10 on PC
- Materials: ≥8GB empty USB flash drive, Qiling Disk Master
- Process: 7 steps
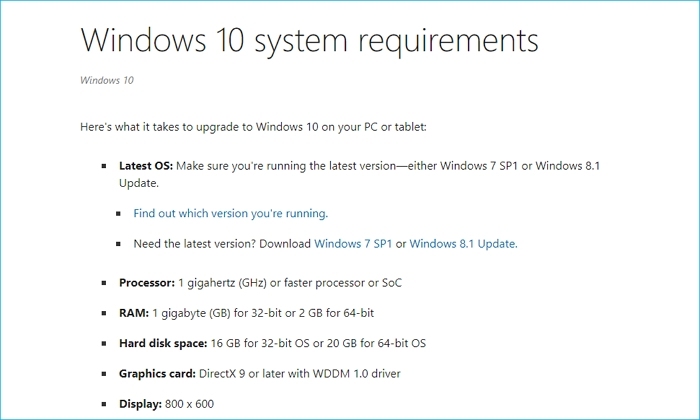
Step 1. Check Requirements for Installing Windows 10
Before upgrading to Windows 10, ensure your PC meets the minimum system requirements, which can be found on Microsoft's official site. If it does, you can proceed with the upgrade steps.
Step 2. Create a Backup
Before installing Windows 10 on an old computer, back up your files using professional software like Qiling Disk Master to an external drive, cloud, or USB drive, as the installation process may erase data on the computer's hard drive.

Step 3. Create a Windows 10 Installation USB Drive
To download Windows 10, go to the Windows 10 download page, verify your computer's compatibility, and back up your data. Once downloaded, create a Windows 10 bootable USB on an empty USB with at least 8GB of storage space.
Creating a bootable USB drive can be a time-consuming process, but there's a simpler solution: using a professional and free Windows To Go Creator like Qiling Disk Master. This tool can help you create a bootable USB drive quickly and easily, saving you the hassle of manually setting it up.
Qiling Disk Master allows creating a Windows 10 installation USB drive without ISO, and enables putting Windows 10 on another PC, automatically downloading a desired Windows 10 version, creating a portable Windows USB for Windows 10/11, and making a bootable Windows USB drive for macOS.
To install Windows 10 from BIOS from a USB drive, follow these steps: First, ensure your computer is set to boot from USB in the BIOS settings. This is usually done by entering the BIOS settings by pressing a key such as F2, F12, or Del during startup, navigating to the boot order menu, and selecting the USB drive as the first boot option.
How to Install Windows 10 from USB from BIOS
This guide will provide a concise overview of the steps to install Windows 10 from a USB drive in the BIOS settings on your computer.
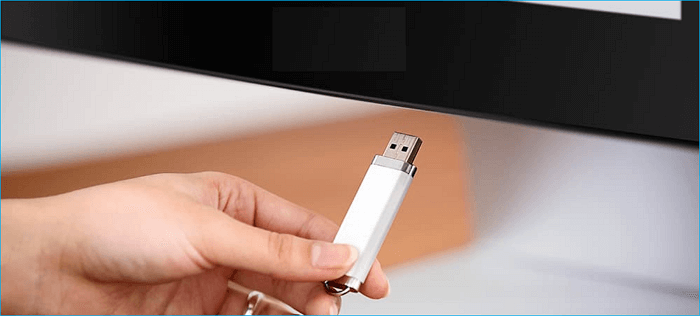
Step 4. Boot Your PC from Installation USB Drive
To install an operating system, insert a bootable USB drive into your computer, restart it, and press the key that takes you to the boot menu, which varies by manufacturer. Once the USB drive is selected as the boot device, press Enter to start the installation process.
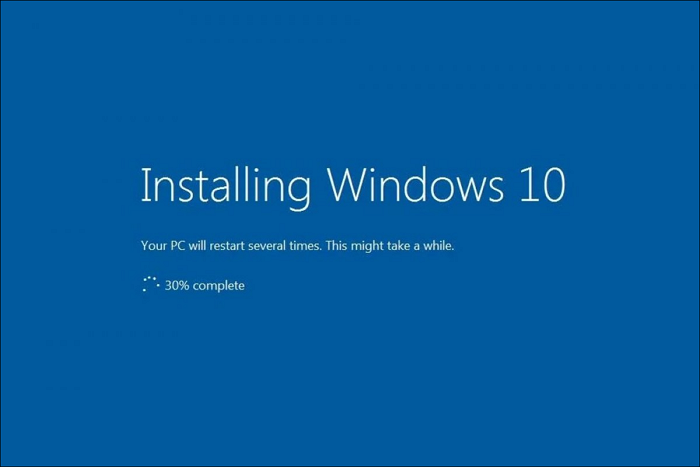
Step 5. Install Windows 10 and Finish Configurations
To install Windows 10, start by booting from the USB drive, then follow the on-screen guide. You'll need to select your language, time zone, and keyboard preferences, and agree to the license terms.
- Boot your PC with the USB drive.
- To boot from the device, you would press the key indicated on the prompt, such as F2, F12, or Del, to access the boot menu and select the device as the boot source.
- Click Next on the "Windows Setup".
- Click Install now.
- Select "I don't have a product key" to proceed if there is a reinstallation and click Next.
- Select the edition of "Windows 10" that your license key activates (if applicable).
- I accept the license term and click Next.
- Click "Custom: Install Windows only (Advanced)" to continue installing.
- Select a partition with the current installation (usually "Drive 0"), and click Delete.
- Choose empty drive (Drive 0 Unallocated Space) and click Next.
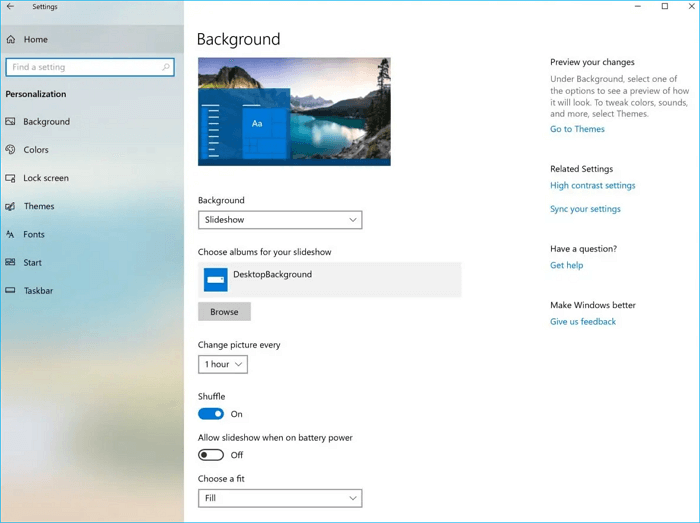
Step 6. Personalize Windows 10 Settings
After installing Windows 10, you'll be prompted to customize your settings, which includes setting up your Microsoft account, making privacy preferences, and personalizing your desktop.
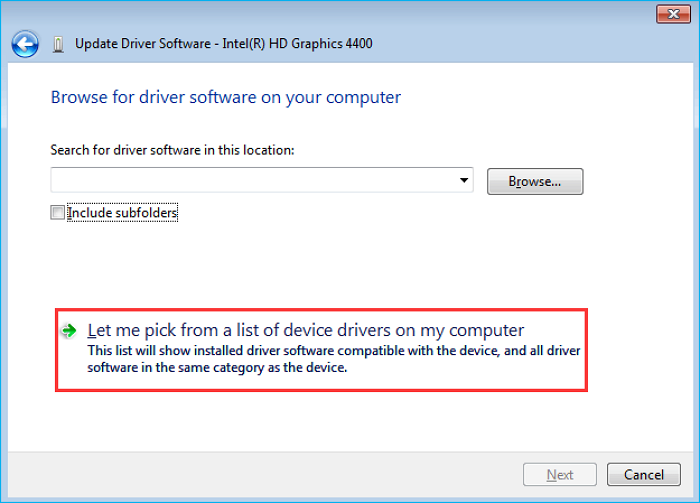
Step 7. Install Drivers and Software
After customizing your personal settings, install any required drivers and software, including any necessary for your computer's hardware, like the graphics card.
Installing Windows 10 is a straightforward process that can be completed with a few simple steps. By following the guide provided, you can quickly install Windows 10 on your PC. Before starting, ensure your computer is compatible and back up your important data. Pay close attention to the directions, and with a little patience, you'll be up and running with Windows 10 in no time.
If you want to create a Windows to go without using an ISO file, you can use Qiling Disk Master to help you, which can also assist with other tasks, offering more features to explore.
Related Articles
- How to Create Windows Bootable USB with Rufus, and Another Easier Way
- Rufus vs. Qiling Disk Master: Should I Create a Bootable or Portable USB?
- How to Install Windows 10 Step by Step with Pictures
To install Windows 10, follow these steps: [insert pictures and detailed instructions]. Alternatively, you can also install Windows 10 without any hassle by following these simplified steps: [insert concise and easy-to-follow instructions]. - How to Install Windows 10 Without a Microsoft Account
Here is a step-by-step guide on how to install Windows 10 without a Microsoft account in 4 different ways. The article will also introduce a tool called Qiling Disk Master to help you set up Windows 10 without a Microsoft account. - How to Install Windows 11 Without Secure Boot and TPM
This is a tutorial on how to install Windows 11 without Secure Boot and TPM. In this article, you can learn how to bypass Secure Boot and TPM to install Windows 11 on your computer with the help of Qiling Disk Master. - Windows 11 Black Screen No Cursor
When Windows 11 displays a black screen with no cursor, it can be a frustrating experience. Fortunately, there are 5 effective guides with detailed steps and screenshots that can help resolve this issue, regardless of its cause. By following these solutions, you can get your computer screen back to normal and avoid the inconvenience of a black screen with no cursor on Windows 11.