How to Backup Photos to pCloud on Various Devices [Solved]🔥
Cloud storage makes it easier to protect photos, documents, and videos from accidental deletion, device damage, or computer corruption. pCloud is a cloud storage service that lets users upload photos and access them from different devices.
If you want to back up photos to pCloud, this guide walks through the process on computers and mobile phones and explains how photo upload works.
How to Back Up Photos to pCloud on Windows PC
- Tip
- Cloud services often help users backup photos and files, but a traditional approach may not be sufficient. To ensure easy recovery, it's essential to properly partition and backup important files, which can be achieved with the help of automatic backup software that offers great file management capabilities. This can simplify the backup and recovery process, making it more efficient and effective.
Qiling Disk Master is a professional backup and recovery tool that can help back up PC data, including photos, to supported storage locations. It supports file, disk, system, and scheduled backups, making photo protection easier to manage.
Some key features of Qiling Disk Master:
- Provides various types of backup options.
- Serves as a complete backup and restore solution.
- Create backups with clones, backup solutions, and data transfer.
- You can mount backup images to extract individual files whenever needed.
- Create a security-encrypted backup for your Windows.
To back up data to pCloud on a Windows PC, start by downloading and installing the pCloud app from the official website. Once installed, open the app and sign in to your account or create a new one.
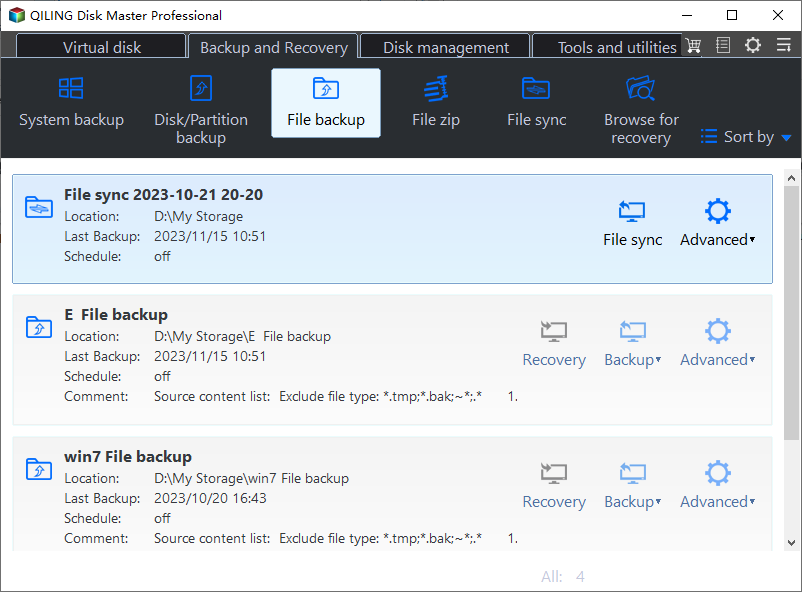
Step 1. To initiate a backup, click the Select backup contents option.

Step 2. There are four data backup categories, including File, Disk, OS, and Mail, which can be accessed by clicking on File backup.
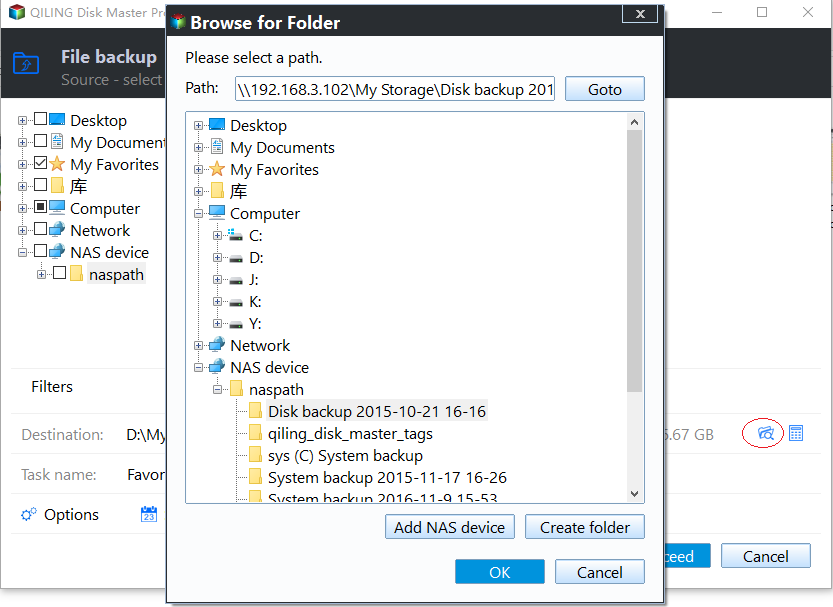
Step 3. On the left, both local and network files will be displayed. Users can expand the directory to select the backup files.
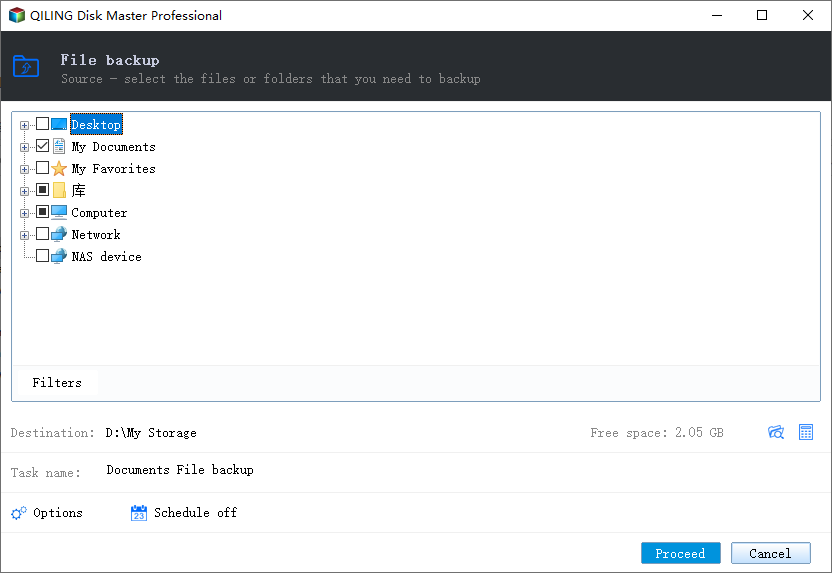
Step 4. Please select a location to store the backup, following the on-screen instructions.
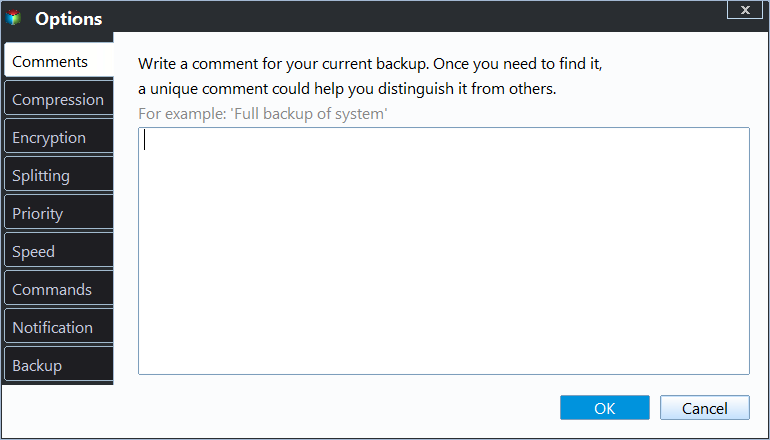
To encrypt the backup with a password, click Options and then Backup Options. In Backup Options, you can specify the backup schedule and start the backup at a certain event, and also choose other additional choices to tailor the backup process to your requirements.
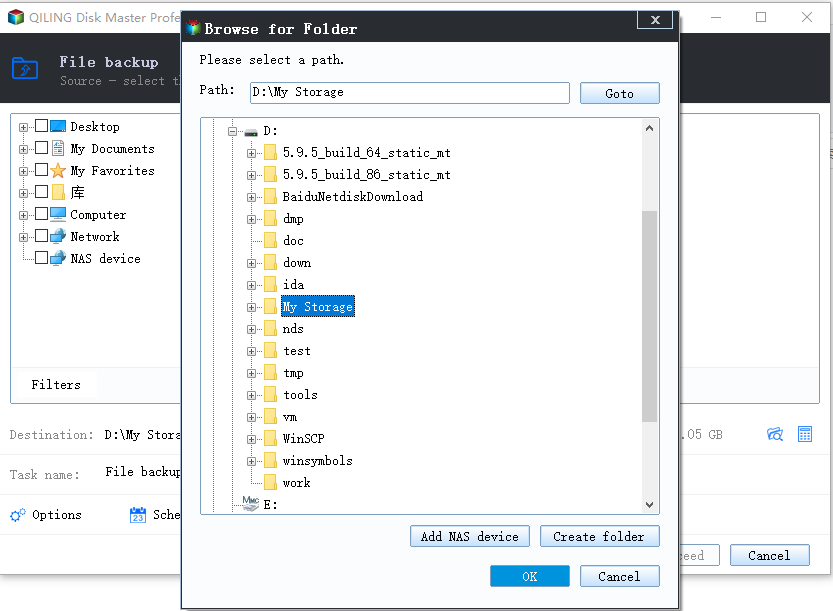
Step 5. The backup may be stored on a local disk, Qiling's online service, or NAS.
Step 6. Qiling Disk Master allows customers to back up data to both a third-party cloud drive and its own cloud drive.
To back up data to a cloud drive provided by a third party, select Local Drive, scroll down to add Cloud Device, and then add and log in to your account.
Step 7. Click Proceed to start the backup process. Once finished, the backup job will be listed on the left side of the panel, and you can right-click on it to manage it further.
How to Back Up Photos to pCloud on Mac
If you're on a Mac, you can back up your photos to pCloud either by logging in on the webpage or by downloading the desktop version. To do it on the desktop version, you can follow the necessary steps.
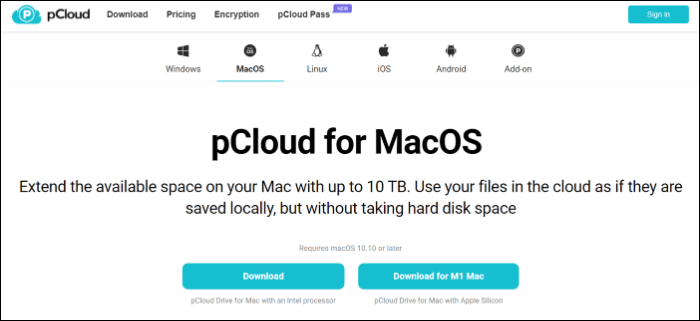
Step 1: To install pCloud on your Mac, go to the pCloud website and download the Mac desktop version. Then, double-click on the downloaded files and follow the on-screen instructions to complete the installation process.
Step 2: The app will automatically launch after installation. If not, find the app in the system tray and manually launch it.
Step 3: To get started, create or log in to your account on the platform. If you don't have an account, create one and verify your email address to register with the platform.
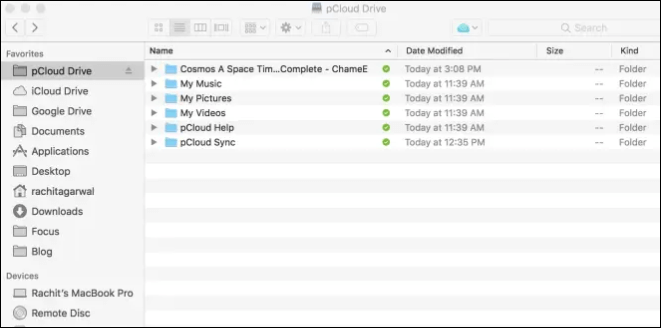
Step 4: Open the folder to back up photos to pCloud, then you can either drag and drop the photos you want to back up, copy and paste them, or click on "upload files" to add them.
Step 5: Once the pCloud app has uploaded all the photos to the pCloud cloud storage, the time required will depend on the size of the photos and your internet connection.
Step 6: Once the process is complete, the pCloud will automatically sync the files in the background, and you can verify if the photos are backed up by logging into the website or the pCloud app on other devices.
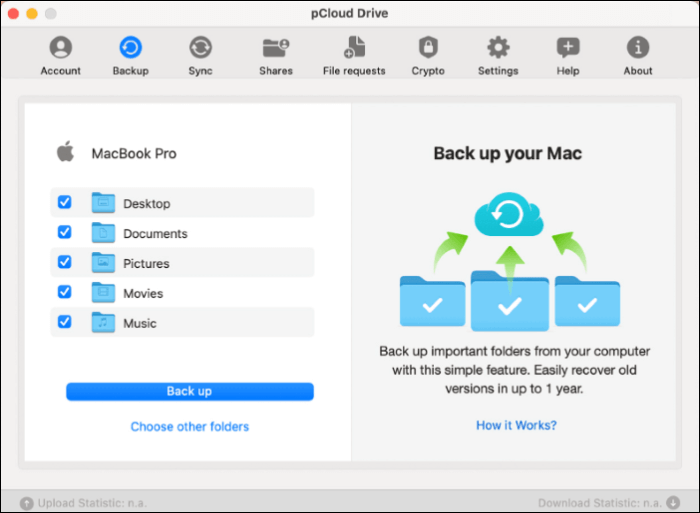
Step 7: To automate backups and organize photos, enable Automatic backup in desktop settings and use the pCloud app to create albums and folders.
To back up photos to pCloud on Mac, use the desktop version or website, and follow a similar process. Alternatively, consider using Qiling Disk Master for Mac, a software that can help create efficient and secure backups on Macs.
Don't forget to share this post with your fans if it's useful.
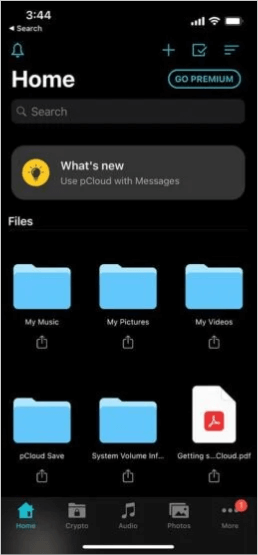
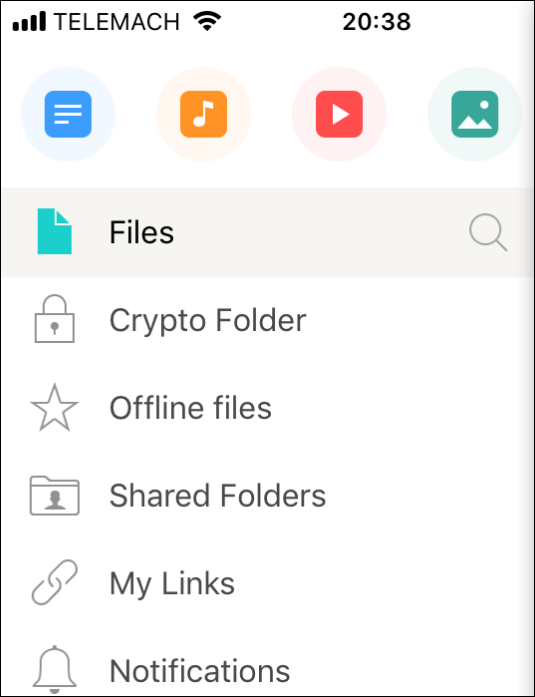
How to Back Up Photos to pCloud on iPhone/iPad
To back up photos to pCloud on an iPhone or iPad, follow a similar process to the desktop or website, but on a different interface. Since pCloud offers a lifetime plan, you can use it to back up unlimited data of any size, unlike iCloud. To get started, open the pCloud app, tap the "Upload" button, and select the photos you want to back up. You can also choose to back up all photos from your camera roll or specific albums.
Step 1: Download and Install the pCloud app from the App Store.
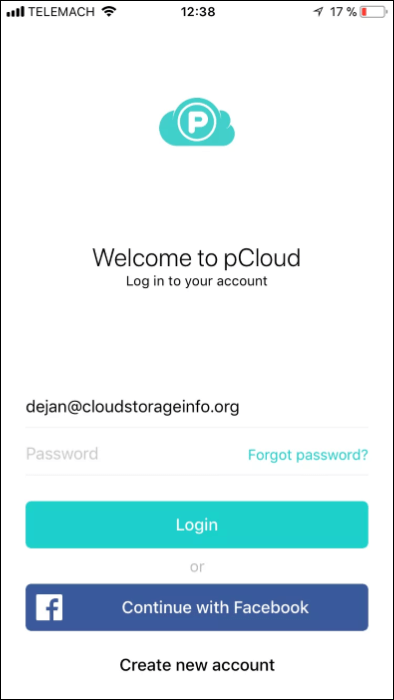
Step 2: If you already have an account, log in with your email or register a new one.
Step 3: Once you log in to pCloud, it will prompt you to enable Camera Upload, allowing you to automatically back up photos and videos from your camera, which can be enabled by clicking "enable" or toggling it on in the settings.
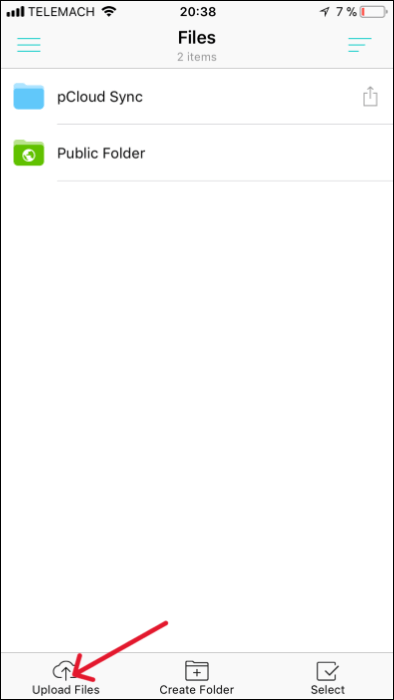
Step 4: To add a file/photo/video to your pCloud, click the blue plus (+) sign in the top right corner of the screen.
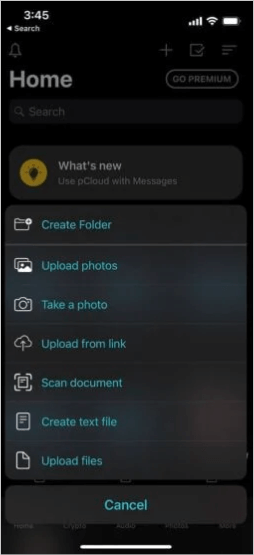
Step 5: Select the desired photos from your iPhone or iPad's gallery and click "Upload" to initiate the backup process.
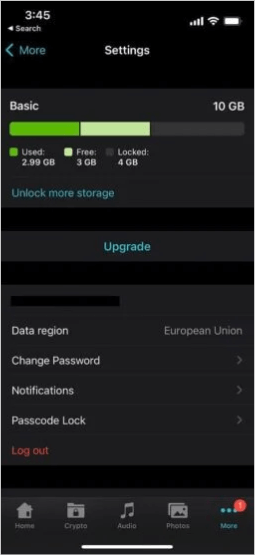
Step 6: If you want to securely store personal photos or videos, you can buy pCloud Crypto to encrypt them and store them safely for later recovery. Once uploaded, you can organize and manage the files on pCloud.
See also:
How to Back Up Photos to pCloud on Android
pCloud also supports backing up photos on various Android devices. To back up photos to pCloud on Android, you can follow a detailed guide, which allows you to back up photos or files on Android and access them on any device with an internet connection.
Step 1: To access your pCloud account on your mobile phone, download and install the pCloud app from the Google Play Store.
Step 2: If you already have a pCloud account, you can simply log in and start. If not, you can register yourself by clicking on the Sign Up button.
Step 3: To automatically back up all the photos and videos taken from your device's camera, enable the "Enable Camera Upload" prompt.
Step 4: To upload photos to pCloud, click the blue (+) icon in the top-right corner, then select "Photos and Upload" to choose pictures from your device's gallery.
Step 5: The time required to upload all photos depends on their size and your internet speed. Wait until all the photos are uploaded.
Step 6: You can see all the photos in the photos section and organize and manage them from there.
Sum Up
pCloud is a smart solution with distinct features compared to other cloud counterparts to backup files and folders. If you're wondering how to backup photos to pCloud, we provide a detailed walkthrough on how to back up photos to pCloud on both computers and mobile phones with the app and website, and the step-by-step guide is available above.
If you're looking to back up files to pCloud, the Qiling Disk Master can be a great software to assist you in backing up, recovering, and managing files with ease. If you like the content, please share it with your friends.
FAQs
Here are some of the most frequent FAQs asked on how to back up photos to pCloud. If you have similar queries hope this will help you.
1. Is pCloud good for photo storage?
pCloud is a cloud storage provider that stands out by offering lifetime subscriptions, allowing users to pay once and enjoy the benefits of the software for a lifetime, making it an excellent choice for photographers and others looking for photo storage.
2. Is pCloud a backup or storage?
pCloud is a cloud storage service that allows users to store an unlimited amount of files, folders, and photos in the cloud. It also offers a backup feature that automatically saves selected files and folders to the cloud, making it a comprehensive backup and storage solution with sync capabilities.
3. What is the difference between sync and backup in pCloud?
pCloud sync and backup serve different purposes: sync ensures files are up-to-date and creates a single copy, while backup saves multiple versions, allowing users to restore any version at any time. However, synced files cannot be used to restore previous versions.
Related Articles
- How to Perform Windows 11 Incremental Backup [2 Ways]
- Can I Clone BitLocker Encrypted Drive Without Disabling It? Yes! [3 Minutes Guide]
- How to Automatically Backup to USB Drive When Plugged in
- Backup Outlook Calendar to a New Computer Easily [2023]
- [Full Guide] How to Install Windows 10 from One PC to Another
- Best Way to Backup PC to Synology NAS (2023)
- How to Move Picasa from One Computer to Another
This article provides step-by-step instructions on how to transfer Picasa photos from one computer to another, making it easy to follow and accompanied by helpful screenshots, making the process of moving Picasa from one computer to another relatively straightforward.