MSI Claw SSD Upgrade: Clone the Handheld Drive
The MSI Claw is a Windows handheld, and modern games fill its internal drive quickly. Cloning moves Windows, your launchers and your saves to a larger SSD without a clean install.
Like most handhelds, the Claw has one M.2 slot, so the copy has to happen over USB before you open the shell. This guide covers the clone, the swap, BitLocker, and the checks that follow.
PAGE CONTENT
- Confirm the Slot and the Drive
- Clone Through a USB Enclosure
- Open the Shell and Swap the SSD
- Clone with Qiling Disk Master
- Check BitLocker, Drivers and Boot Order
- MSI Claw Clone Questions
- Back Up Before You Clone
Confirm the Slot and the Drive
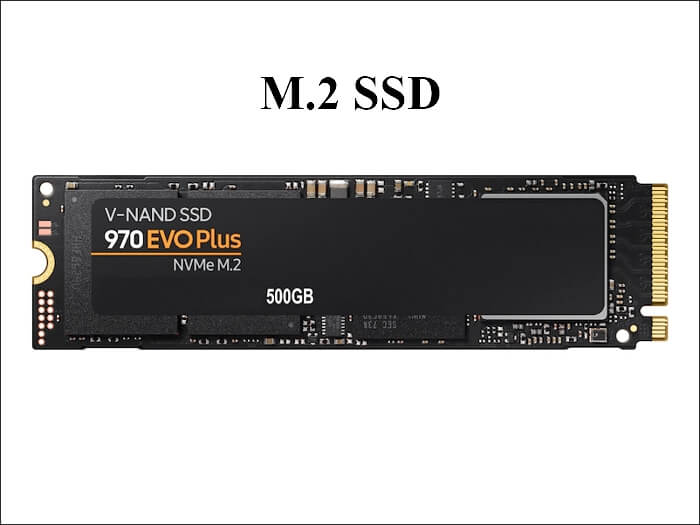
- Drive size. The Claw uses a compact M.2 drive, and the supported length can differ between model versions. Check your model and measure the installed drive before you buy a replacement.
- One slot. The handheld has a single M.2 slot, so a second internal drive is not an option. Plan the copy around a USB enclosure instead.
- Interface. The slot is PCIe NVMe. Match the original interface so the new drive runs at its expected speed.
- Shield. Many units ship with a thin thermal shield over the drive. Plan to reuse it, and handle the adhesive pad with care so it still transfers heat.
- Heat and capacity. Small chassis, warm components. Choose a drive that runs cool and leaves enough free space for shader caches and game updates.
Confirm the model, the drive length and the interface before you order. The label on the box rarely tells you the length, so open the shell or check the service manual first.
Clone Through a USB Enclosure
- Enclosure. Install the new SSD in a USB NVMe enclosure and connect it to the Claw. The dock or enclosure acts as the missing second slot.
- BitLocker. Suspend BitLocker or unlock the system volume before cloning. A locked volume can make the clone stop halfway.
- Clone mode. Use an intelligent clone that copies used sectors and can grow the partition, because the new drive is larger.
- Verify. Check that the target contains the EFI partition, the recovery partition and the main Windows volume before you swap anything.
- Power. Keep the handheld on mains power during the copy, and avoid letting it sleep in the middle of the operation.
When the tool reports success, close every program that touched the target drive and disconnect the enclosure safely.
Open the Shell and Swap the SSD
- Shut down. Power the Claw off completely and wait a few seconds after the screen goes dark.
- Battery. Disconnect the internal battery before you touch the drive. The board stays live in some sleep states even when the screen is off.
- Screws. Use the correct driver size and keep the screws sorted by location. Handheld screws are small and easy to strip.
- Install. Slide the new drive into the slot, fasten it with the original screw, and refit the shield and cover.
- First boot. Power on, open the firmware boot menu, and confirm that Windows starts from the new drive.
If the unit does not power on at all, recheck the battery connector before you assume the drive is faulty.
Clone with Qiling Disk Master
Qiling Disk Master handles disk clones, partition resizing and system backups in one interface, which keeps the handheld workflow short. The same tool covers the restore step at the end of this guide.
Watch the video tutorial below to clone the drive step by step with Qiling Disk Master.
Step 1. Open Qiling Disk Master, choose Clone, and then select Disk Clone.

Step 2. Select the source disk and click Next.

Step 3. Select the destination SSD and confirm that its data will be replaced.

Step 4. Choose the clone mode and adjust the partition size if the target is larger.

Step 5. Click Proceed, wait for the copy to finish, then shut the machine down before you remove any cable.

Check BitLocker, Drivers and Boot Order
- BitLocker. Resume protection after the first successful boot, and confirm that the recovery key is stored somewhere other than the handheld.
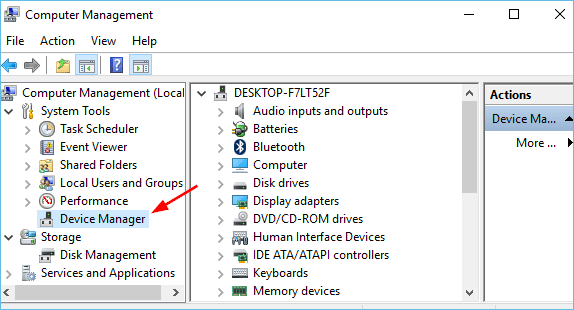
- Drivers. Install the MSI driver package for your exact model if the gamepad, gyro or audio device shows a warning in Device Manager.
- Boot order. If the firmware still lists the old drive first, the unit may report that no boot device was found. Set the new SSD as the first entry.
- Activation. Check Settings for the activation state before you wipe the old drive, since a hardware change can prompt a reactivation.
- Firmware. Update the BIOS or firmware through the vendor utility once the system is stable, not in the middle of troubleshooting.
Run a game and a Windows Update cycle before you decide the upgrade is complete.
MSI Claw Clone Questions
Can I clone to a larger SSD than the original?
Yes. The clone copies used data and the remaining space can be added to the main partition. Keep the drive within the capacity your model supports.
Do I need to open the Claw before the clone?
No. Connect the new SSD through a USB NVMe enclosure and clone while the original drive is still in the slot. Opening the unit comes after the copy.
Why does BitLocker ask for a key after the swap?
The drive moved to different hardware, which the encryption sees as a change. Have the recovery key ready, or suspend protection before you clone and re-enable it afterward.
What if the gamepad stops working after the swap?
The controller driver usually needs the vendor package. Reinstall the MSI driver set for your model and restart before you troubleshoot the hardware.
Does upgrading the SSD affect the warranty?
Terms vary by region and model, and some regions exclude user-opened cases. Check your local policy before you remove the back cover.
Back Up Before You Clone
An interrupted clone can leave the source drive untouched but the target half-written, and a power loss during the swap can strand both. A system image stored on another drive is the fastest way back to a working handheld.
Watch the video tutorial below to back up Windows and restore it if the clone fails.
Step 1. Open Qiling Disk Master and select System Backup to include the boot partitions.

Step 2. Save the image to a drive other than the target disk and start the backup.

Step 3. Click Proceed to start the system backup and wait patiently until it finishes. You can also tick Shut down the computer when the operation is completed to power off automatically.

Step 4. If the clone fails, restore the image and check the source disk before you retry.

Conclusion
Cloning an MSI Claw is straightforward when you respect the single-slot layout: copy over USB, clear encryption, swap the compact M.2 drive, then confirm the boot order. Check the drive length for your model and keep the original SSD until the new one has proven itself.
For related guides, see Clone a 2230 NVMe SSD, Clone a BitLocker Encrypted Drive, SSD Not Detected After Cloning, and Clone an SSD to a Larger SSD.
Related Articles
- Clone the ROG Ally SSD to a Larger Drive
Copy the ROG Ally system drive over USB, swap the single M.2 SSD, and verify the boot on the new drive. - Legion Go SSD Upgrade: Clone Windows to a Bigger Drive
Clone a Legion Go drive through an enclosure, swap the compact SSD, and handle recovery and driver checks. - Clone an M.2 SSD When the PC Has One Slot
Use an enclosure to copy the only M.2 drive, then swap it and confirm Windows still boots from the new SSD. - Clone a Drive with an NVMe Enclosure
An NVMe enclosure supplies a temporary USB slot, the simplest path for a handheld with one M.2 port. - Fix a Cloned Drive That Will Not Boot
Check boot order, the EFI partition and the clone mode when a copied drive refuses to start Windows.
Products
Articles & Tutorials
- Data Recovery
- Data Backup
- File Recovery
- File Backup
- System Backup and Restore
- Disk and Partition Clone
- Technical articles
- Mobile articles
- Disk Master Help
- Windows Data Recovery Tutorials
- Windows Secure Delete Tutorials
- Windows Partition Management Tutorials
- Windows File Backup and Restore Tutorials
- Windows System Backup and Restore Tutorials
- Windows Disk Backup and Restore Tutorials
- Windows Clone Tutorials