How to Clone an SK hynix SSD to a New Drive
SK hynix sells the Gold P31, Platinum P41, and Tube T31 at retail, and a much larger number of its drives reach users as OEM parts inside laptops. Those factory drives look identical to retail models but arrive without documentation, and the SK hynix software bundle handles firmware and health only.
This guide explains how to tell which drive you have, how to clone it to a larger SSD when the laptop has a single M.2 slot, and what to check in BIOS so the new drive starts Windows on the first attempt.
PAGE CONTENT
- Identify the SK hynix Drive You Have
- Plan the Copy in a One-Slot Laptop
- Drivers, Boot Order, and First Start
- Clone with Qiling Disk Master
- Verify the Upgraded Machine
- FAQs About SK hynix Clones
- Back Up Before the Clone
Identify the SK hynix Drive You Have
- Retail lines have clear names. Gold P31 runs on PCIe 3.0, Platinum P41 on PCIe 4.0, and the Tube T31 is a portable USB model.
- OEM drives carry codes. Models such as BC711, PC711, and the HFS family appear in Dell, HP, and Lenovo machines with a plain white label.
- The official utilities do not clone. SK hynix EasyDrive and the older Acro software cover firmware and diagnostics, not migration.
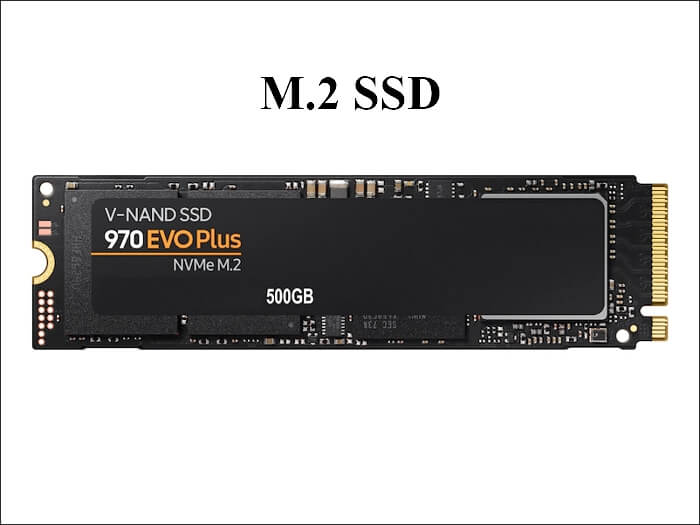
- Length matters more than the name. OEM drives come in M.2 2280 and the shorter M.2 2230 size, and a 2230 slot will not accept a 2280 board.
- Gen3 and Gen4 behave differently. A Gen4 Platinum P41 in a Gen3 slot still works, but the copy finishes at Gen3 speed.
Open the laptop cover or read the storage page in Settings before buying a replacement. The model code settles the length, the bus, and the usable capacity in one look.
Plan the Copy in a One-Slot Laptop
- Use a USB NVMe enclosure. With one M.2 slot, place the new drive in an enclosure and clone from inside running Windows.
- Watch the heatsink height. Thick Gen4 coolers can stop the bottom cover from closing, so a bare drive is the safer choice.
- Respect the 2230 footprint. Replacing a short OEM drive with a 2280 model needs a mounting post many slim laptops do not have.
- Leave the boot order untouched for now. The old drive stays first in UEFI until the copy has been verified.
- Confirm the target holds all partitions. The recovery partition at the end of the disk is easy to forget when sizing the SSD.
A USB 3.2 Gen2 enclosure moves data at roughly 1 GB/s, which is slower than an internal slot but acceptable for a one-time copy of a few hundred gigabytes.
Drivers, Boot Order, and First Start
- Windows 10 1809 and later carry stornvme. The inbox NVMe driver starts a cloned drive without extra downloads.
- Older builds need a driver. Windows 7 and the earliest Windows 10 releases lack native NVMe support, so install one before the swap.
- Select the new Boot Manager. UEFI setup lists an entry per disk; pick the one tied to the new SSD, not the original.
- Expect C on the system volume. If the clone boots as D, the old drive is still connected and still owns the letter.
- Update firmware after, not during. Flash the new SSD from Windows only once the machine has started cleanly.
If the new drive is invisible to Setup, the slot may share lanes with a SATA port or a discrete GPU. The motherboard manual usually documents which combinations disable an M.2 socket.
Clone with Qiling Disk Master
SK hynix ships no migration utility for retail or OEM drives, so the copy is made by a disk cloning program that keeps the EFI and recovery partitions.
Watch the video tutorial below to clone the drive step by step with Qiling Disk Master.
Step 1. Open Qiling Disk Master, choose Clone, and then select Disk Clone.

Step 2. Select the SK hynix disk, retail or OEM, as the source and click Next.

Step 3. Select the larger SSD as the destination, connecting it through a USB enclosure when only one slot exists.

Step 4. Choose intelligent clone so only used sectors are copied, then review the partition layout on the target.

Step 5. Click Proceed, wait for the copy to finish, then shut the machine down before you remove any cable.

Verify the Upgraded Machine
- Boot with the old drive out. If both drives stay connected, the firmware may still start the original Windows.
- Read the model string. Storage settings should name the new SK hynix or replacement SSD rather than a generic controller.
- Watch the temperature. A Gen4 drive without a heatsink can throttle in a thin chassis; check it in the vendor tool.
- Resume BitLocker. Encryption paused before the clone must be switched back on after the first clean boot.
- Keep the OEM disk as a fallback. Leave it unmodified until the new installation has run for a week.
A 2230-to-2280 swap can leave the far end of the drive unsupported. Use the screw position the laptop provides instead of an adapter that bends the circuit board.
FAQs About SK hynix Clones
Does cloning an SK hynix SSD affect the OEM Windows license?
No. The license follows the digital entitlement or the BIOS key in the machine, not the drive that holds the current installation.
Can I clone a Platinum P41 into a Gen3 laptop?
Yes. The drive negotiates Gen3 speed, and the clone simply runs at the rate the slot supports.
Why is the new NVMe SSD missing from BIOS after cloning?
The slot may be disabled, share lanes with another device, or need the drive reseated. Check the manual and push the card fully into the connector.
Is a USB enclosure fast enough for a system clone?
A USB 3.2 Gen2 enclosure reaches about 1 GB/s. It is slower than an internal socket, but a one-time copy still finishes in a reasonable time.
What happens to the OEM recovery partition when the new SSD is smaller?
Disk-level tools may drop the last partition to fit. Check the target layout before starting, or resize other partitions to keep the recovery image.
Back Up Before the Clone
Cloning overwrites the destination and involves firmware settings that can leave a laptop unable to start. An image taken first turns a failed swap into a short restore instead of a reinstall.
Watch the video tutorial below to back up Windows and restore it if the clone fails.
Step 1. Open Qiling Disk Master and select System Backup to include the boot and recovery partitions.

Step 2. Save the image to an external drive, not to the SSD you plan to replace.

Step 3. Click Proceed to start the system backup and wait patiently until it finishes. You can also tick Shut down the computer when the operation is completed to power off automatically.

Step 4. If the laptop will not start from the new SSD, restore the image and check the slot and boot order before cloning again.

Conclusion
SK hynix retail drives and OEM codes such as BC711 or PC711 describe the same family of NVMe SSDs, and none of them comes with a cloning utility. Identify the length and bus, put the new drive in a USB enclosure when the laptop has one slot, and clone the whole disk so the EFI and recovery partitions move with Windows. Then set the new Boot Manager first, check the temperature, and keep the factory drive aside until the upgrade proves stable.
For more on NVMe upgrades and boot repairs, see Clone an NVMe SSD to a Larger NVMe SSD, Clone a 2.5-Inch SSD to an M.2 SSD, Clone an SSD to a Same-Size SSD, and SSD Slow After Cloning? Fix It.
Related Articles
- How to Clone a Kingston SSD to a New Drive
Kingston A2000 and KC3000 drives clone with any disk-level tool. - How to Clone a Crucial SSD to a New Drive
Crucial sells no clone utility; copy the disk and rebuild the boot entry. - How to Clone an M.2 SSD With Only One Slot
Use a USB enclosure when the laptop offers a single M.2 socket. - Clone an M.2 SSD to a SATA SSD
Move Windows between NVMe and SATA drives and adjust the boot mode. - Clone an SSD to a Larger SSD
Extend the last partition after cloning to a bigger drive.
Products
Articles & Tutorials
- Data Recovery
- Data Backup
- File Recovery
- File Backup
- System Backup and Restore
- Disk and Partition Clone
- Technical articles
- Mobile articles
- Disk Master Help
- Windows Data Recovery Tutorials
- Windows Secure Delete Tutorials
- Windows Partition Management Tutorials
- Windows File Backup and Restore Tutorials
- Windows System Backup and Restore Tutorials
- Windows Disk Backup and Restore Tutorials
- Windows Clone Tutorials